本指南將示範如何建構並執行一個精密的工作流程,該流程可協調多個專業的 AI Agent。您將學習如何協調 finder(尋找者)、writer(寫作者)和 proofreader(校對者)等 Agent,讓它們共同合作完成一項複雜的任務,從初步研究到最終報告的產出。
概述
工作流程編排涉及建立一個處理管道,讓多個 Agent 協同合作以達成共同目標。管道中的每個 Agent 都有特定的角色,並由一個中央協調器管理它們之間的任務和資訊流。本範例展示如何使用 AIGNE 框架來建構這樣的系統,同時支援單次執行(one-shot)和互動式聊天模式。
下圖說明了此範例中 Agent 之間的關係:
direction: down

User: {
  shape: c4-person
}

OrchestratorAgent: {
  label: "Orchestrator Agent"
  shape: rectangle

  finder: {
    label: "Finder Agent"
    shape: rectangle
  }

  writer: {
    label: "Writer Agent"
    shape: rectangle
  }
}

Skills: {
  label: "技能 / 工具"
  shape: rectangle
  style: {
    stroke-dash: 2
  }

  puppeteer: {
    label: "Puppeteer\n(網頁抓取)"
    shape: rectangle
  }

  filesystem: {
    label: "檔案系統\n(讀取/寫入)"
    shape: cylinder
  }
}

User -> OrchestratorAgent: "1. 提交研究任務"
OrchestratorAgent -> OrchestratorAgent.finder: "2. 委派:尋找資訊"
OrchestratorAgent.finder -> Skills.puppeteer: "3. 抓取網頁"
OrchestratorAgent.finder -> Skills.filesystem: "4. 儲存研究結果"
OrchestratorAgent -> OrchestratorAgent.writer: "5. 委派:編寫報告"
OrchestratorAgent.writer -> Skills.filesystem: "6. 寫入最終報告"
先決條件
在開始之前,請確保您已安裝並設定好以下項目:
- Node.js:版本 20.0 或更高。
- npm:隨 Node.js 附帶。
- OpenAI API 金鑰:Agent 與 OpenAI 模型互動所需。您可以從 OpenAI Platform 取得。
若要從原始碼執行,可選用的相依套件:
- Bun:用於執行單元測試和範例。
- Pnpm:用於套件管理。
快速入門
您可以使用 npx 直接執行此範例,無需任何安裝。
執行範例
在您的終端機中執行以下指令:
以單次執行模式執行
# 以單次執行模式執行(預設)
npx -y @aigne/example-workflow-orchestrator
以互動式聊天模式執行
# 以互動式聊天模式執行
npx -y @aigne/example-workflow-orchestrator --interactive
使用管道輸入
# 使用管道輸入
echo "Research ArcBlock and compile a report about their products and architecture" | npx -y @aigne/example-workflow-orchestrator
連接 AI 模型
首次執行此範例時,由於尚未設定任何 API 金鑰,它會提示您連接到一個 AI 模型服務。

您有三個選項:
- 透過官方 AIGNE Hub 連接:這是推薦給新使用者的選項。選擇此選項將會在瀏覽器中開啟一個授權頁面。在您批准後,CLI 將會連接到 AIGNE Hub,您也會收到免費的 token 供您開始使用。
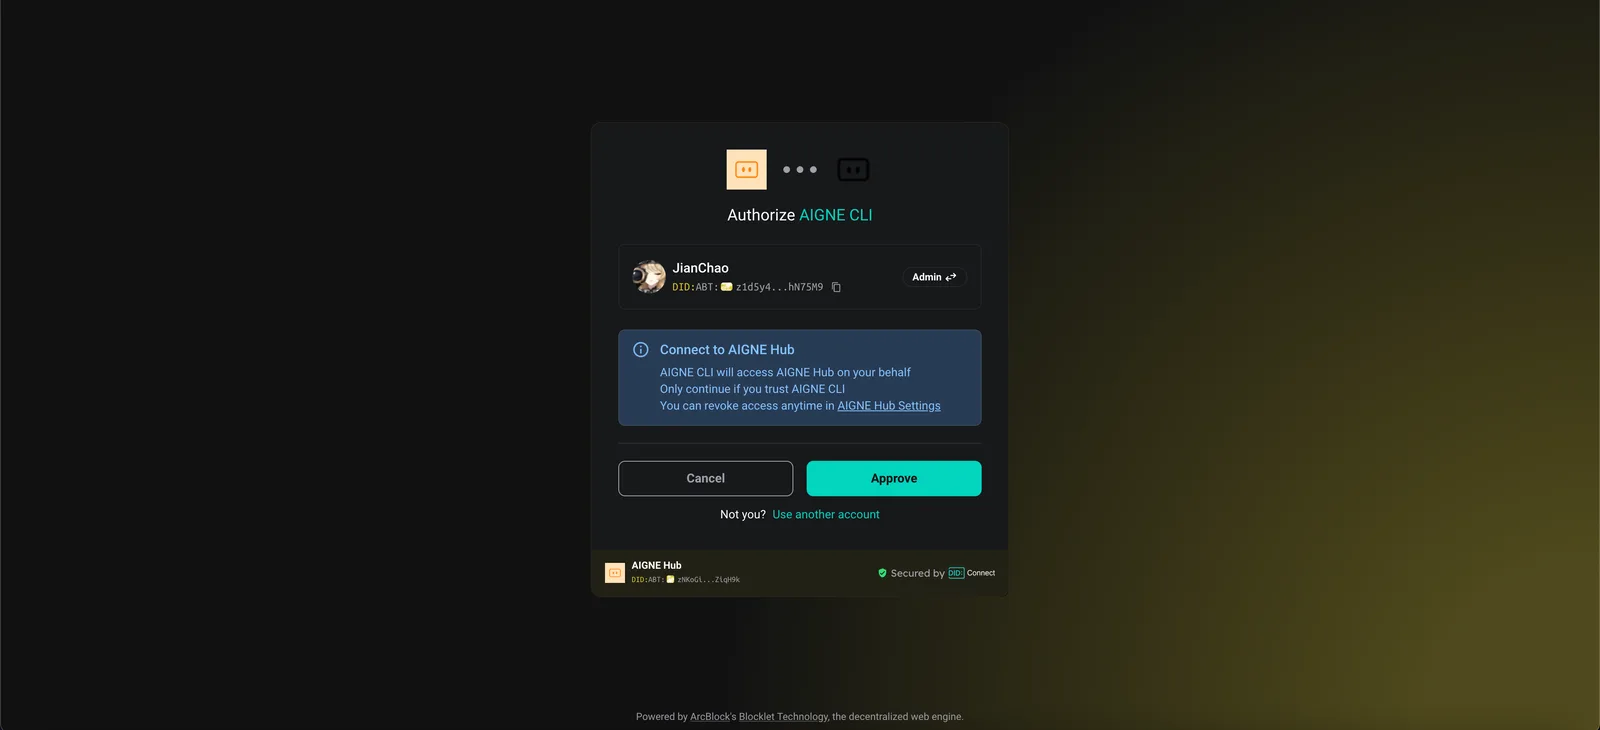
- 透過自行託管的 AIGNE Hub 連接:如果您有自己的 AIGNE Hub 實例,請選擇此選項。系統將提示您輸入您的 Hub 的 URL 以完成連接。您可以從 Blocklet Store 部署一個自行託管的 AIGNE Hub。

- 透過第三方模型供應商連接:您可以直接設定來自 OpenAI 等供應商的 API 金鑰。將金鑰設定為環境變數,然後再次執行範例。 設定 OpenAI API 金鑰
bash export OPENAI_API_KEY="YOUR_API_KEY_HERE"更多設定範例,請參考程式碼庫中的.env.local.example檔案。
使用 AIGNE Observe 進行偵錯
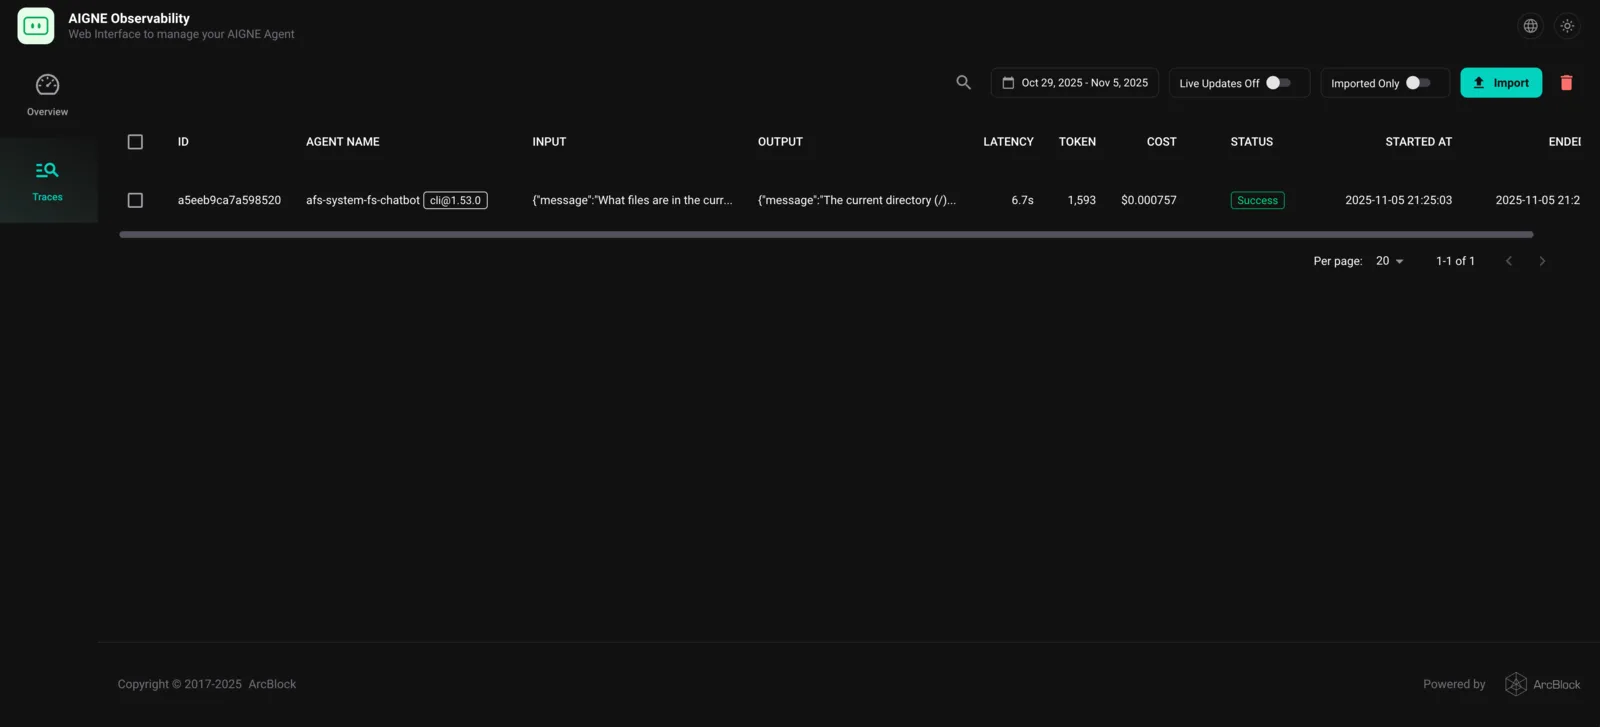
aigne observe 指令會啟動一個本地 Web 伺服器,幫助您監控和分析 Agent 的執行情況。這個工具對於偵錯、調整效能以及理解 Agent 行為非常有價值。
首先,啟動觀察伺服器:
啟動可觀察性伺服器
aigne observe
伺服器執行後,您可以在瀏覽器中開啟提供的 URL(http://localhost:7893),查看最近的 Agent 追蹤列表並檢查其詳細資訊。
本地安裝與使用
若要進行開發,您可以複製程式碼庫並在本地執行此範例。
1. 複製程式碼庫
複製程式碼庫
git clone https://github.com/AIGNE-io/aigne-framework2. 安裝相依套件
導覽至範例目錄並使用 pnpm 安裝必要的套件。
安裝相依套件
cd aigne-framework/examples/workflow-orchestrator
pnpm install
3. 執行範例
使用 pnpm start 指令來執行工作流程。
以單次執行模式執行
# 以單次執行模式執行(預設)
pnpm start
以互動式聊天模式執行
# 以互動式聊天模式執行
pnpm start -- --interactive
使用管道輸入
# 使用管道輸入
echo "Research ArcBlock and compile a report about their products and architecture" | pnpm start
執行選項
此腳本接受數個命令列參數來自訂其行為。
| 參數 | 說明 | 預設值 |
|---|---|---|
--interactive | 以互動式聊天模式執行。 | 停用 |
--model <provider[:model]> | 指定要使用的 AI 模型(例如:openai 或 openai:gpt-4o-mini)。 | openai |
--temperature <value> | 設定模型生成的溫度值。 | 供應商預設值 |
--top-p <value> | 設定 top-p 取樣值。 | 供應商預設值 |
--presence-penalty <value> | 設定存在懲罰值。 | 供應商預設值 |
--frequency-penalty <value> | 設定頻率懲罰值。 | 供應商預設值 |
--log-level <level> | 設定記錄層級(例如:ERROR、WARN、INFO、DEBUG)。 | INFO |
--input, -i <input> | 直接透過命令列指定輸入。 | 無 |
範例
以互動式聊天模式執行
# 以聊天模式執行
pnpm start -- --interactive
設定不同的記錄層級
# 將記錄層級設定為 DEBUG
pnpm start -- --log-level DEBUG
程式碼範例
以下 TypeScript 程式碼示範如何定義和協調多個 Agent,以執行深入研究並編寫報告。OrchestratorAgent 協調一個 finder 和一個 writer,它們具備瀏覽網頁(puppeteer)和與本地檔案系統互動的技能。
orchestrator.ts
import { OrchestratorAgent } from "@aigne/agent-library/orchestrator/index.js";
import { AIAgent, AIGNE, MCPAgent } from "@aigne/core";
import { OpenAIChatModel } from "@aigne/core/models/openai-chat-model.js";

const { OPENAI_API_KEY } = process.env;

// 1. 初始化聊天模型
const model = new OpenAIChatModel({
  apiKey: OPENAI_API_KEY,
  modelOptions: {
    parallelToolCalls: false, // Puppeteer 一次只能執行一個任務
  },
});

// 2. 設定用於網頁抓取和檔案系統存取的 MCP Agent
const puppeteer = await MCPAgent.from({
  command: "npx",
  args: ["-y", "@modelcontextprotocol/server-puppeteer"],
  env: process.env as Record<string, string>,
});

const filesystem = await MCPAgent.from({
  command: "npx",
  args: ["-y", "@modelcontextprotocol/server-filesystem", import.meta.dir],
});

// 3. 定義 finder Agent 以研究資訊
const finder = AIAgent.from({
  name: "finder",
  description: "找到與使用者請求最接近的匹配項",
  instructions: `你是一個可以在網路上尋找資訊的 Agent。
你的任務是找到與使用者請求最接近的匹配項。
你可以使用 puppeteer 來抓取網路上的資訊。
你也可以使用檔案系統來儲存你找到的資訊。

規則:
- 不要使用 puppeteer 的螢幕截圖
- 使用 document.body.innerText 來取得頁面的文字內容
- 如果你想要某個頁面的 URL,你應該取得目前(首頁)頁面的所有連結及其標題,
然後你可以使用標題來搜尋你想要訪問的頁面的 URL。
  `,
  skills: [puppeteer, filesystem],
});

// 4. 定義 writer Agent 以儲存報告
const writer = AIAgent.from({
  name: "writer",
  description: "寫入檔案系統",
  instructions: `你是一個可以寫入檔案系統的 Agent。
  你的任務是接收使用者的輸入,處理它,並將結果寫入到磁碟的適當位置。`,
  skills: [filesystem],
});

// 5. 建立 orchestrator Agent 以管理工作流程
const agent = OrchestratorAgent.from({
  skills: [finder, writer],
  maxIterations: 3,
  tasksConcurrency: 1, // Puppeteer 一次只能執行一個任務
});

// 6. 初始化 AIGNE 實例
const aigne = new AIGNE({ model });

// 7. 使用詳細的提示來調用工作流程
const result = await aigne.invoke(
  agent,
  `\
僅使用官方網站對 ArcBlock 進行深入研究\
(避免使用搜尋引擎或第三方來源),並編寫一份詳細報告,儲存為 arcblock.md。\
報告應包含對公司產品(附有詳細的研究發現和連結)、\
技術架構及未來計畫的全面見解。`,
);
console.log(result);
執行後,此工作流程會產生一個詳細的 Markdown 檔案。您可以在此處查看生成的輸出範例:arcblock-deep-research.md。
總結
本範例說明了 AIGNE 框架在建構複雜、多 Agent 工作流程方面的強大能力。透過定義專業的 Agent 並使用協調器進行協調,您可以自動化需要多個步驟的精密任務,例如研究、內容生成和檔案操作。
若要了解更多進階工作流程模式的範例,請探索以下部分: