Welcome
Getting Started
How to Guides
Application vs Blocklet
Create Blocklet
Compose Blocklets
Develop Blocklet
User and Passport
Communicate with DID Wallet
Blocklet Storage
Using Blocklet Preferences
Using Blocklet Logger
Add PWA Integration to Blocklet
Build blocklet for profit [deprecated]
Bundle your blocklet
Manage Blocklet Versions
Publish your blocklet to the world
Deploy your blocklet
Read/Write blockchain in blocklet
Operation your blocklet
Reference Guides
DID Connect
blocklet.yml
blocklet.js
Blocklet SDK (Node.js)
Blocklet SDK (Browser)
Blocklet Service
Blocklet CLI
Blocklet Server CLI
Blocklet UI
Blocklet GitHub Actions
Blocklet Studio
Blocklet Manager
Security
Performance
Developer Best Practices.
Known Issues or Limitations
Setup Blocklet Server
WebHooks
OAuth Server
Access Key
MCP Servers
Conceptual Guides
Frequently Asked Questions
Install Blocklet CLI
The Blocklet CLI is a command-line tool for managing both Blocklets and the Blocklet Server, which provides the runtime environment for Blocklets. When developing a Blocklet, you'll need to run the Blocklet Server locally. (For instructions on running the Blocklet Server in Docker, see Developing Blocklet in Docker.)
Install the Blocklet CLI#
You can install the Blocklet CLI with your preferred package manager:
- npm
npm install -g @blocklet/cli- yarn
yarn global add @blocklet/cli- pnpm
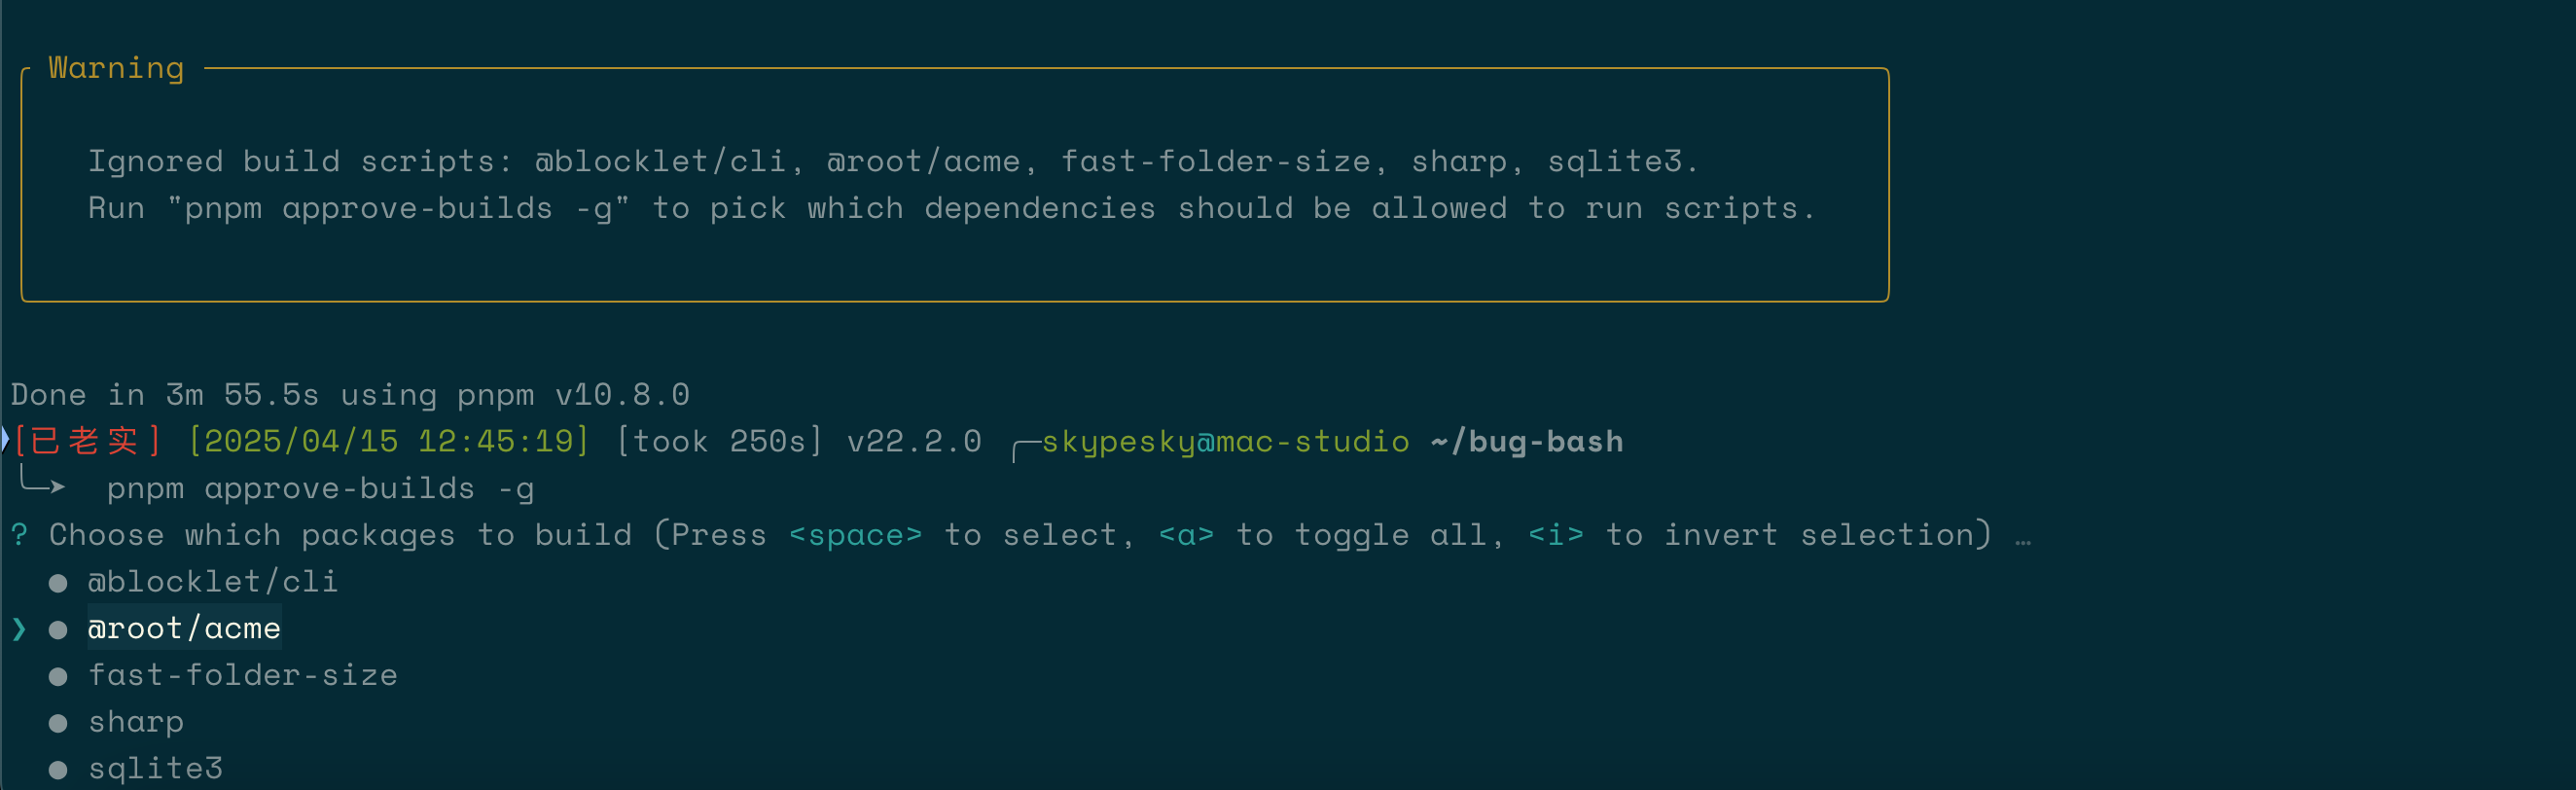
pnpm add -g @blocklet/cliIf you are using pnpm v10, you must also run pnpm approve-builds -g to enable the execution of build scripts.
Verify successful installation:
blocklet -V

                 Powered By
     _             ____  _            _
    / \   _ __ ___| __ )| | ___   ___| | __
   / _ \ | '__/ __|  _ \| |/ _ \ / __| |/ /
  / ___ \| | | (__| |_) | | (_) | (__|   <
 /_/   \_\_|  \___|____/|_|\___/ \___|_|\_\

            Blocklet CLI v1.16.18

1.16.18
If the error message command not found: blocklet appears, you need to configure the Blocklet CLI global environment variables.
# 以 yarn 为例,其它包管理工具类似

# 运行命令,查看 yarn 的全局 bin 目录。
yarn global bin

# 把这个目录添加到你的 PATH 环境变量中
open ~/.bashrc

# 在 .bashrc 中写入
export PATH="$PATH:$(yarn global bin)"

# 保存文件,重新加载你的 shell 或者重启你的终端。
source ~/.bashrc
Installing Nginx#
We recommend using Nginx as a reverse proxy for Blocklet Server.
If you are unable to install Nginx, you can skip this step and use the Blocklet Server’s built-in gateway.
Nginx version: 1.18.0 or later
Installing on macOS (using Homebrew)
Install Nginx using the Homebrew package manager.- Reference: https://formulae.brew.sh/formula/nginx
Install on Linux
Verify successful installation:
nginx -v
nginx version: nginx/1.21.6
Set Up Your DID Wallet#
See DID Wallet Setup
Launch Blocklet Server#
After installing the Blocklet CLI, you can use an empty directory to store configuration files and initialize the Blocklet Server.
- Run the command
mkdir -p ~/blocklet-server-data && cd ~/blocklet-server-datato create the directory and navigate into it. The~/blocklet-server-datapath can be replaced with any other directory.
- Run
blocklet server initto initialize the Blocklet Server.
After running the initialization command, the system will prompt you to confirm the directory where the configuration will be stored. Once confirmed, the Blocklet Server configuration will be generated automatically.
- Start the Blocklet Server by running
blocklet server start
% blocklet server init
blocklet server v1.16.18
Are you sure to initialize a Blocklet Server instance in the current directory(/Users/bob/blocklet-server-data) Yes
✔ Blocklet Server configuration is successfully generated /Users/bob/blocklet-server-data/.blocklet-server/config.yml
ℹ blocklet server start

% blocklet server start
blocklet server v1.16.18
✔ Server schema successfully migrated: /Users/bob/blocklet-server-data/.blocklet-server/core/server.db
✔ Service schema successfully migrated: /Users/bob/blocklet-server-data/.blocklet-server/services/service.db
✔ certificate-manager schema successfully migrated: /Users/bob/blocklet-server-data/.blocklet-server/modules/certificate-manager/module.db
ℹ Server DID zNKty6TZ9jkvTQTDQphk12B1osEbsGXHXLFC
ℹ Server config from /Users/linchen/blocklet-server-data/.blocklet-server/config.yml
✔ Starting event hub... Done in 3.044s
✔ Updating wildcard certificates... Done in 1.145s
✔ Starting blocklet service... Done in 32.657s
✔ Starting server daemon... Done in 5.084s
✔ Fetching accessible IPs... Done in 12.142s
✔ Updating DID Domain... Done in 1.232s
✔ You can access your Blocklet Server with either of the following URLs

HTTP URLs:

- http://192.168.31.18/.well-known/server/admin/
- http://bbqa7ka3ty3it3tb4prpraivmdhyr7hfooiirymz6cm.did.abtnet.io/.well-known/server/admin/

Secure URLs (Recommended):

- https://192-168-31-18.ip.abtnet.io/.well-known/server/admin/
Accessing the Blocklet Server#
After the Blocklet Server starts successfully, you will see its URL in the terminal.
HTTP URLs:

- http://192.168.3.28/.well-known/server/admin/
- http://xxxxxxxxxxxxxxxxxxxxxxxxxxxxxx.did.abtnet.io/.well-known/server/admin/

Secure URLs (Recommended):

- https://192-168-3-28.ip.abtnet.io/.well-known/server/admin/- (Recommended)
http://xxxxxxxxxxxxxxxxxxxxxxxxxxxxxx.did.abtnet.io/.well-known/server/admin/: Access via DID Name Service - (Recommended)
https://192-168-3-28.ip.abtnet.io/.well-known/server/admin/:Access via IP Echo Domain - (Not recommended)
http://192.168.3.28/.well-known/server/admin/Accessing via IP address
Note: Replace 192.168.3.28 with your local network IP address.Stopping the Blocklet Server#
You can stop the Blocklet Server by running the blocklet server stop command.