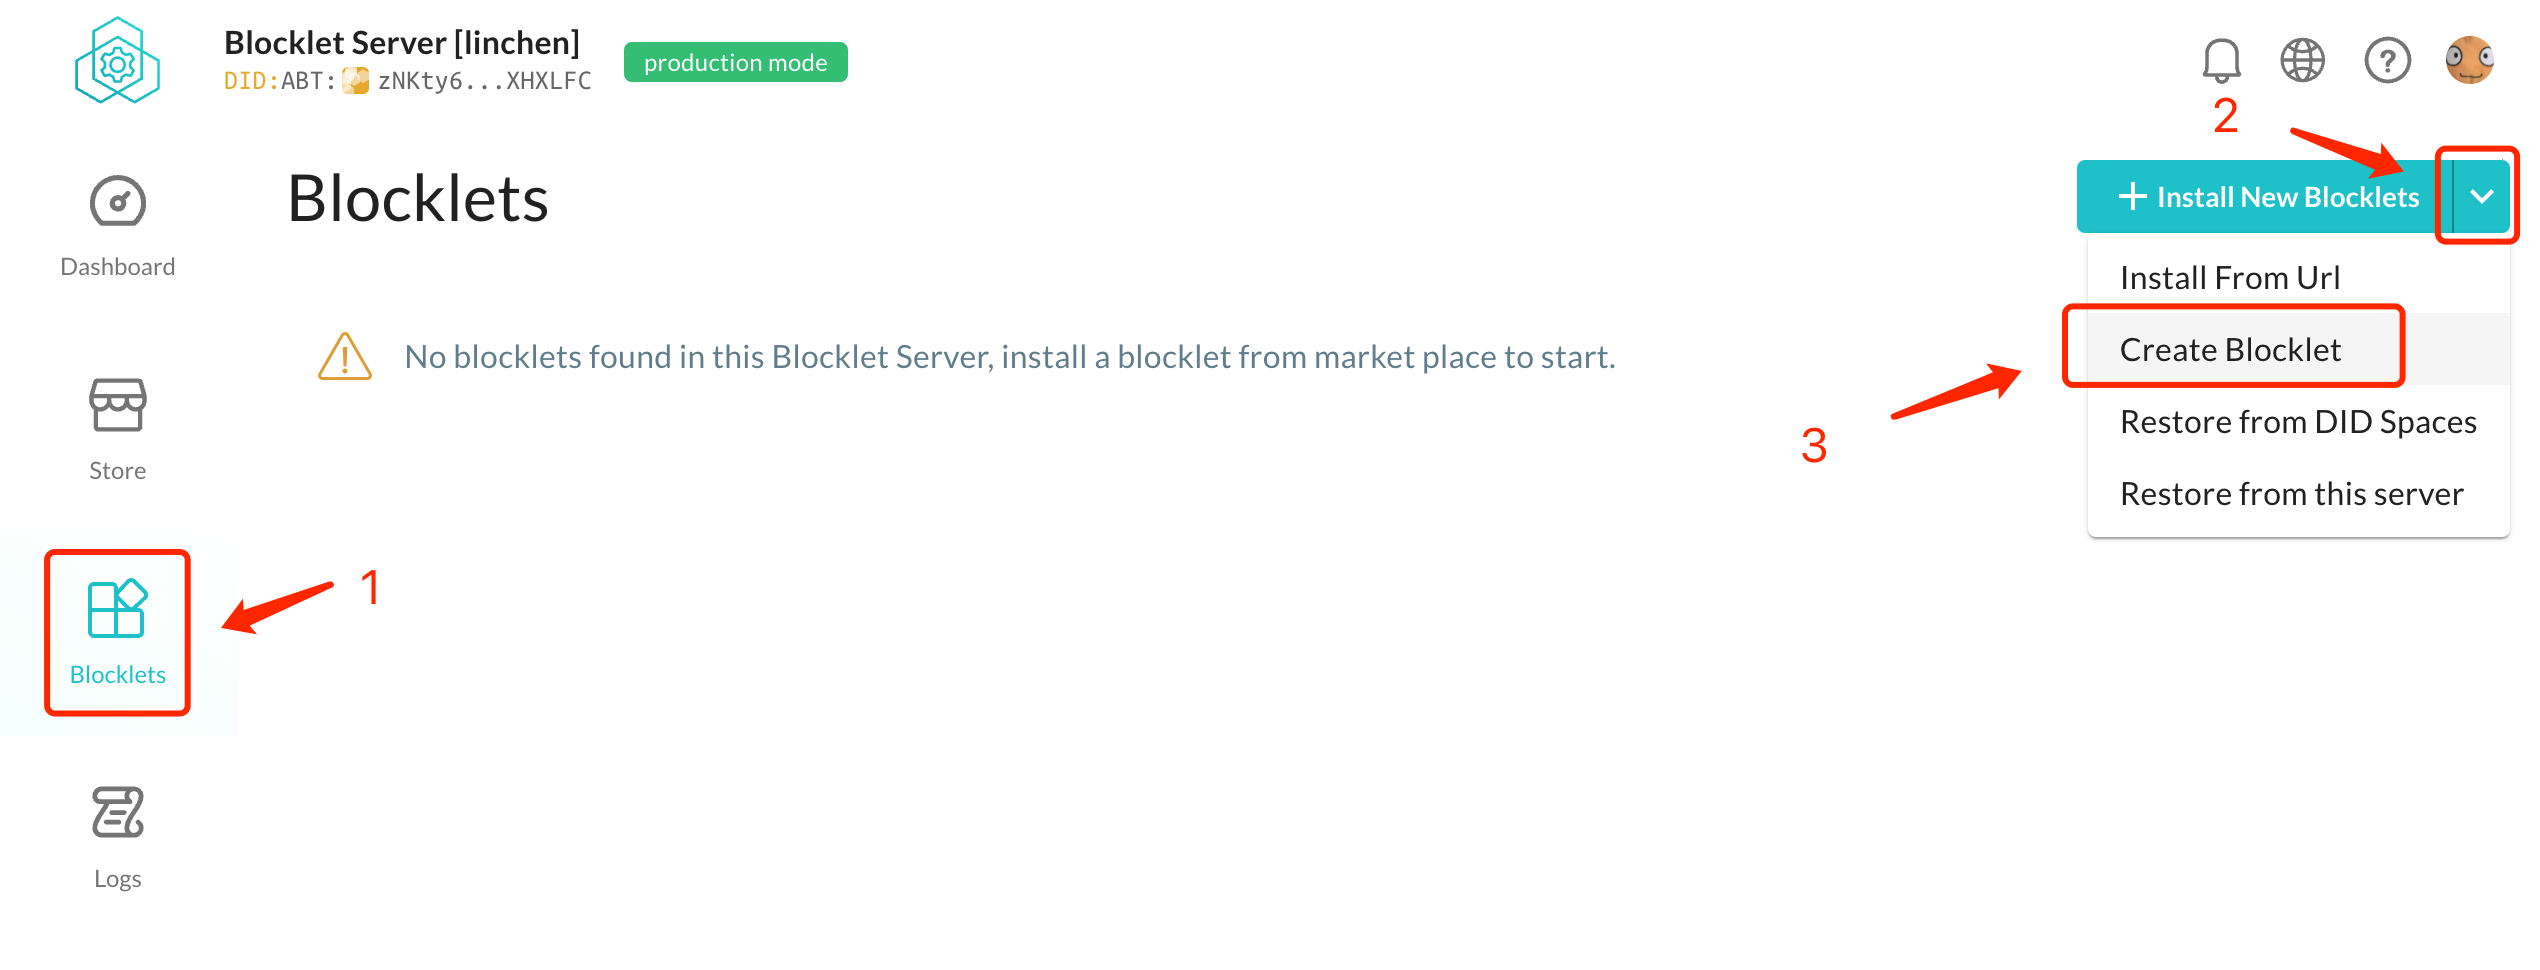
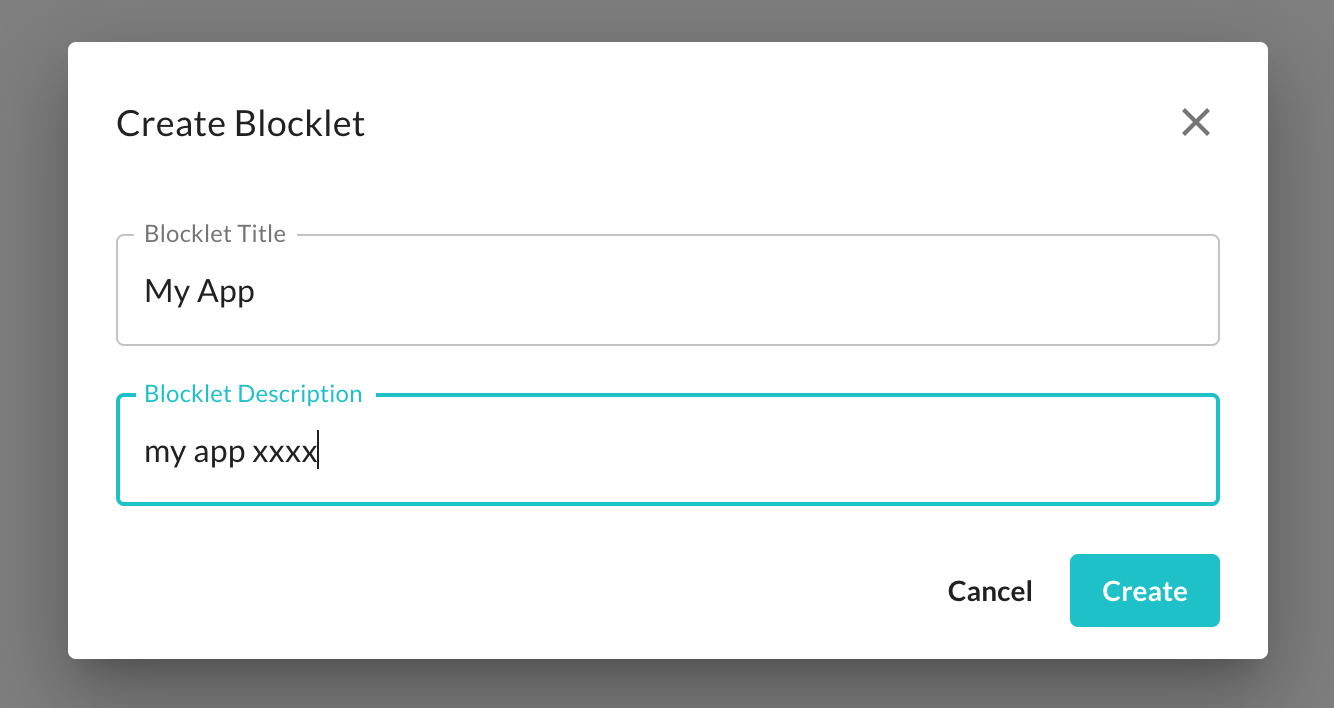
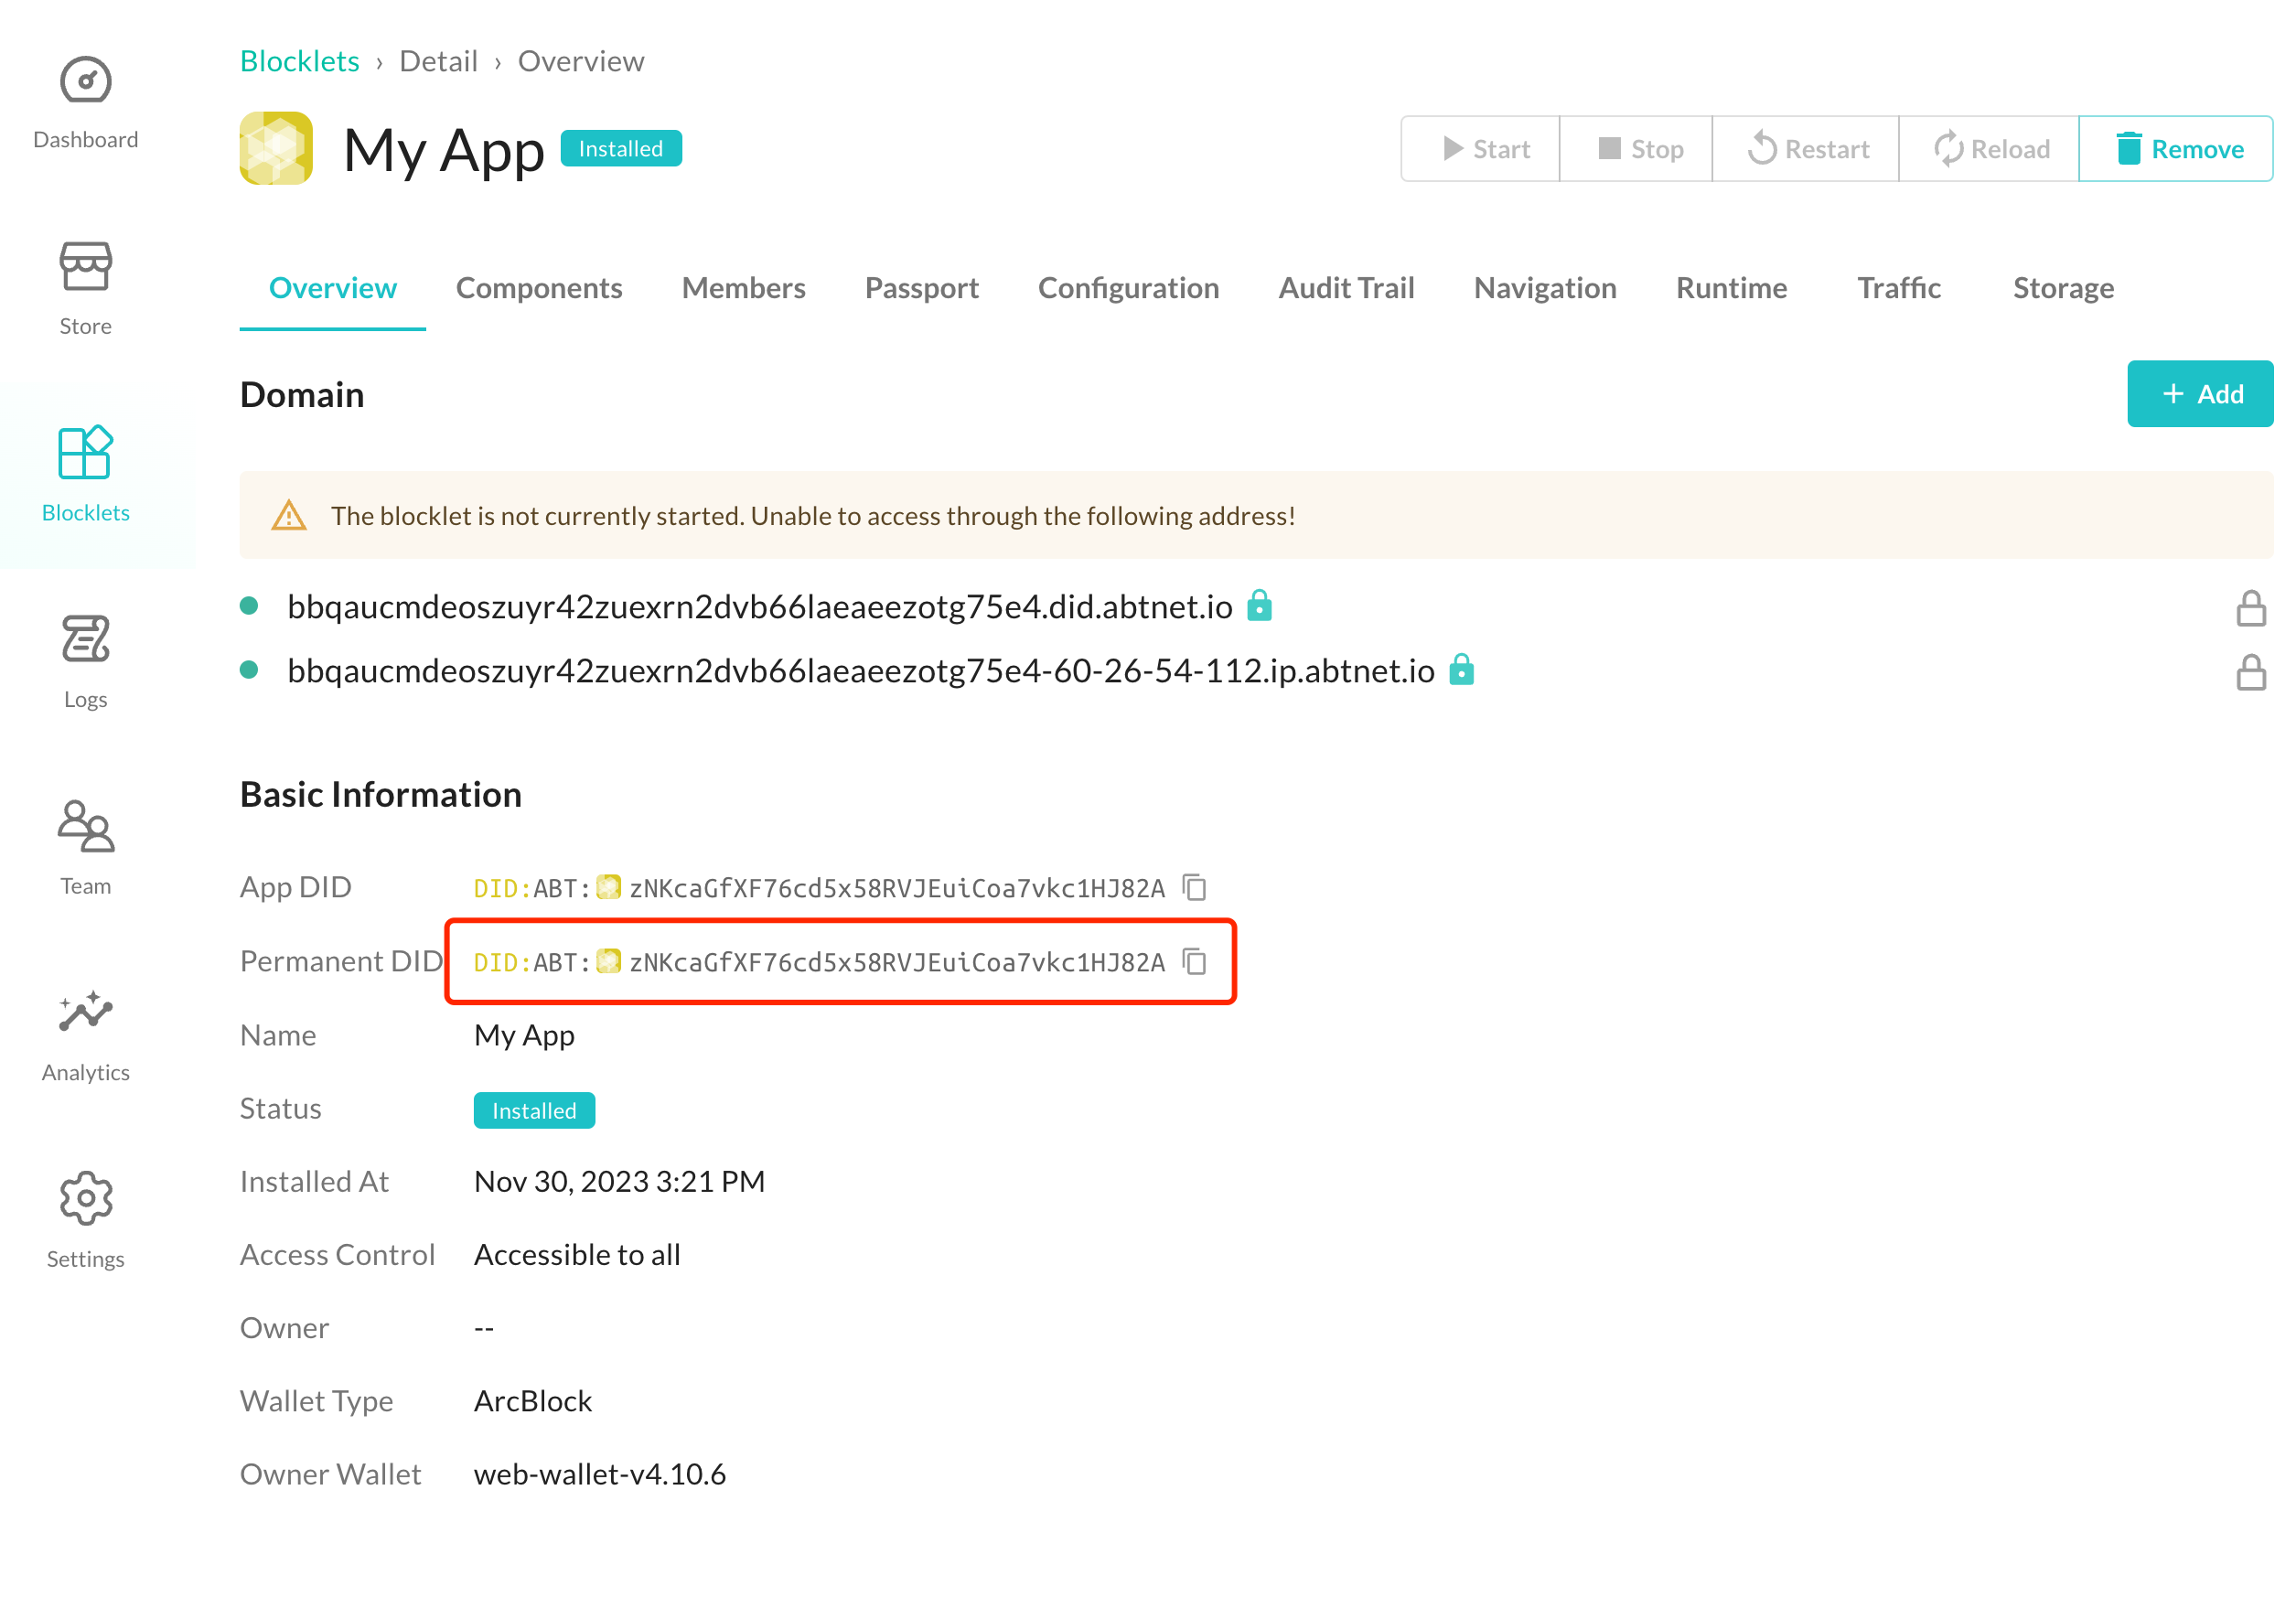
There are usually two ways to create a Blocklet application: Create Blocklet and the blocklet create command. The latter is a command provided by @blocklet/cli and built on top of the former.
blocklet create provides various types of Blocklet templates to meet different use cases, including:
- static and dapp types of Blocklets
- Applications built using popular front-end frameworks such as React and Vue
This chapter will use the [static] react template as an example to demonstrate how to quickly create a Blocklet application using the blocklet create command.
Preparation#
Creating Blocklet Application#
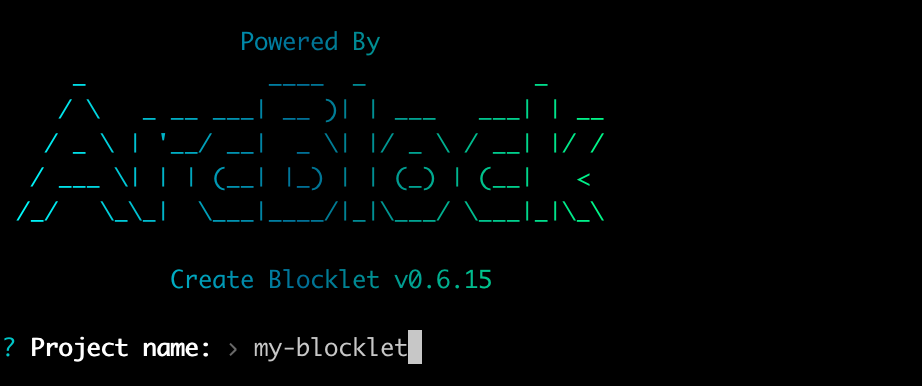
1. Execute the command blocklet create in the terminal and enter the project name as prompted:
2. Choose a Blocklet template according to your needs, for example, [static] react template:
3. Enter the author's name and email address
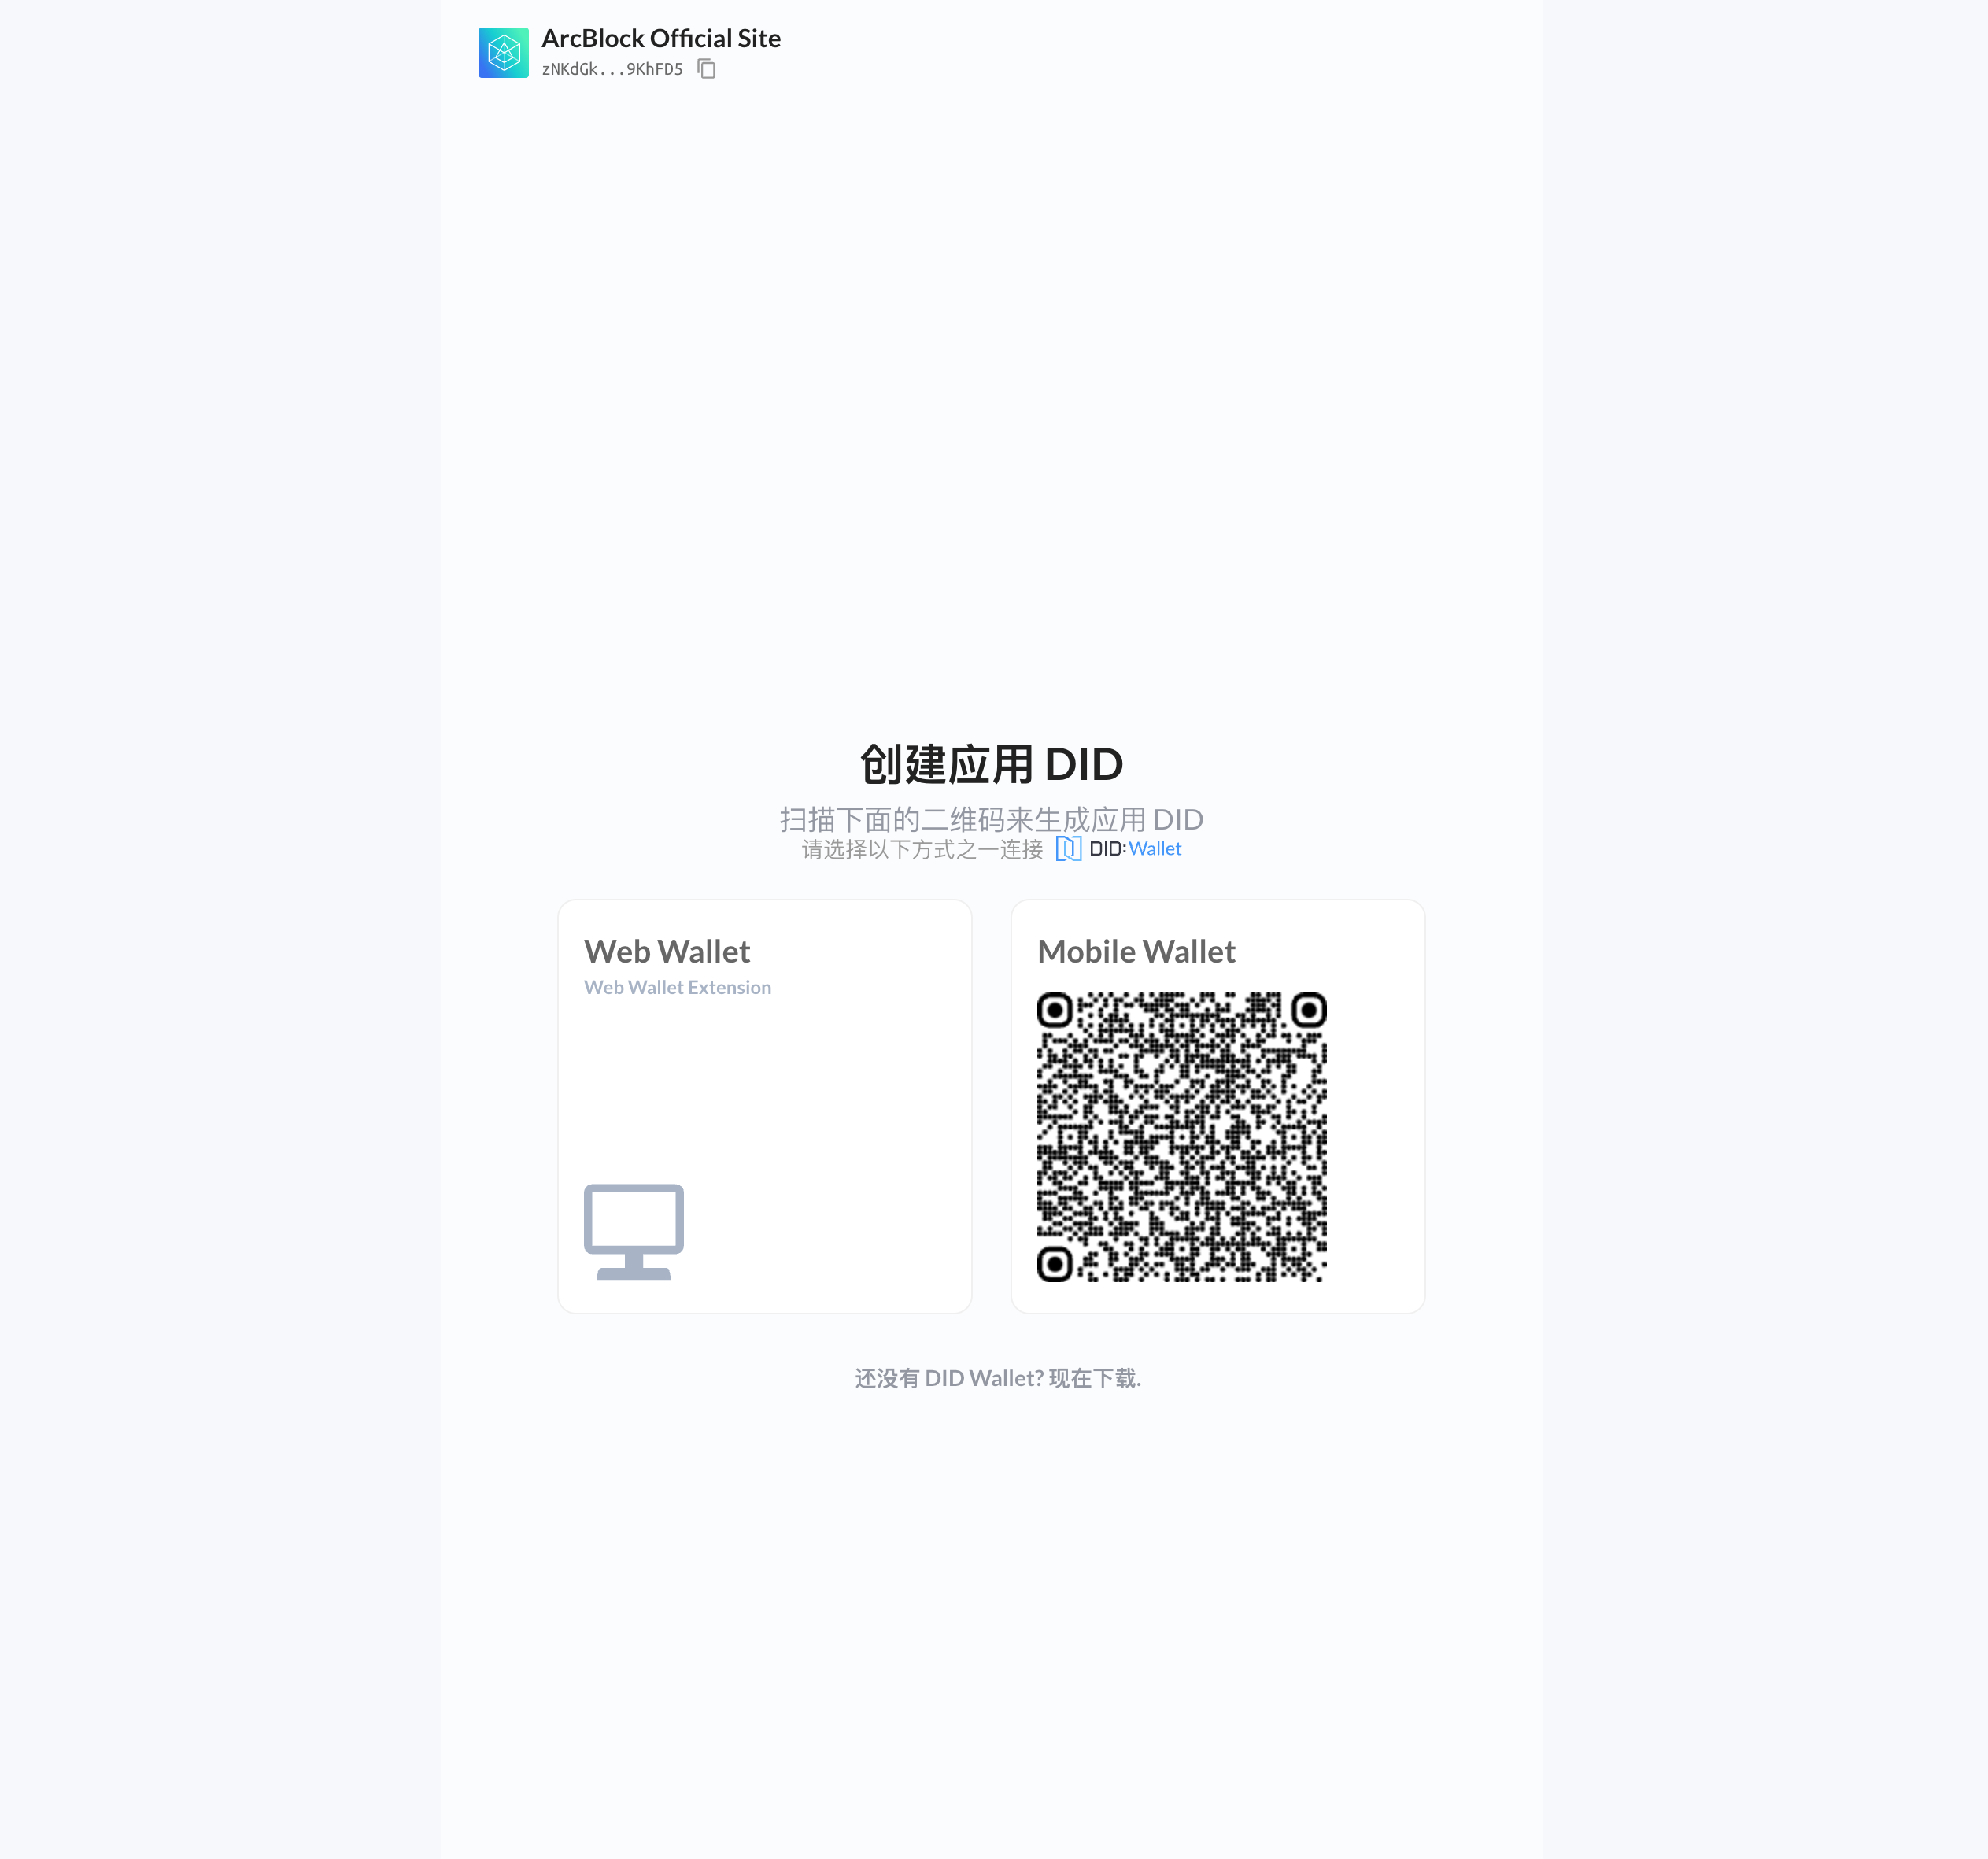
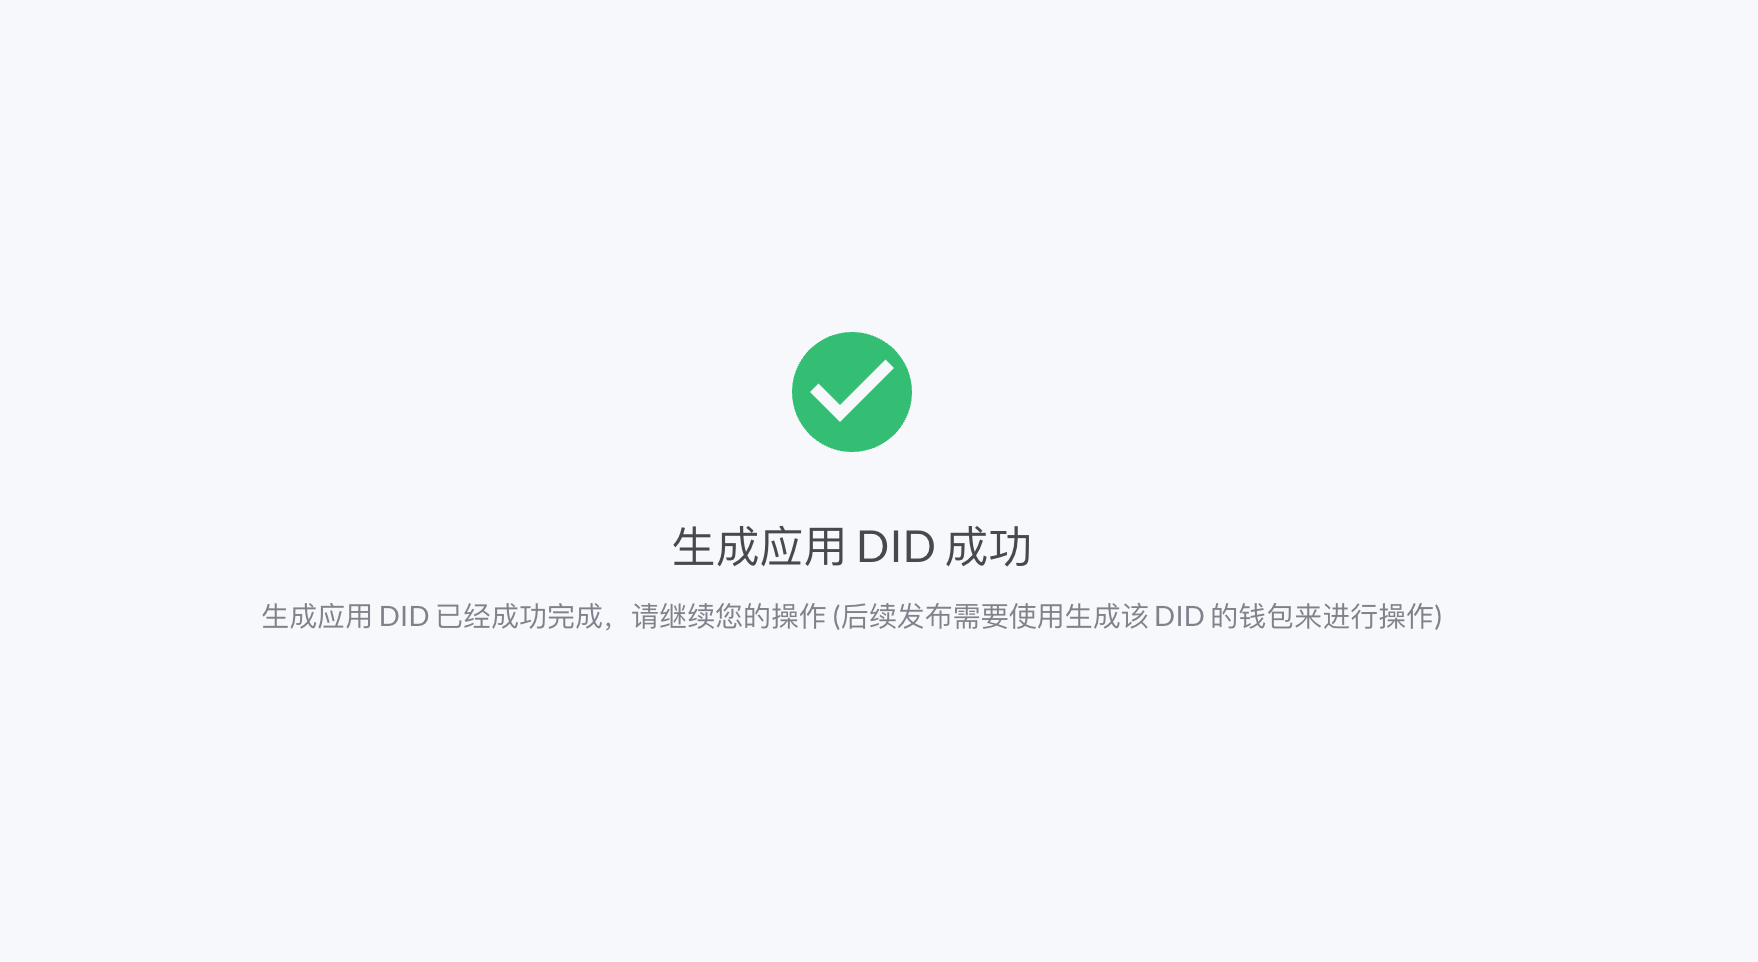
- Wait for the scaffolding to automatically wake up the browser and use the DID wallet to create the application DID
After waiting for the command to complete, a brand new Blocklet project will be created.
Developing Blocklet#
Execute the command "cd my-blocklet" in the terminal to enter the previously created "my-blocklet" directory, then execute the following commands to install dependencies:
npm i
# yarn
# pnpm i
Then execute the following command to start Blocklet development mode (make sure that your local Blocklet Server has been initialized and can be accessed normally):
blocklet dev
# npm run dev
# yarn dev
# pnpm dev
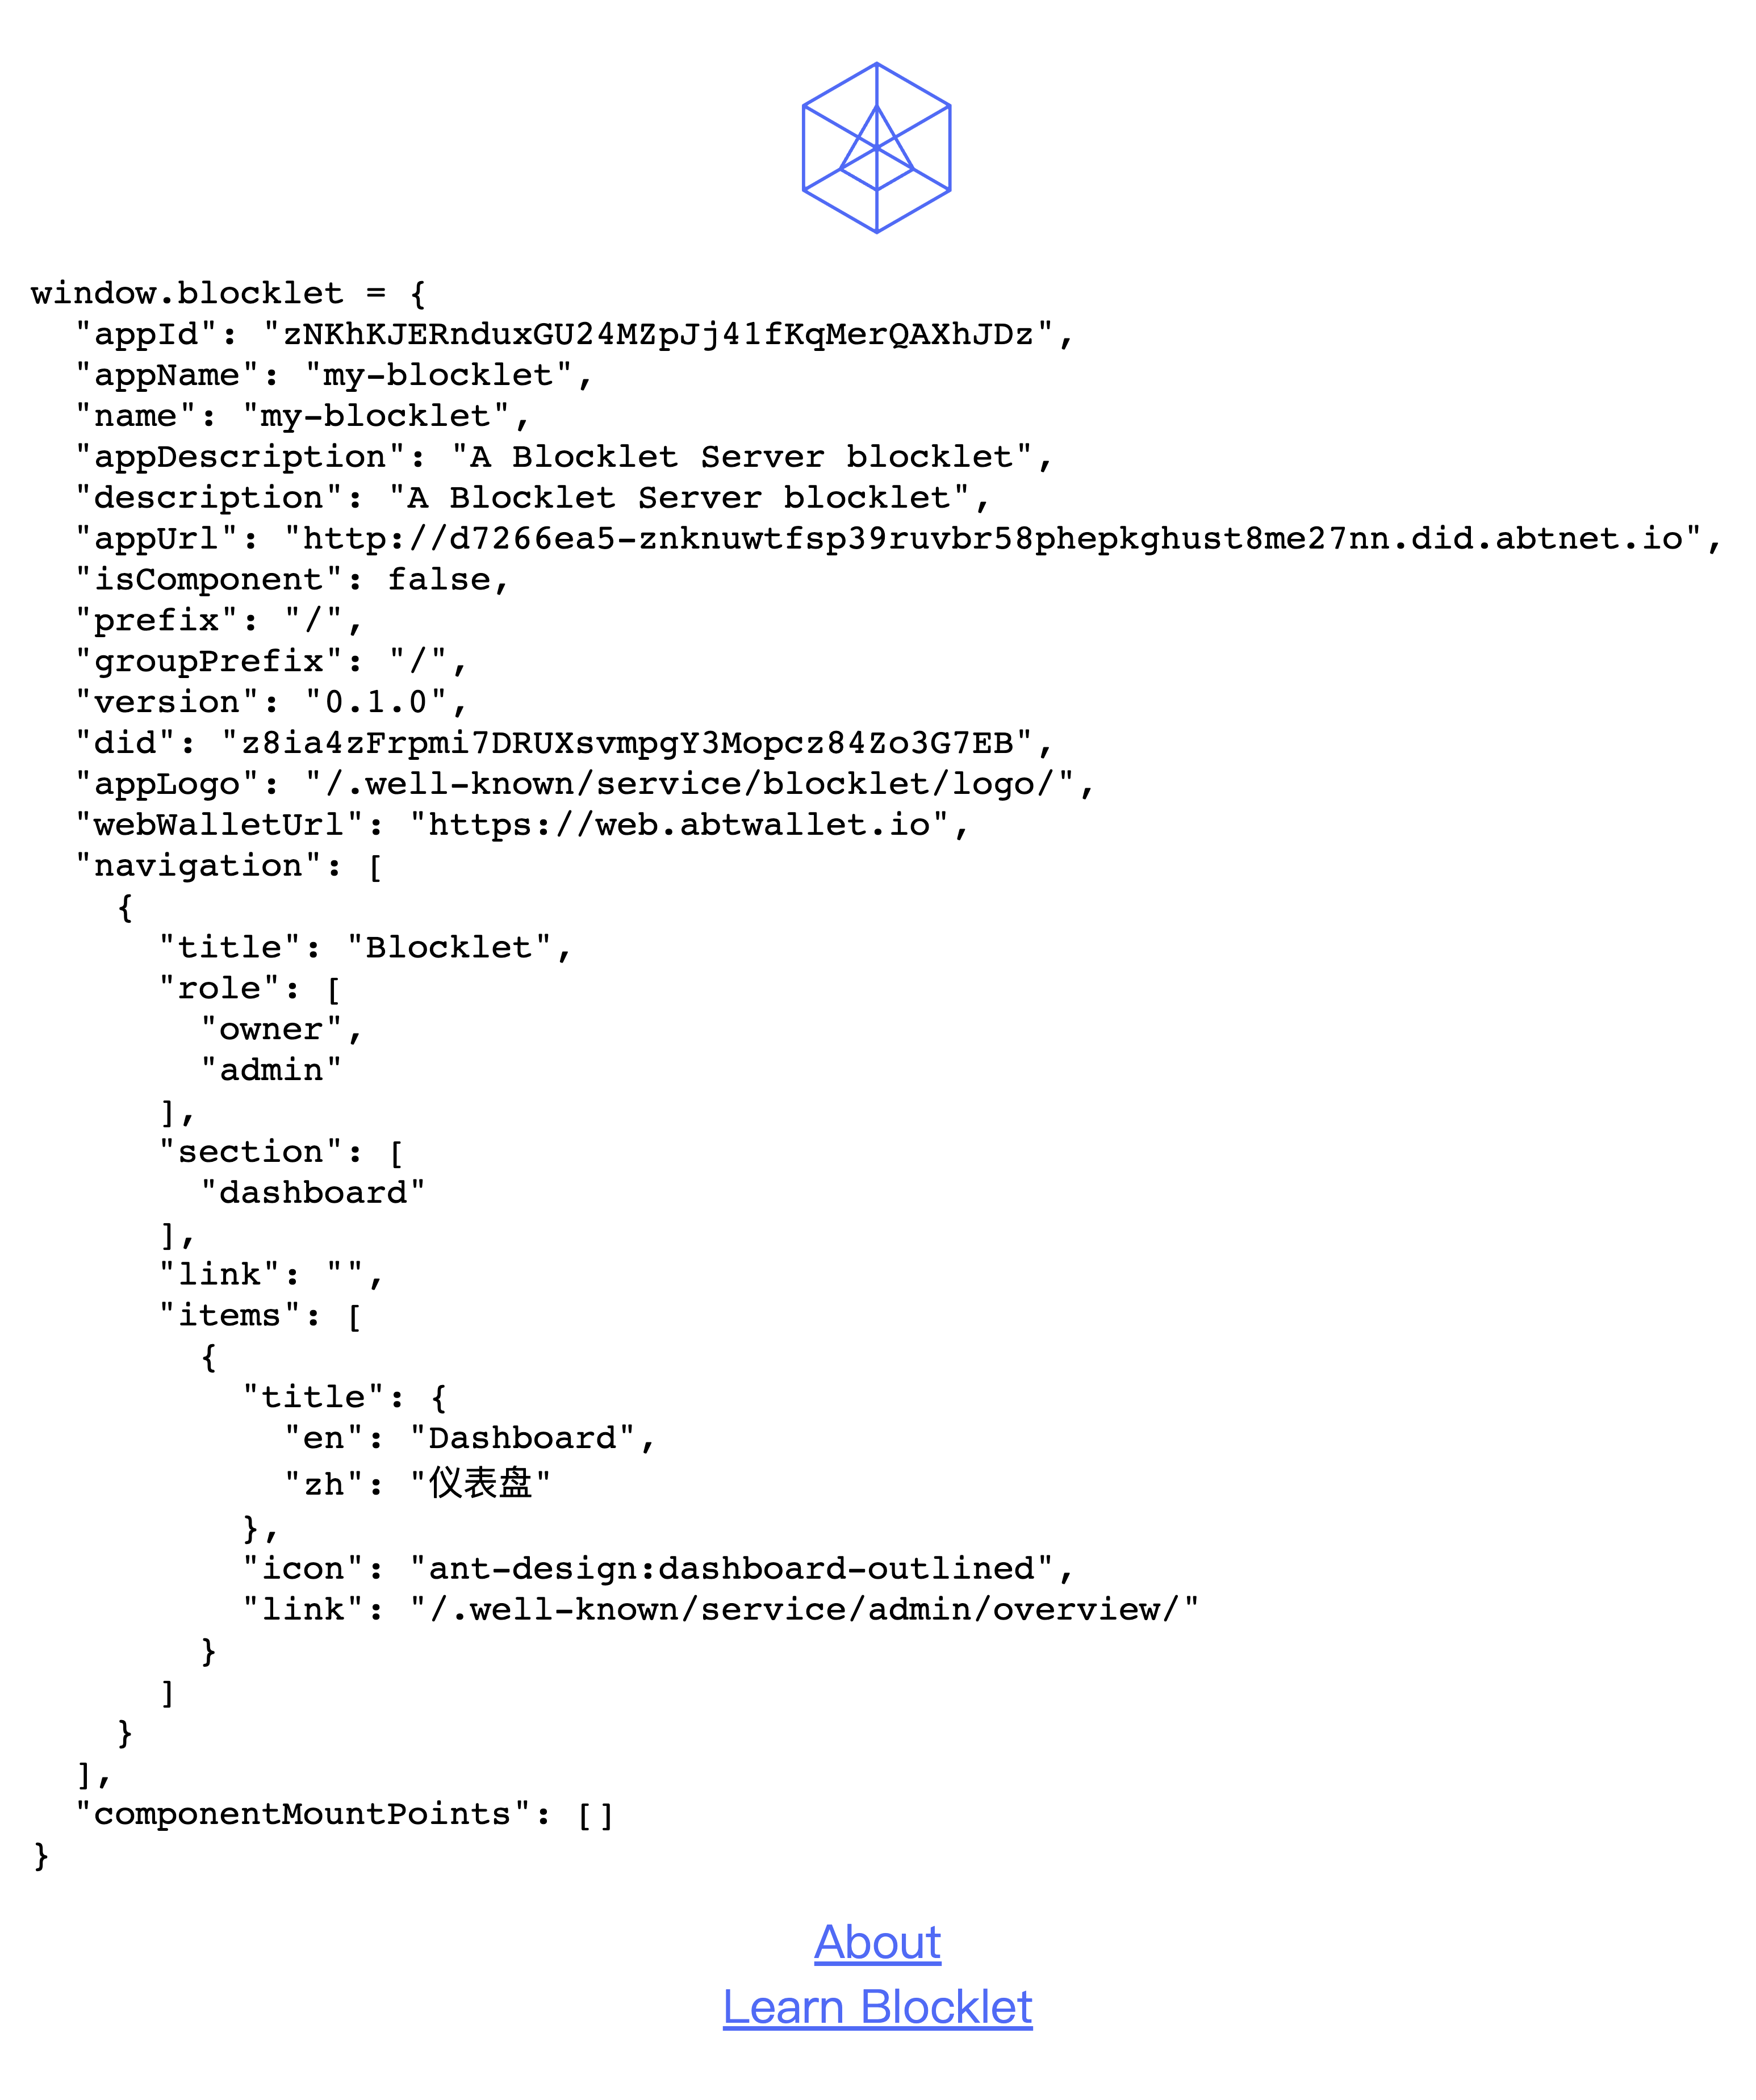
Once the application is launched, a DID Domain address will be outputted in the terminal as follows:
You can access this address using a browser and see a page similar to this one. The window.blocklet corresponds to Blocklet Meta data.
Bundle Blocklet#
Run bundle command:
npm run bundle
# yarn bundle
# pnpm bundle
After successful packaging, you will see the .blocklet directory in the project directory
.blocklet/bundle is used to deploy blocklets directly into applications via the Blocklet CLI..blocklet/release is used to publish blocklets to the Blocklet Store, or install them directly in the Server.
Deploy Blocklet#
1 Creare Application in Blocklet Server#
2 Copy Application DID and set app-id in package.json#
Blocklet is component, for the relationship between Blocklets and applications, please refer to 。
3 Run deploy command#
npm run deploy
# yarn deploy
# pnpm deploy
After the blocklet is deployed, you can manage the blocklet in the Blocklet Server, such as starting, stopping, configuring domain names, configuring environment variables, configuring user permissions, and viewing running logs.
Further Reading#
