Welcome
Getting Started
How to Guides
Application vs Blocklet
Create Blocklet
Compose Blocklets
Develop Blocklet
User and Passport
Communicate with DID Wallet
Blocklet Storage
Using Blocklet Preferences
Using Blocklet Logger
Add PWA Integration to Blocklet
Build blocklet for profit [deprecated]
Bundle your blocklet
Manage Blocklet Versions
Publish your blocklet to the world
Deploy your blocklet
Read/Write blockchain in blocklet
Operation your blocklet
Reference Guides
DID Connect
blocklet.yml
blocklet.js
Blocklet SDK (Node.js)
Blocklet SDK (Browser)
Blocklet Service
Blocklet CLI
Blocklet Server CLI
Blocklet UI
Blocklet GitHub Actions
Blocklet Studio
Blocklet Manager
Security
Performance
Developer Best Practices.
Known Issues or Limitations
Setup Blocklet Server
WebHooks
OAuth Server
Access Key
MCP Servers
Conceptual Guides
Frequently Asked Questions
How to bind a domain to Blocklet and generate SSL/TLS certificate
Overview#
Why do Blocklets need to be bound to a domain name?
Even though we provide a built-in DID Domain by default, we strongly recommend NFT projects to bind their own domain names.
The reasons are as follows:
- The application will appear more formal.
- Short domain names will make it easier for everyone to remember.
Blocklet supports binding DID Domain names and domain names purchased from third-party platforms; however, the binding methods are not completely the same.
Bind DID Domain#
DID Domain is naming services provided by ArcBlock, using DID, NFT, and VC to simplify domain publishing, authorization, and management.
Any application running on the Blocklet Server, whether self-hosted or hosted by ArcBlock, can attach any number of DID Domain names.
We recommend that you prioritize DID Domain, as it can save you the trouble of manually configuring DNS resolution and changing resolution; you can refer to this document to bind DID Domain:
Bind a third-party domain#
Binding a third-party domain requires manual configuration of DNS resolution. This document takes Cloudflare as an example.
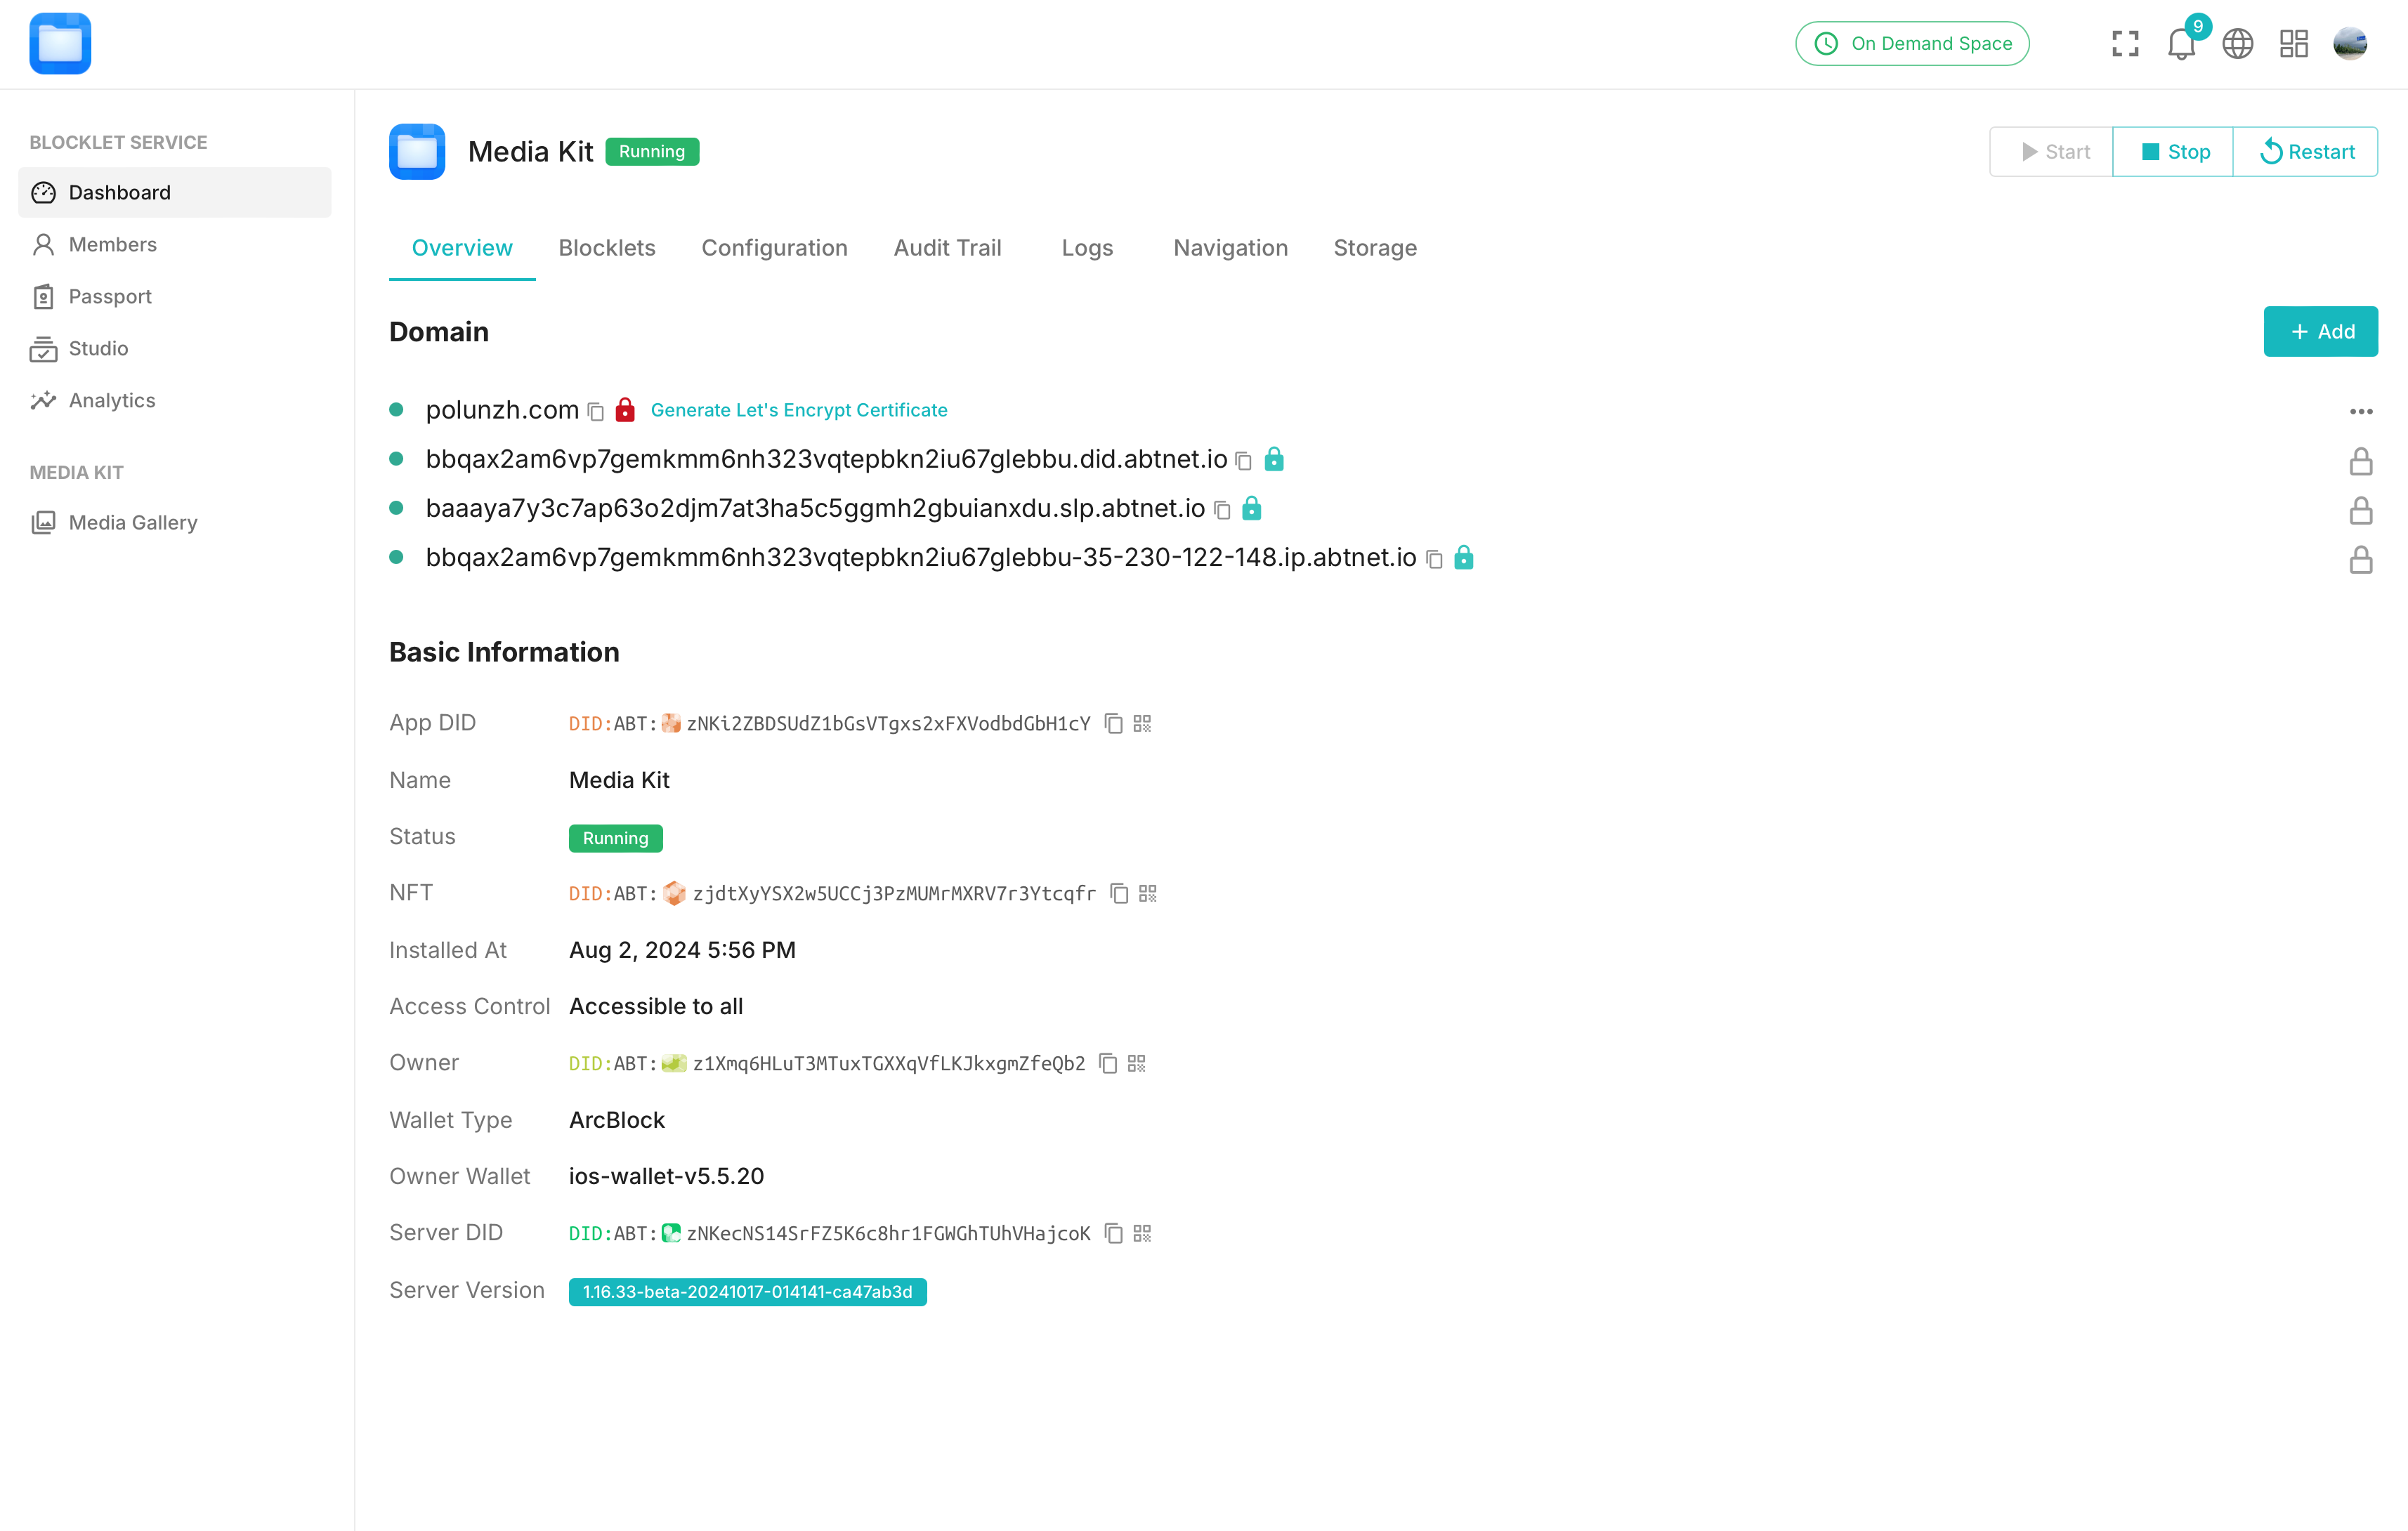
- Enter the
Dashboard -> Overviewpage of the Blocklet - Copy the DID Domain to prepare for adding DNS later.
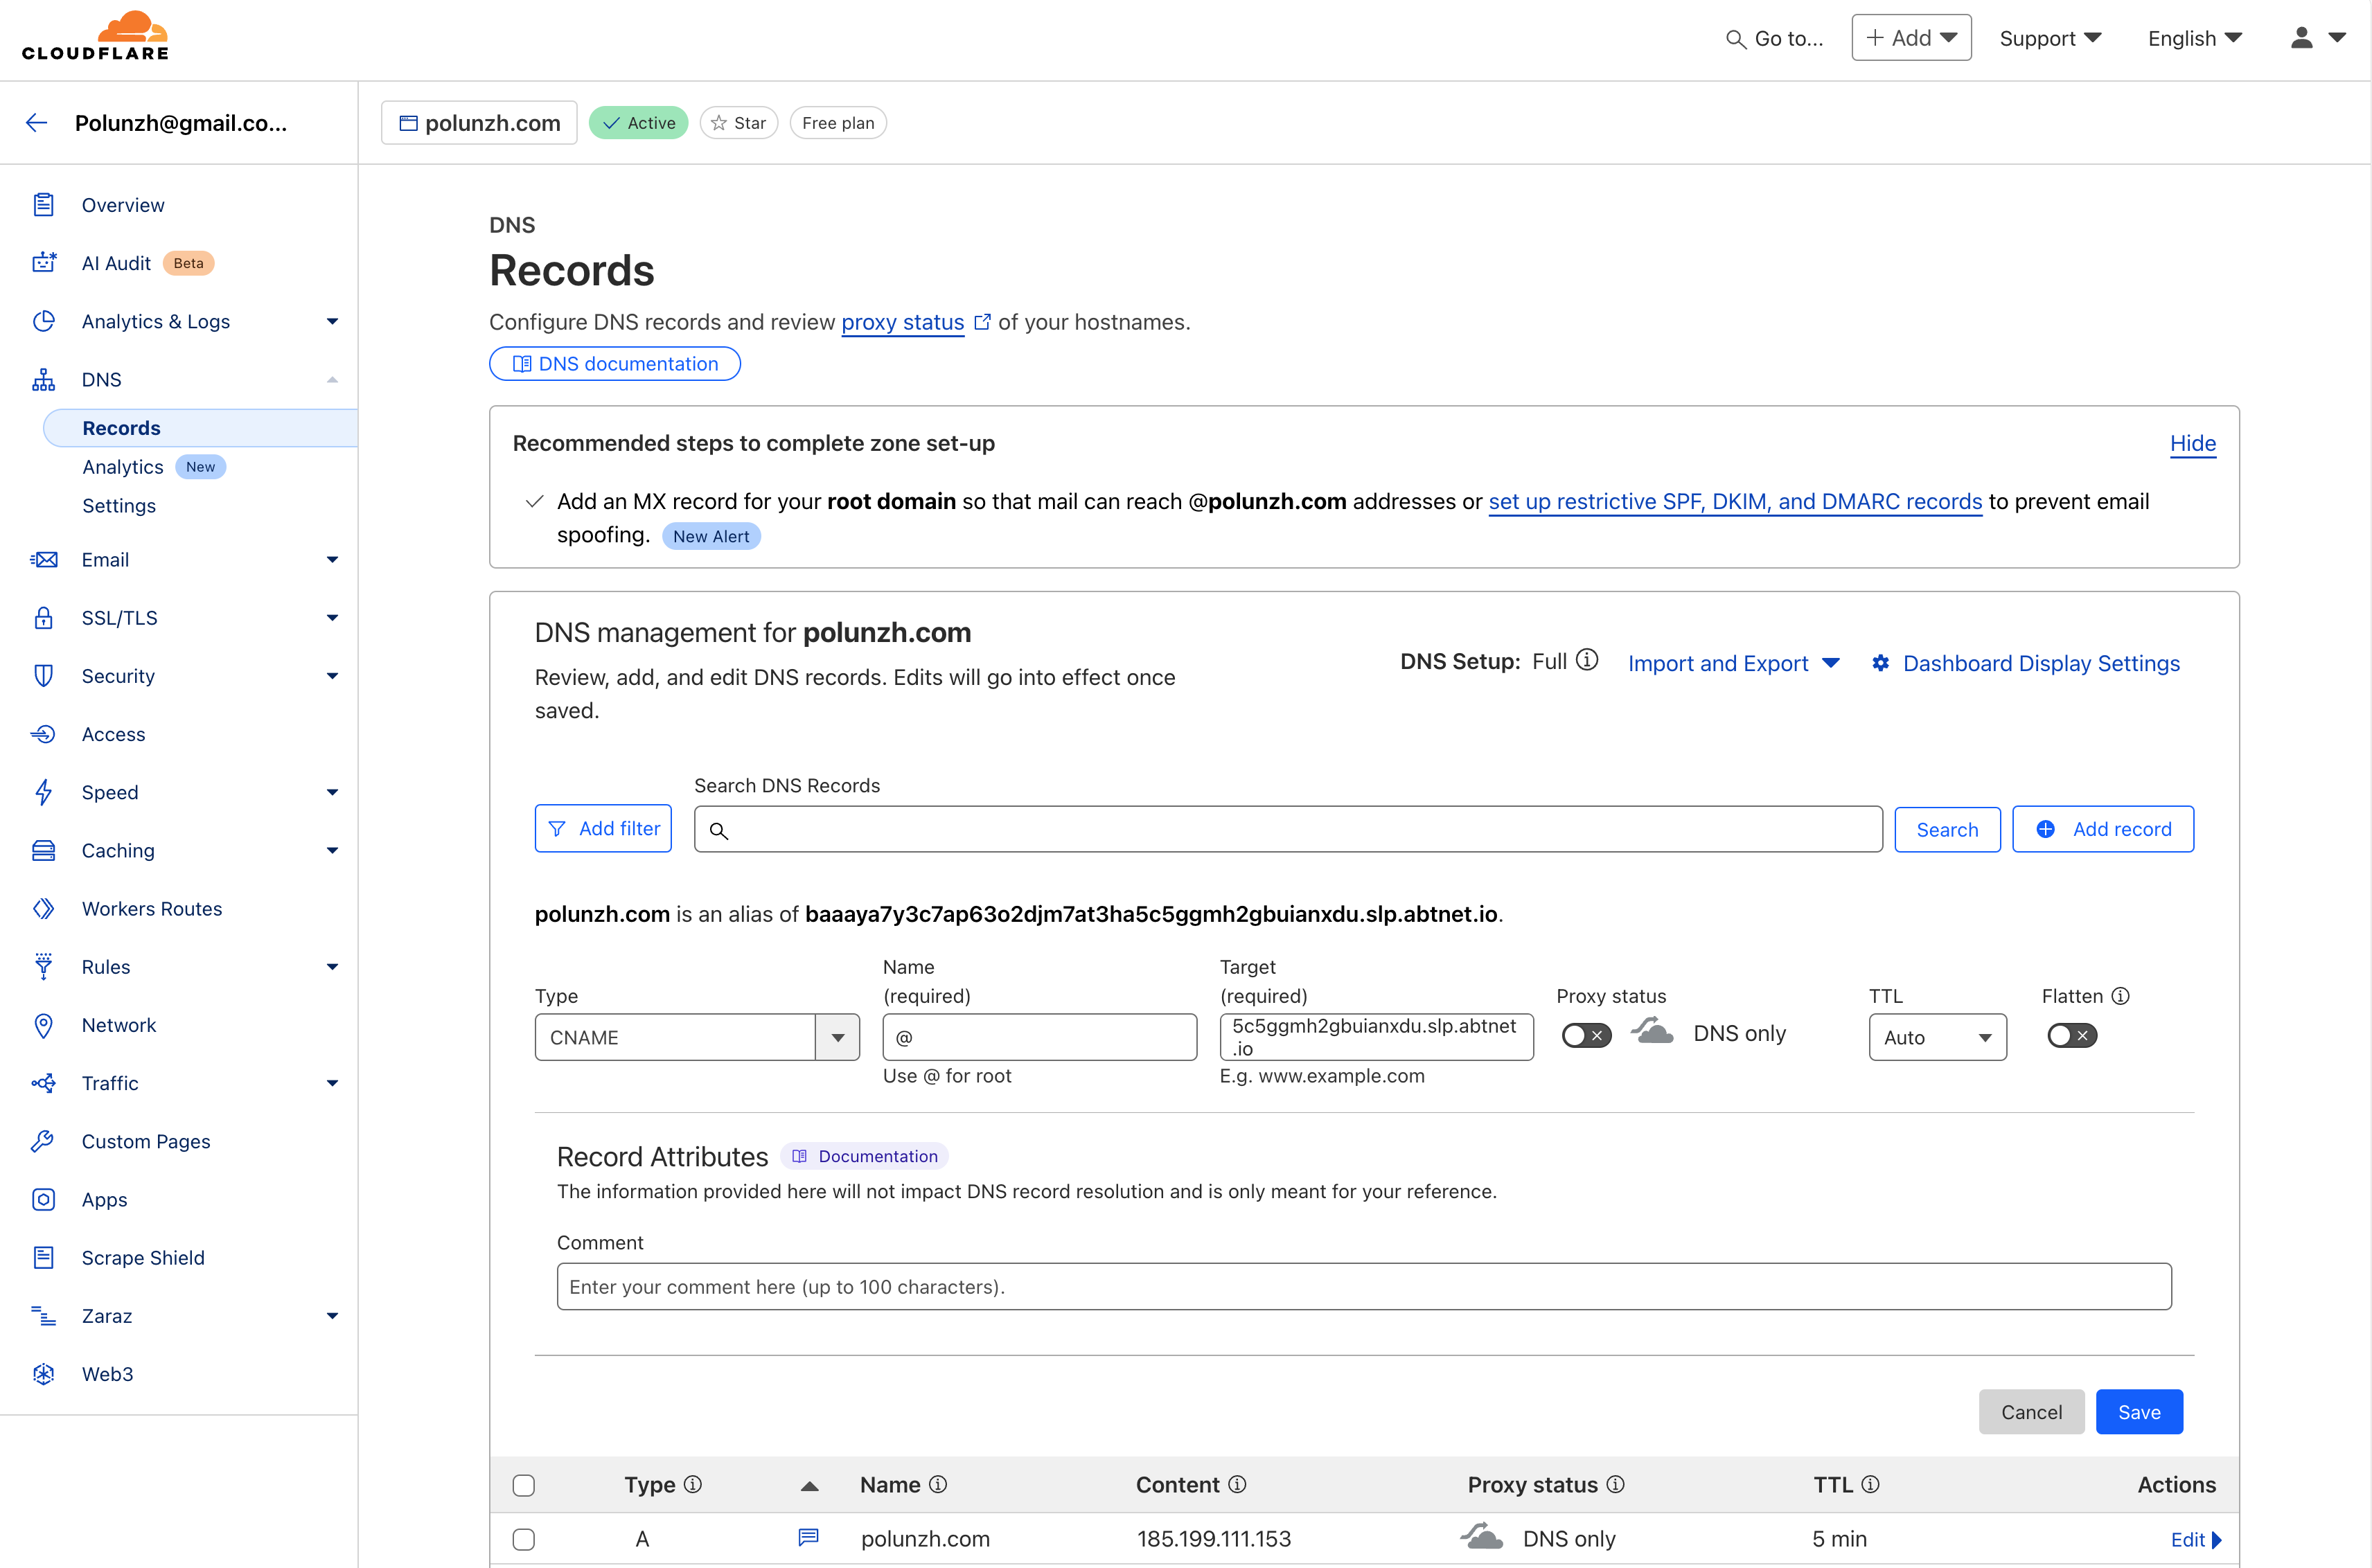
- Access the Cloudflare domain DNS configuration page and click the "Add Record" button.
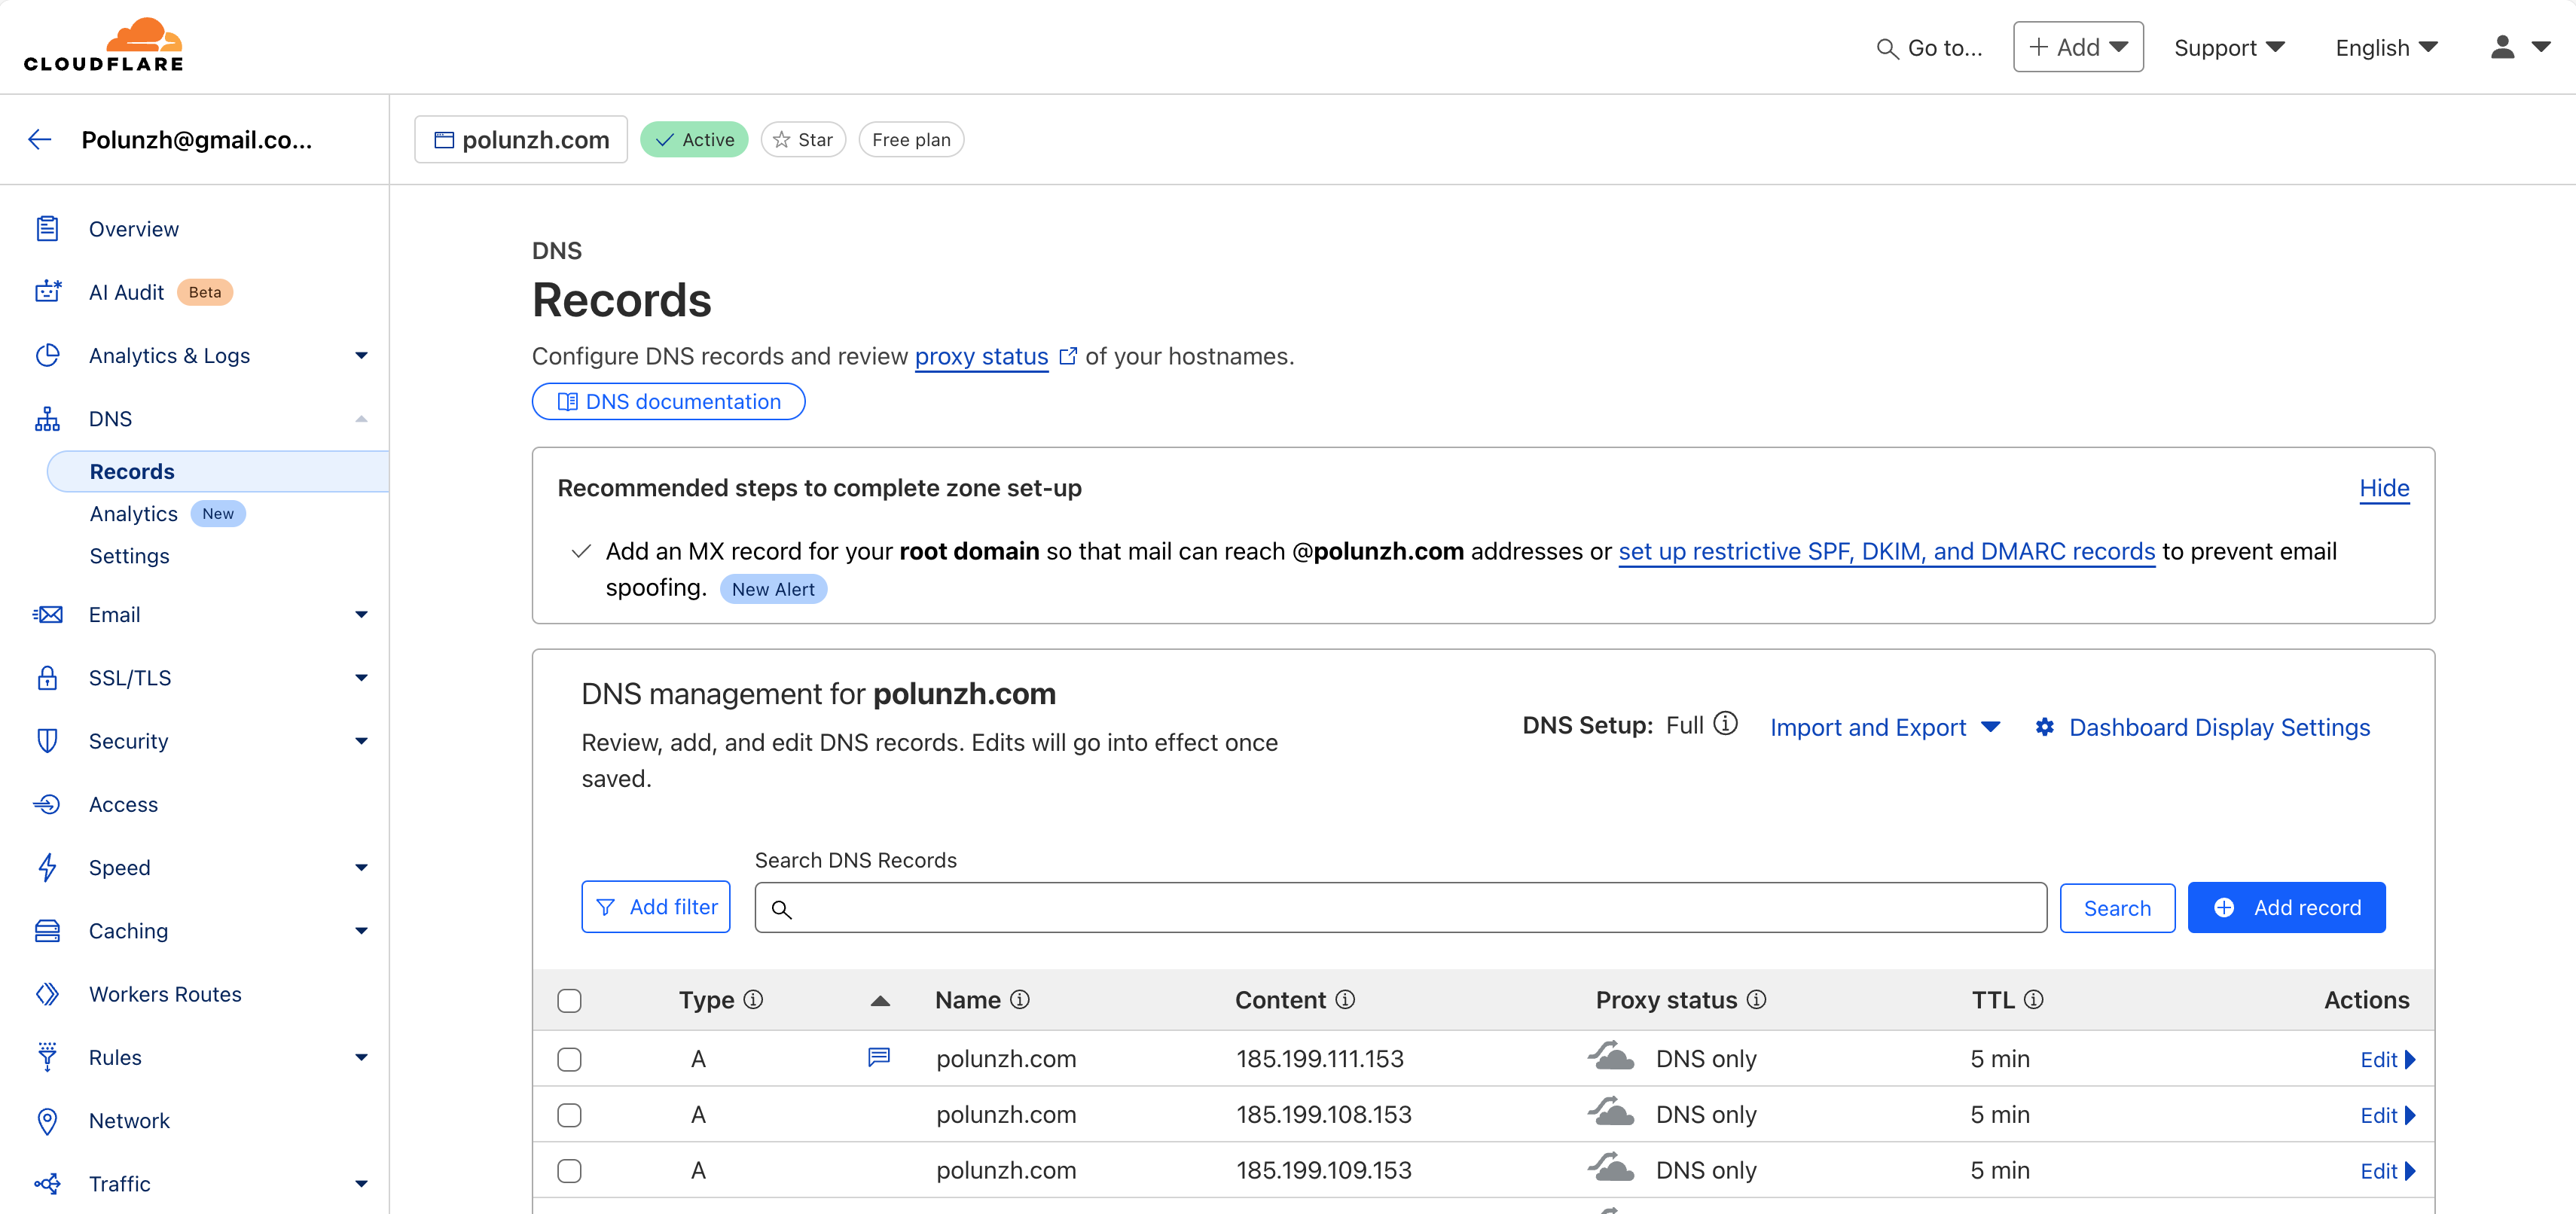
- Add a CNAME record with the value being the DID copied in step 2 (It is recommended to temporarily disable the proxy in Cloudflare).
- DNS records take time to propagate, which can range from a few minutes to several minutes. You can use Google Admin Tools to check if it has already taken effect.

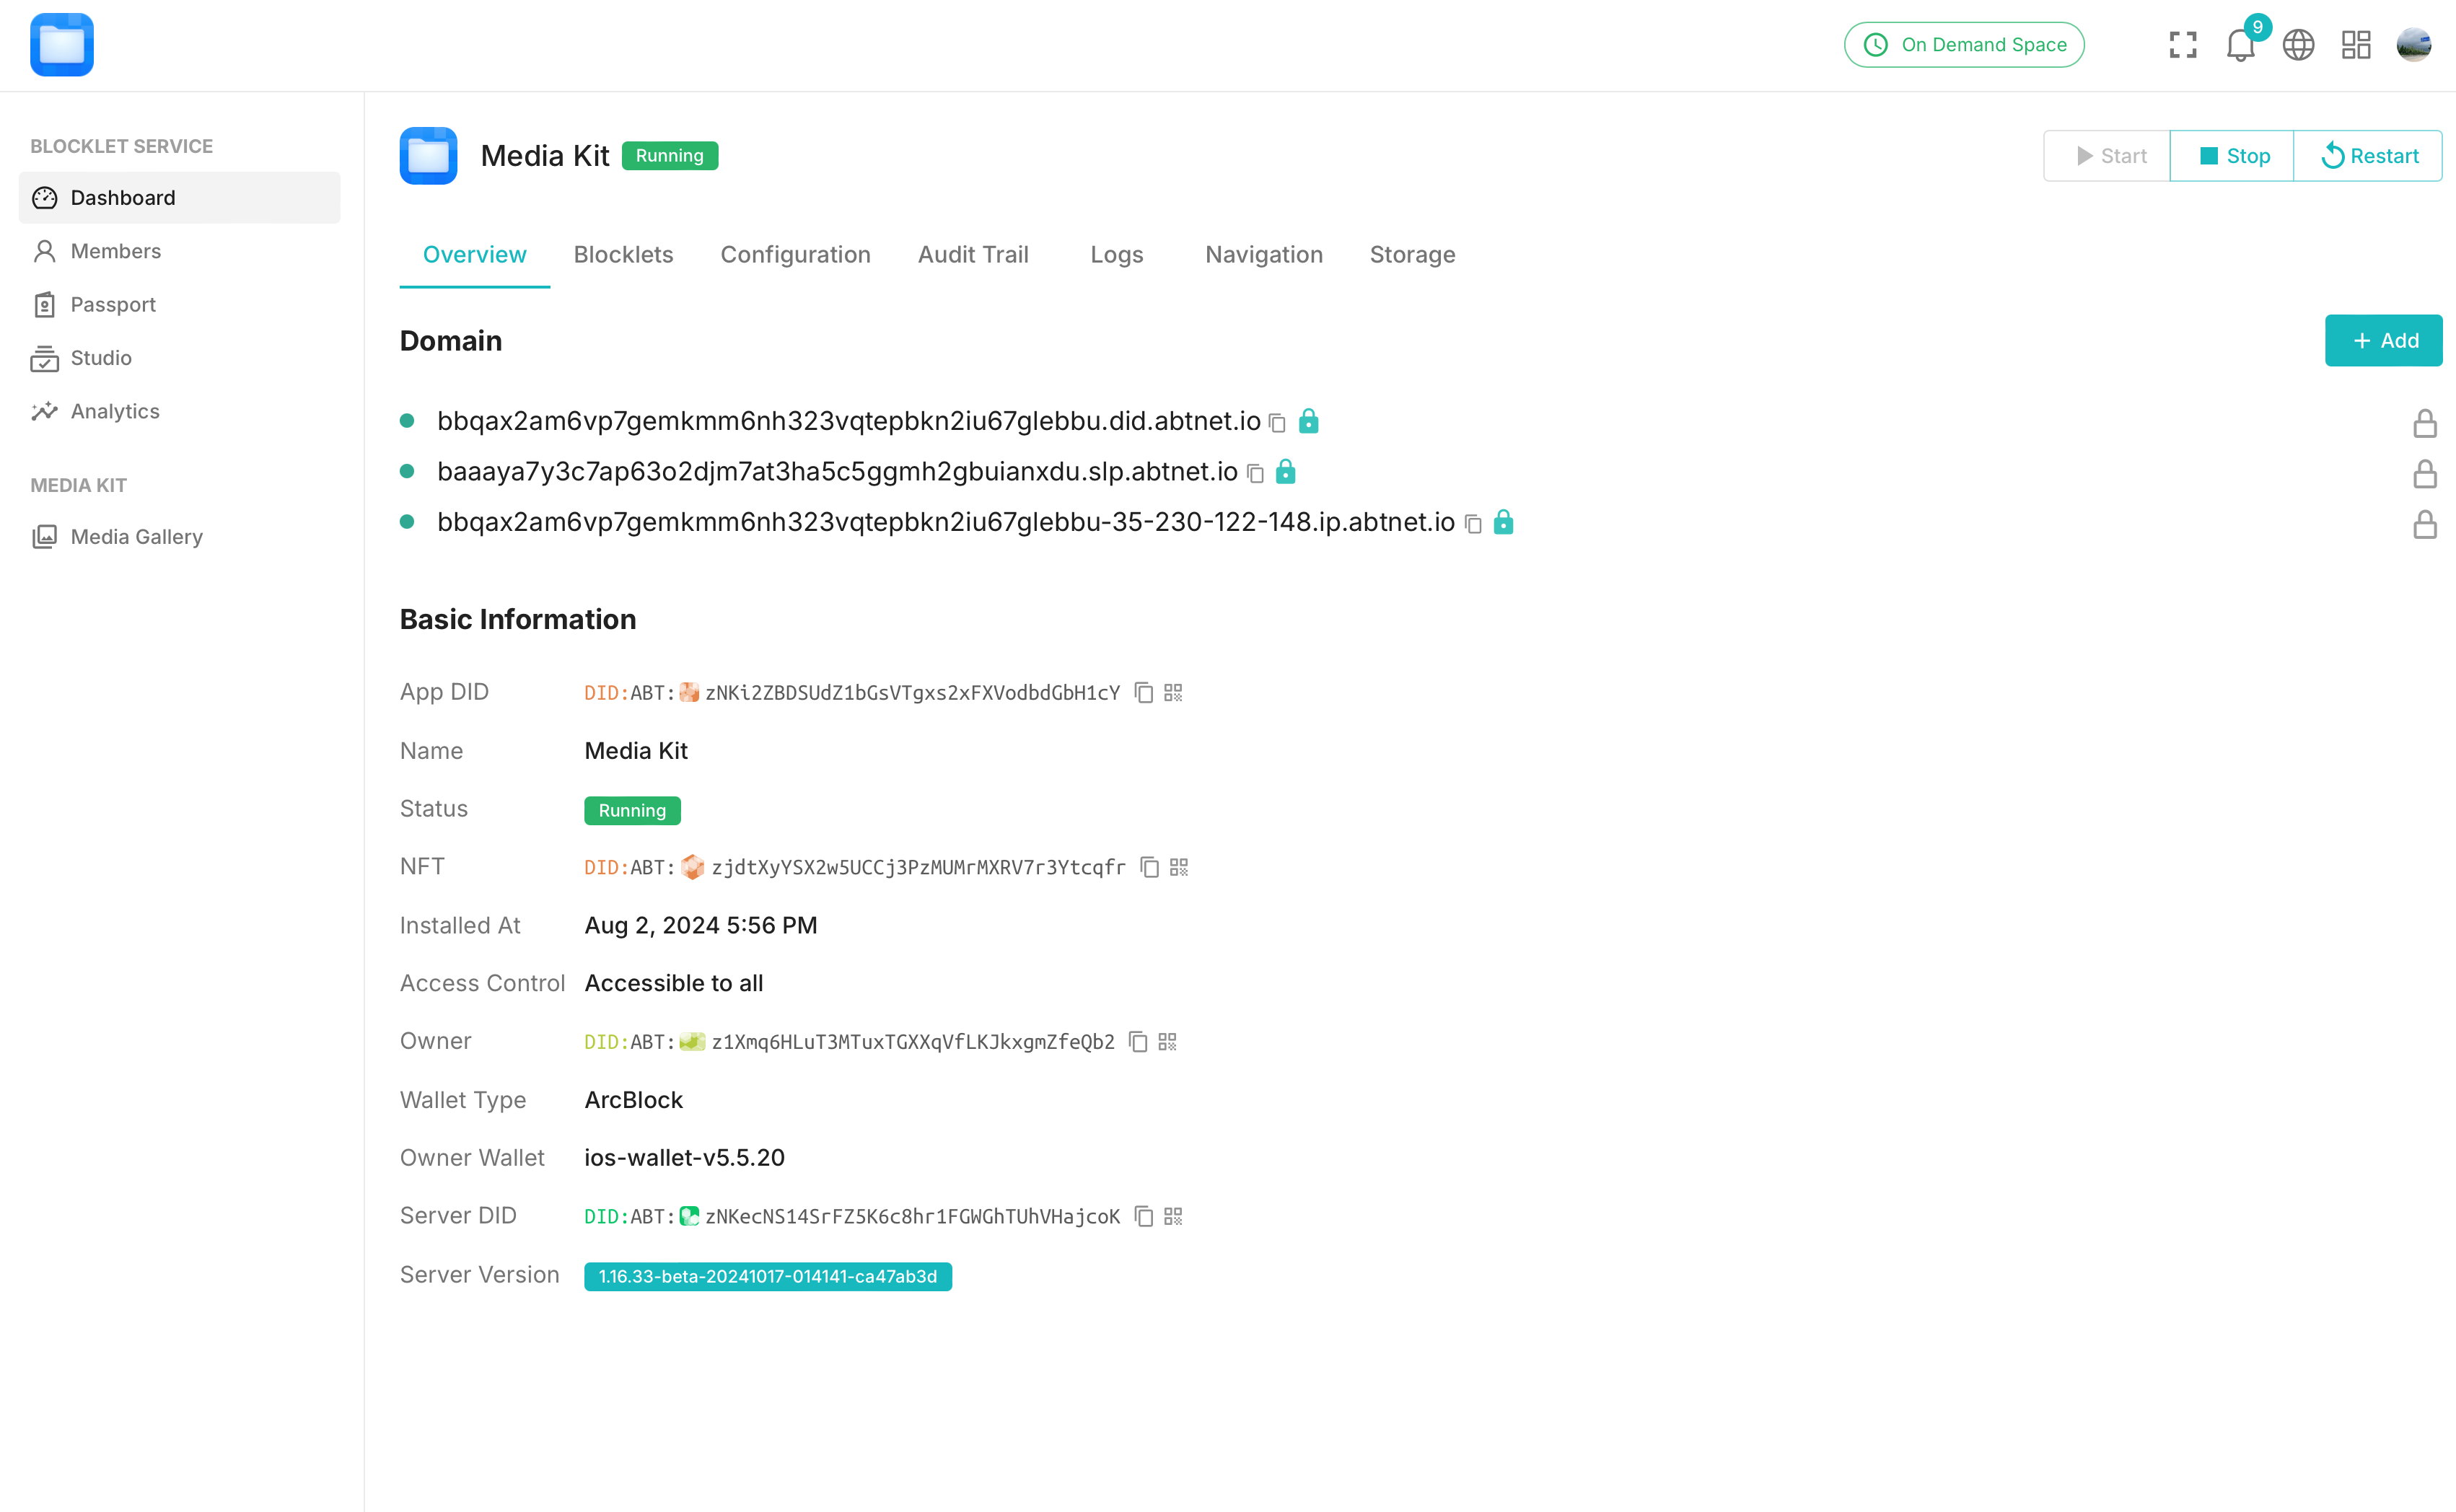
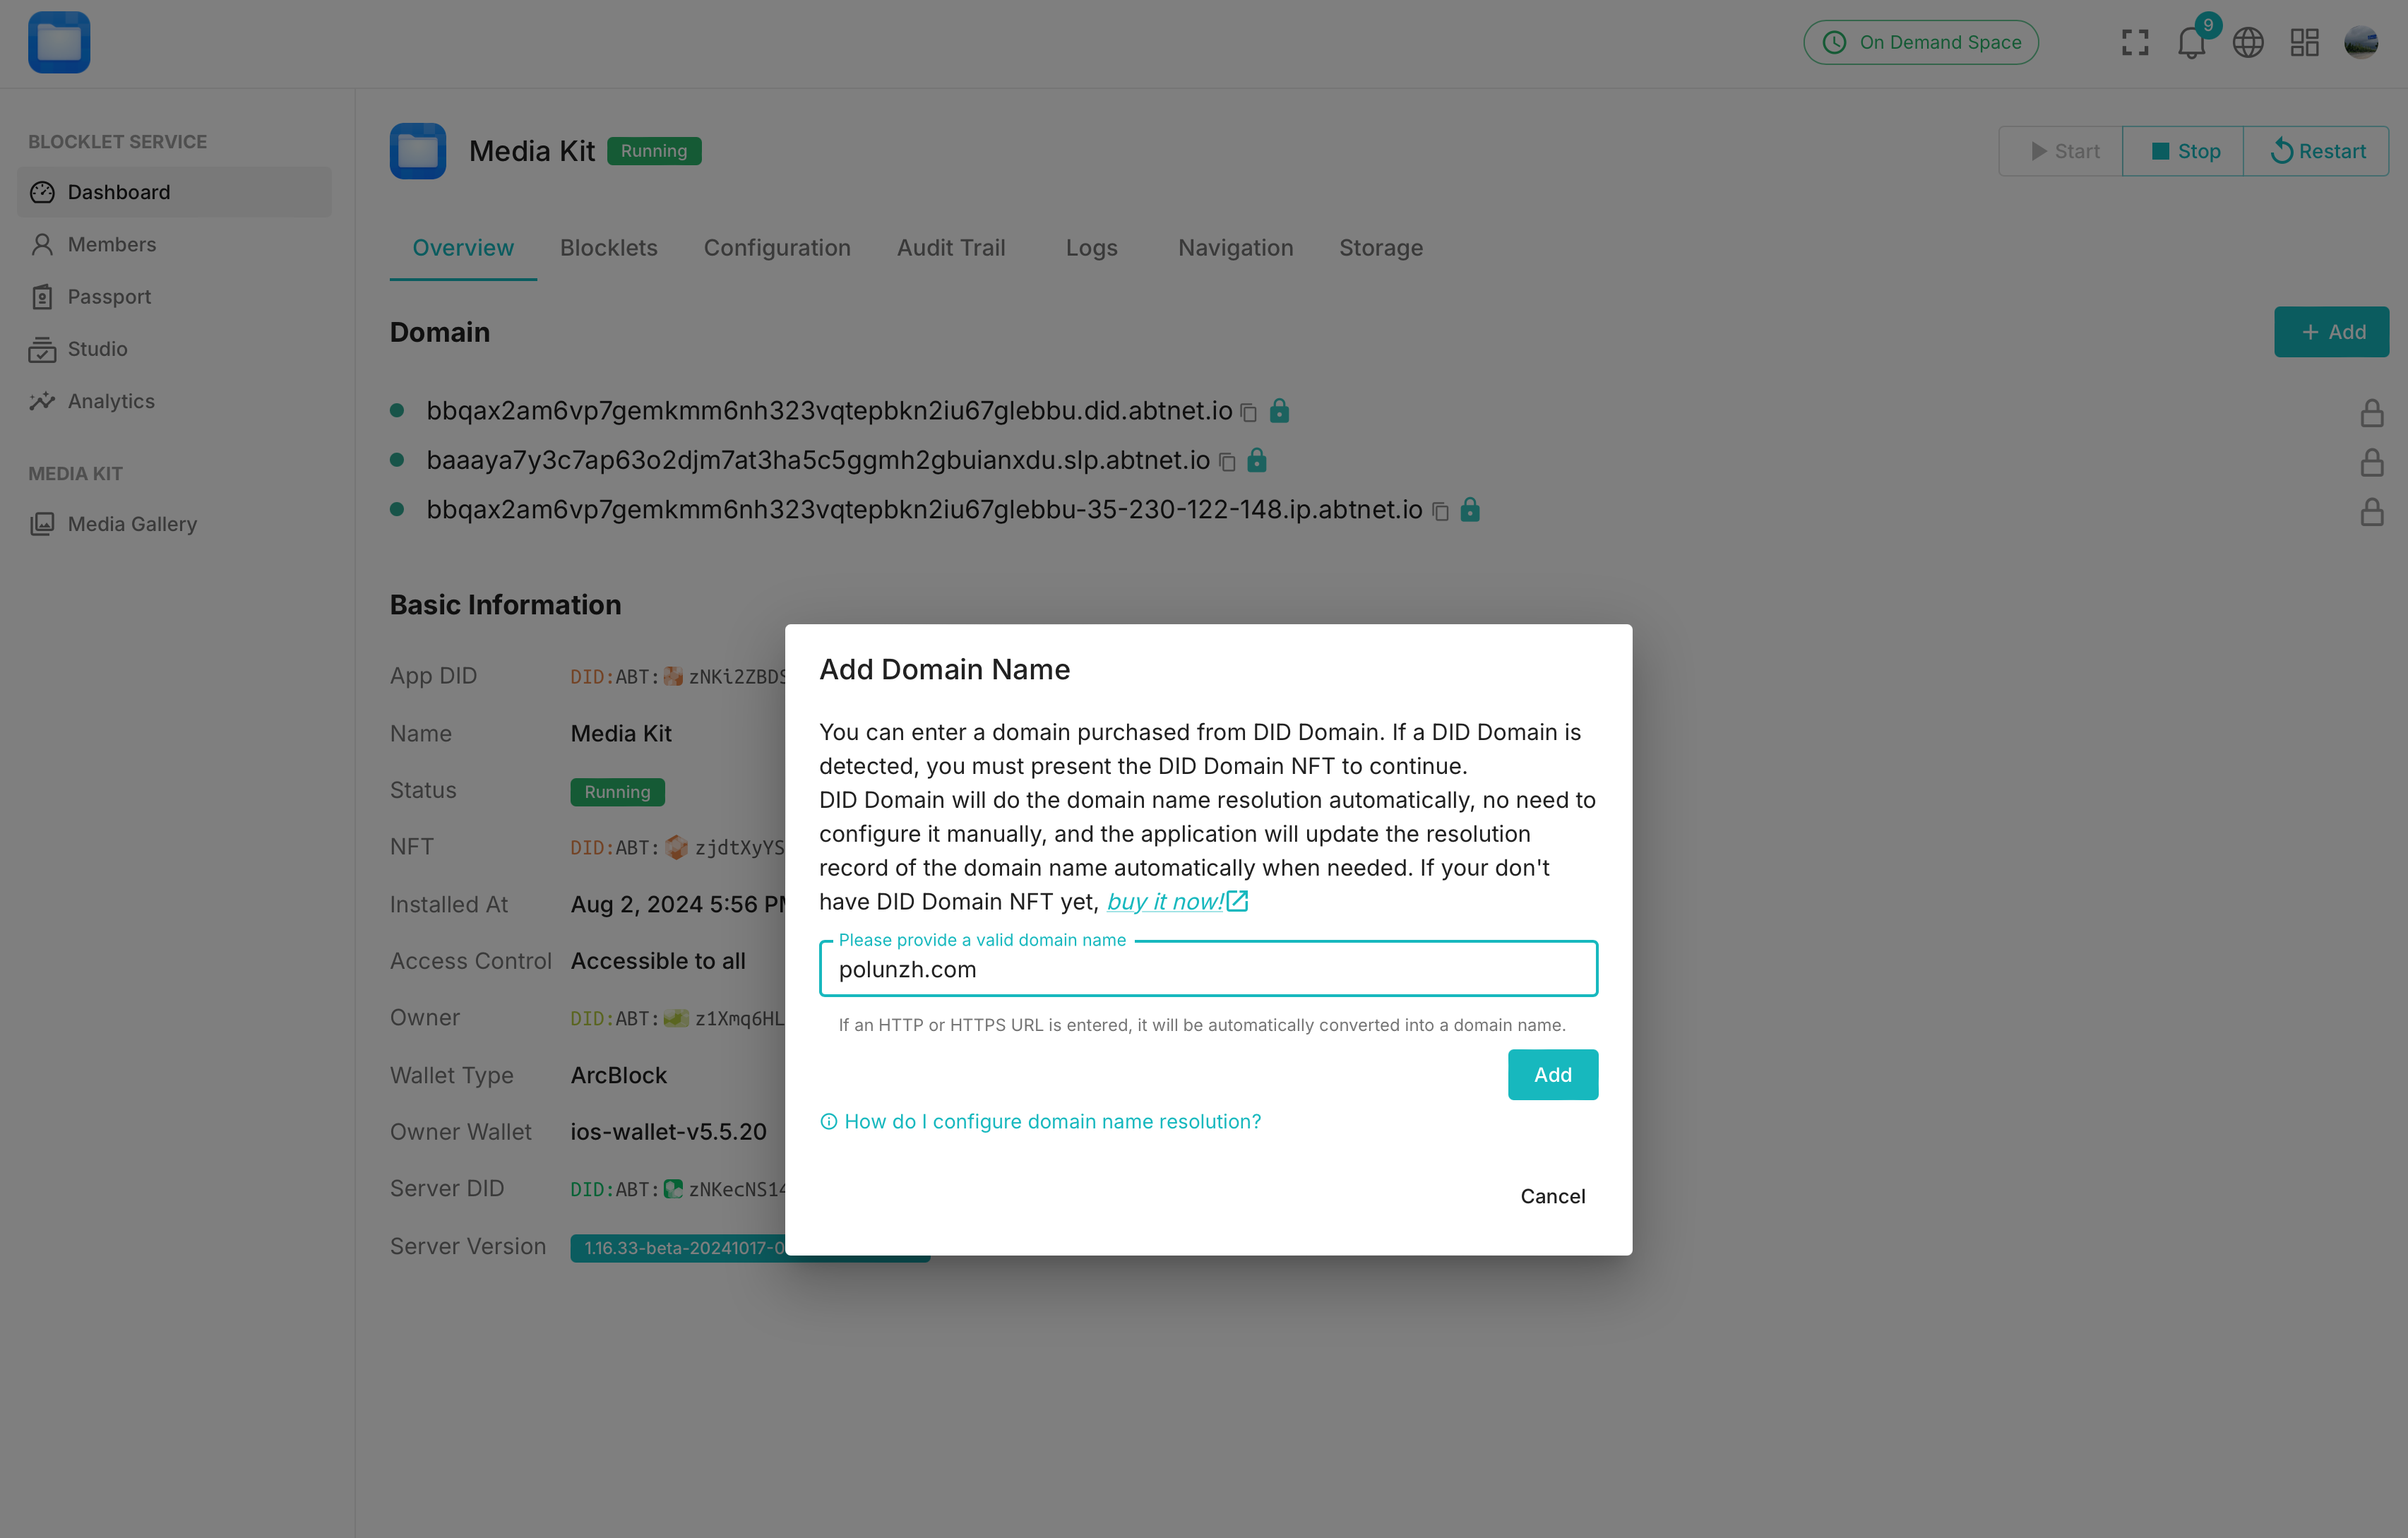
- After DNS takes effect, enter the Blocklet's
Dashboard -> Overviewpage again and add the domain name.

- After adding a domain name, the Blocklet Server will automatically generate an HTTPS certificate for that domain. Wait for the certificate to be successfully generated. If the domain is successfully created, there will be a "lock" icon next to it.

- Optional: If the automatic generation of the certificate was not successful for some reason, you can click the "Generate Let's Encrypt Certificate" button to retry.