AFS System FS
This guide demonstrates how to build a chatbot capable of interacting with your local file system. By following these steps, you will create an agent that can list, read, write, and search files on your machine using the AIGNE File System (AFS) and the SystemFS module.
Overview#
This example showcases the integration of a local file system with an AI agent through the AIGNE Framework. The SystemFS module acts as a bridge, mounting a specified local directory into the AIGNE File System (AFS). This allows the AI agent to perform file operations using a standardized set of tools, enabling it to answer questions and complete tasks based on the contents of your local files.
The following diagram illustrates how the SystemFS module connects the local file system to the AI agent:

Prerequisites#
Before proceeding, ensure your development environment meets the following requirements:
- Node.js: Version 20.0 or higher.
- npm: Included with Node.js.
- OpenAI API Key: Required for connecting to the language model. You can obtain one from the OpenAI API keys page.
Quick Start#
You can run this example directly without a local installation using npx.
Run the Example#
Execute the following commands in your terminal to mount a directory and interact with the chatbot.
Mount your current directory and start an interactive chat session:
Install aigne deps
npx -y @aigne/example-afs-system-fs --path . --chatMount a specific directory, such as your Documents folder:
Install aigne deps
npx -y @aigne/example-afs-system-fs --path ~/Documents --mount /docs --description "My Documents" --chatAsk a one-off question without entering interactive mode:
Install aigne deps
npx -y @aigne/example-afs-system-fs --path . --input "What files are in the current directory?"Connect to an AI Model#
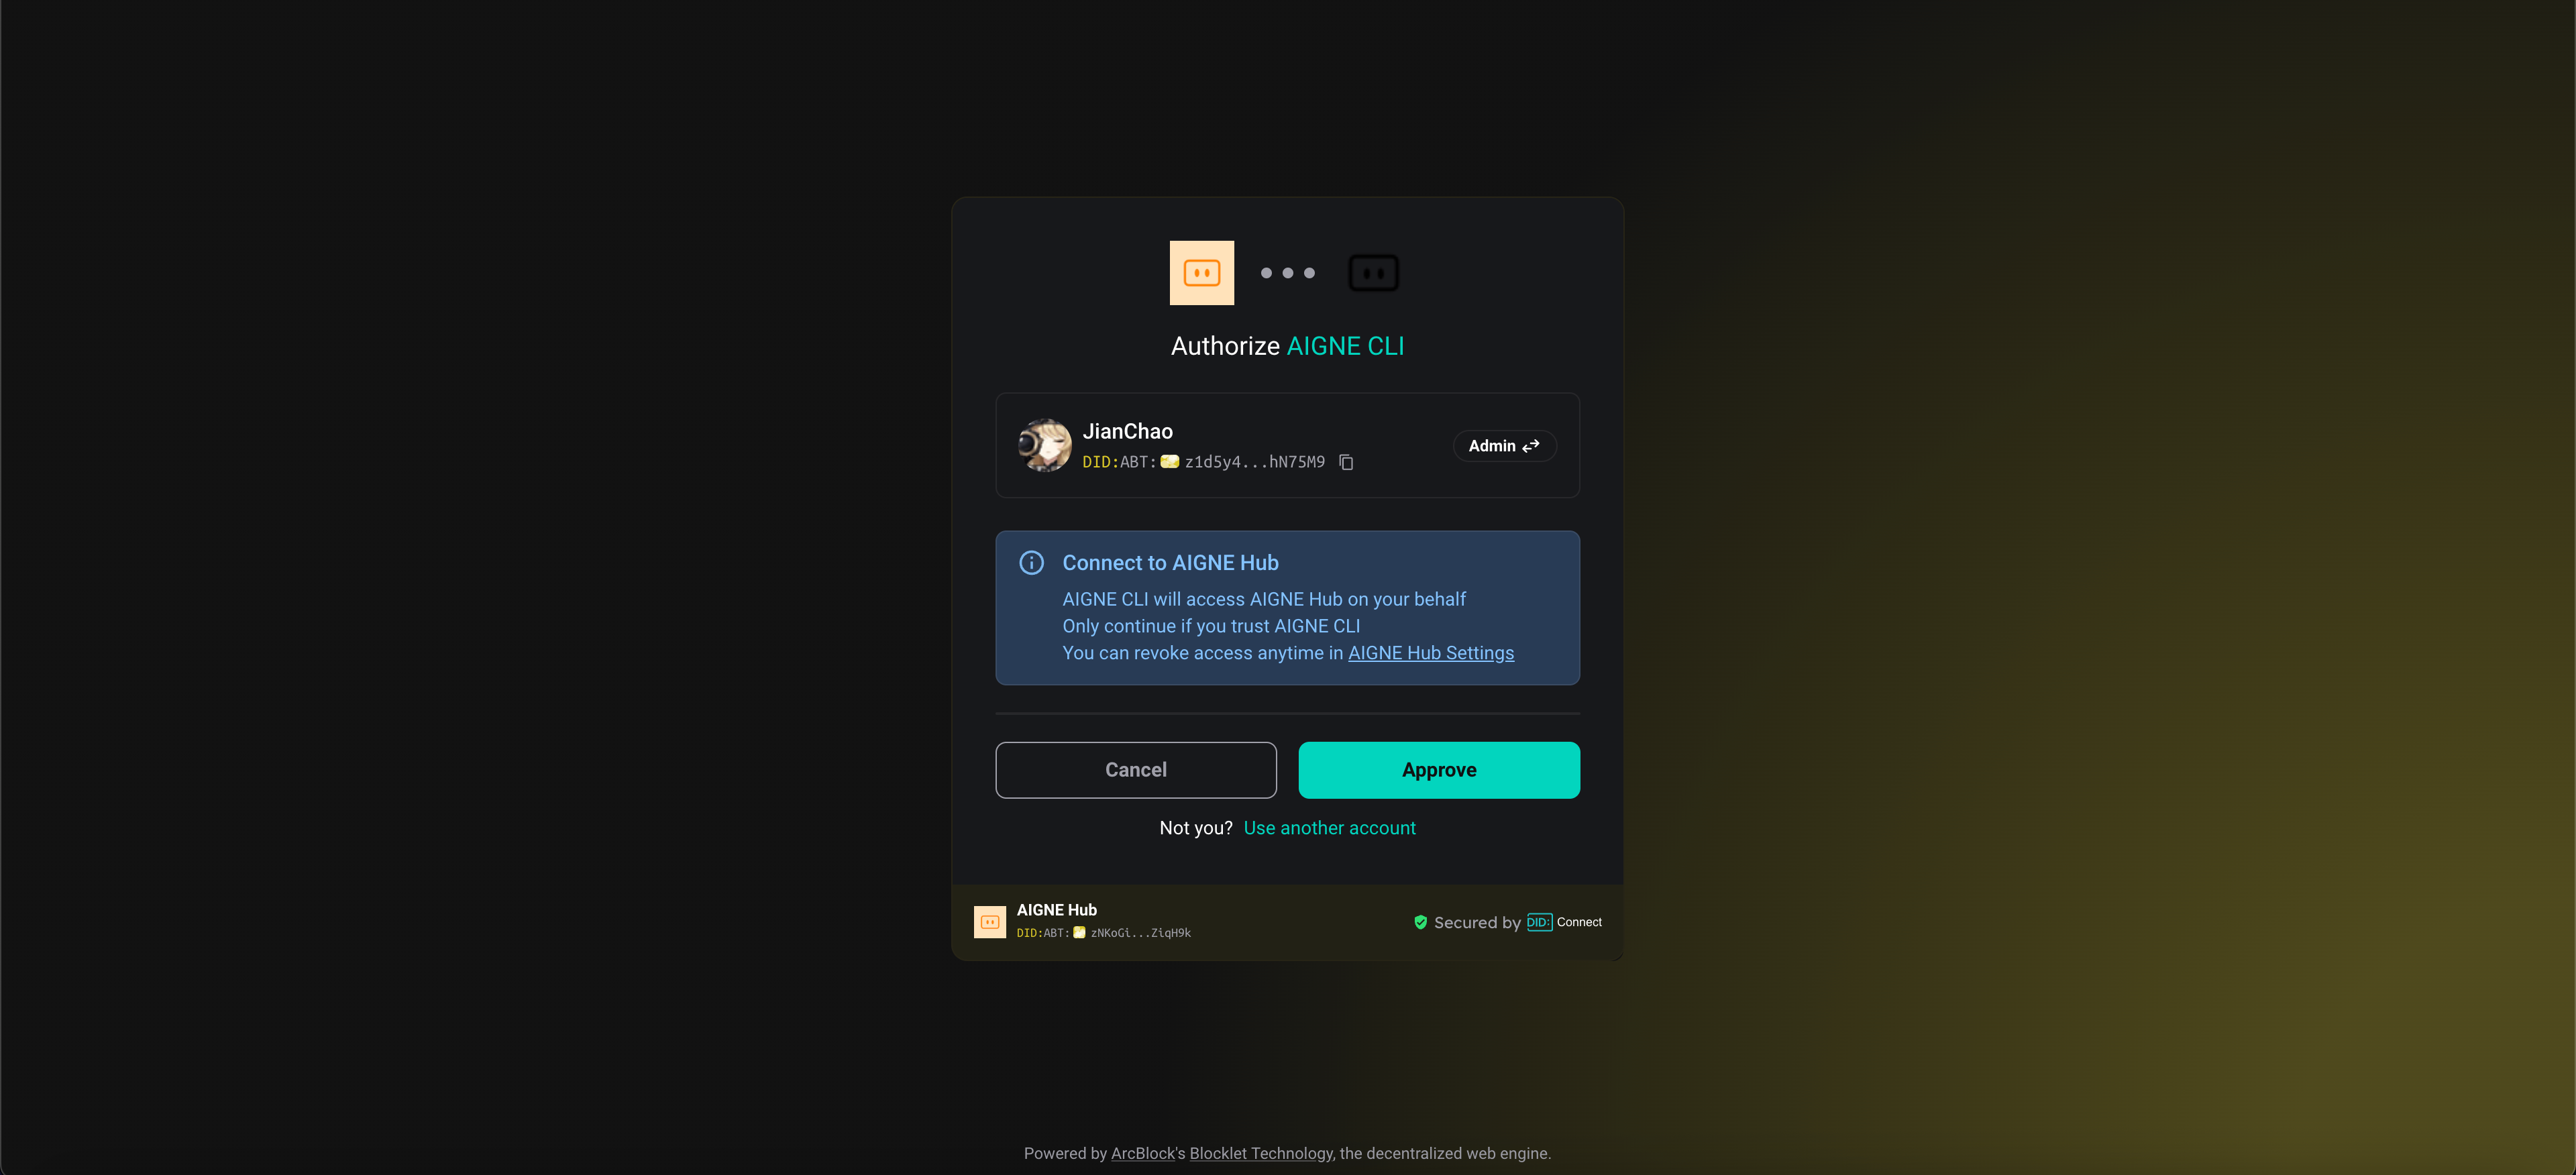
The first time you run the example, the CLI will prompt you to connect to an AI model, as no API keys have been configured.

You have three options to proceed:
- Connect to the official AIGNE Hub This is the recommended option for new users. Your browser will open the AIGNE Hub, where you can authorize the connection. New users receive a complimentary token grant to get started immediately.
- Connect via a self-hosted AIGNE Hub If you have a self-hosted AIGNE Hub instance, select this option and enter its URL to complete the connection. You can deploy your own AIGNE Hub from the Blocklet Store.

- Connect via a third-party model provider You can configure an API key from a provider like OpenAI directly. Set the appropriate environment variable in your terminal, then run the example again.
Set OpenAI API Key
export OPENAI_API_KEY="YOUR_OPENAI_API_KEY"
For configurations with other providers such as DeepSeek or Google Gemini, refer to the.env.local.examplefile in the project source.
Debugging with AIGNE Observe#
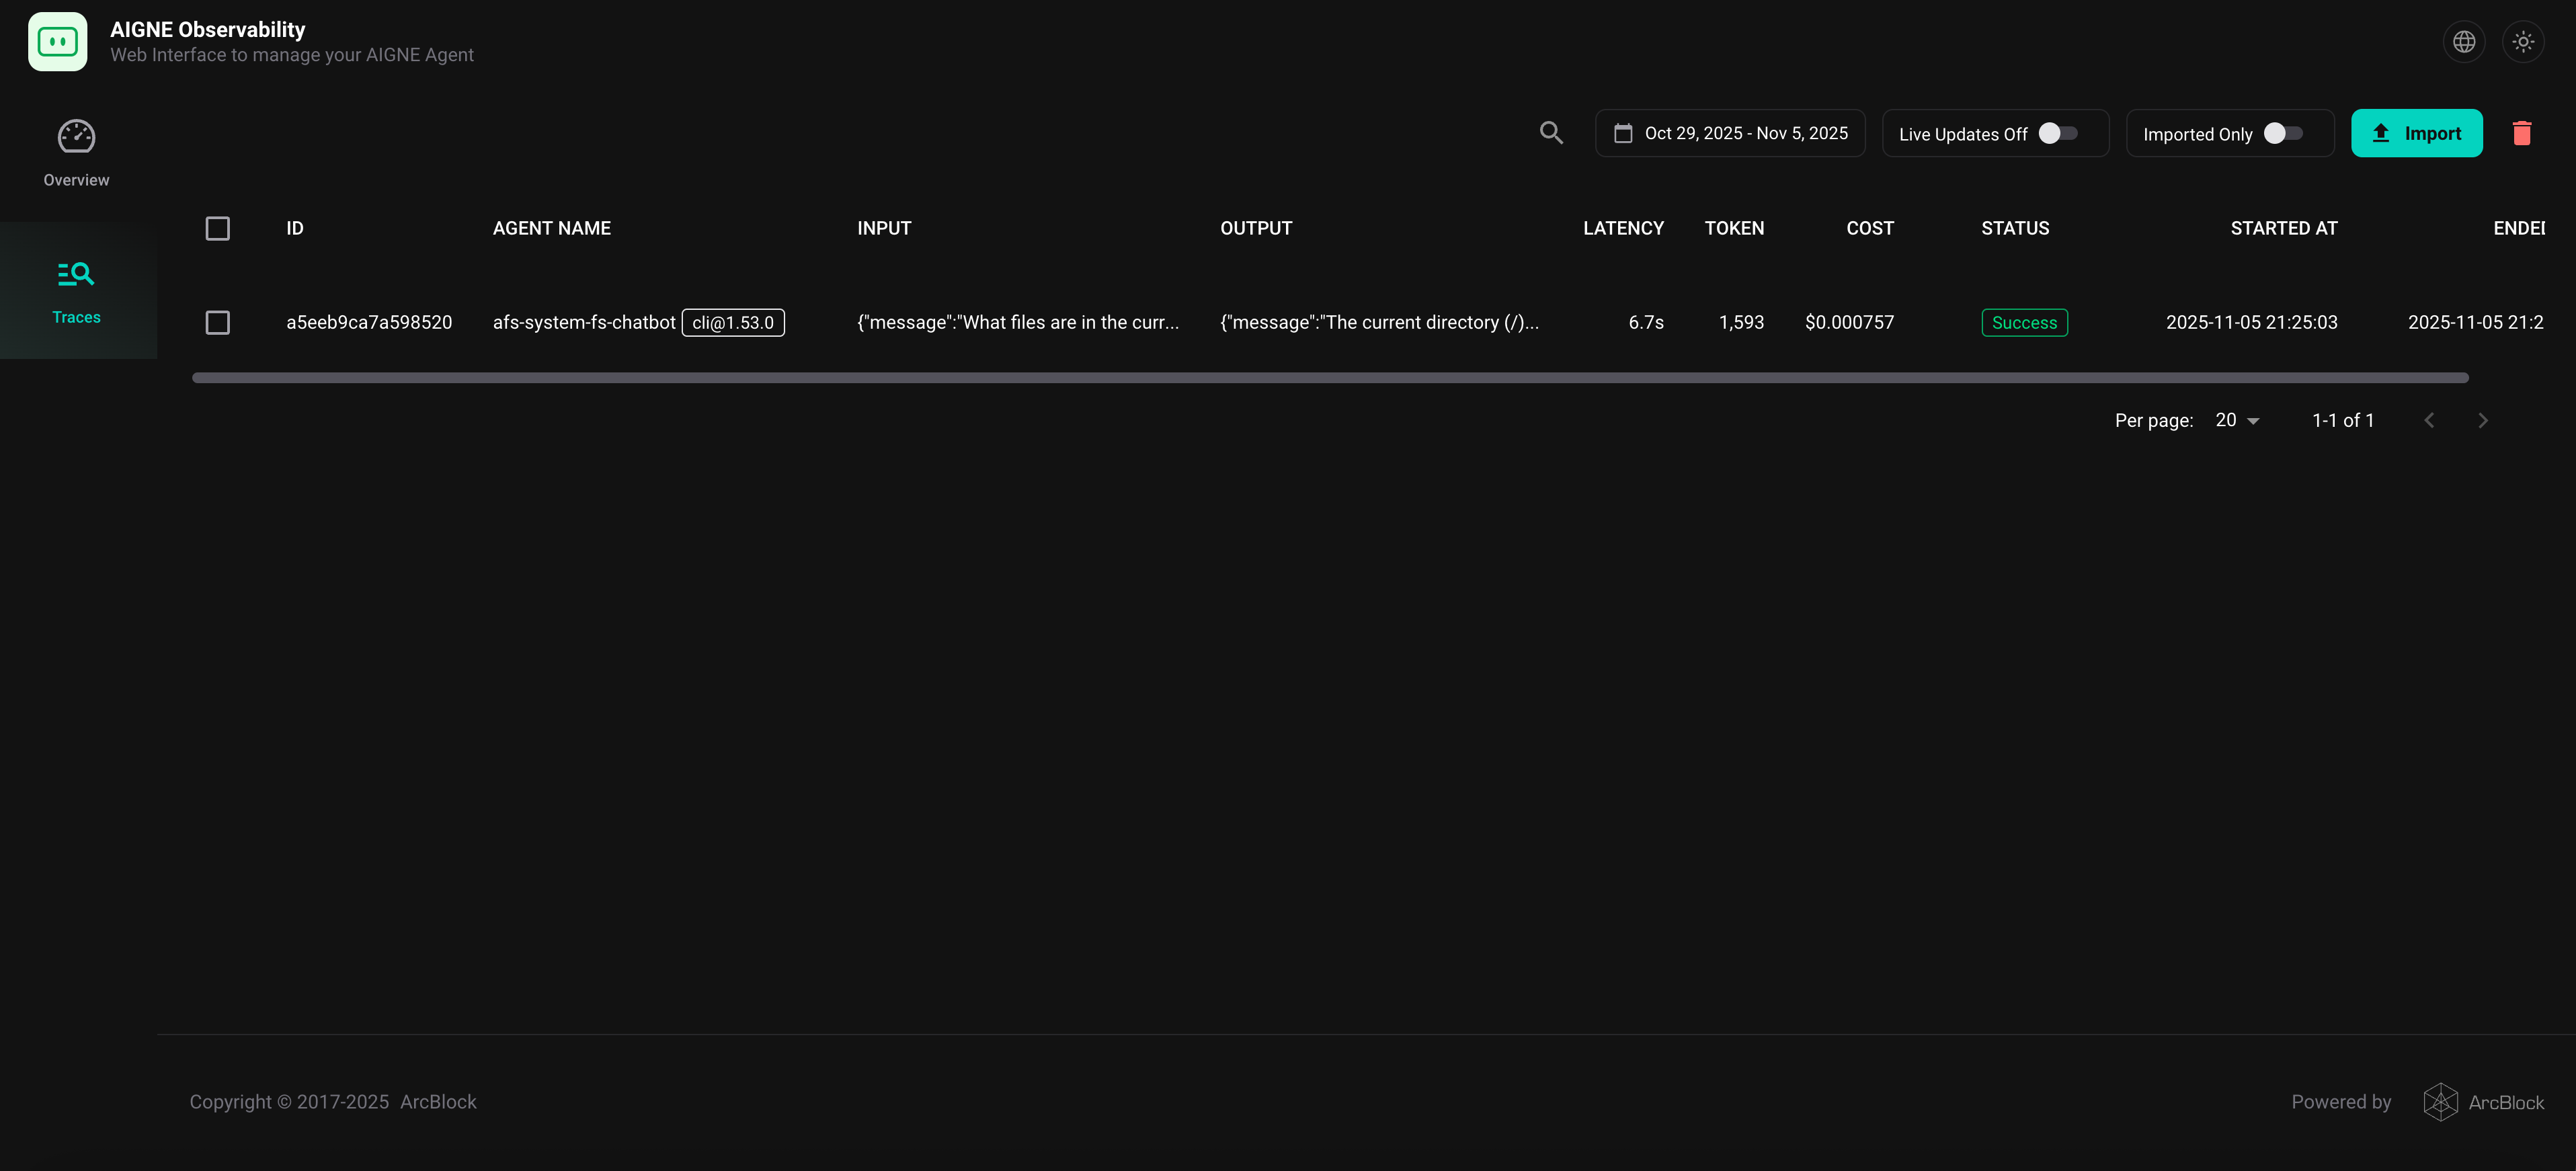
To monitor and analyze the agent's behavior, use the aigne observe command. This launches a local web server that provides a detailed view of execution traces, tool calls, and model interactions, which is invaluable for debugging and performance tuning.
First, start the observation server:
Start Observe Server
aigne observeThe terminal will confirm that the server is running and provide a local URL.

After running your agent, you can view a list of recent executions in the web interface.
Local Installation#
For development purposes, you can clone the repository and run the example locally.
- Clone the Repository
Clone Repository
git clone https://github.com/AIGNE-io/aigne-framework - Install Dependencies Navigate to the example directory and install the necessary packages using pnpm.
Install Dependencies
cd aigne-framework/examples/afs-system-fs pnpm install - Run the Example Use the
pnpm startcommand with the desired flags.
Run with your current directory:Run with Current Directory
pnpm start --path .
Run in interactive chat mode:Run in Chat Mode
pnpm start --path . --chat
How It Works#
This example uses the SystemFS module to expose a local directory to an AI agent through the AIGNE File System (AFS). This sandboxed environment allows the agent to interact with your files using a standardized interface, ensuring safety and control.
Core Logic#
- Mounting a Directory: The
SystemFSclass is instantiated with a localpathand a virtualmountpoint within the AFS. - Agent Initialization: An
AIAgentis configured with the AFS instance, giving it access to file system tools likeafs_list,afs_read,afs_write, andafs_search. - Tool Calls: When the user asks a question (e.g., "What's the purpose of this project?"), the agent determines which AFS tool to use. It might first call
afs_listto see the directory contents, thenafs_readto inspect a relevant file likeREADME.md. - Context Building: The content retrieved from the file system is added to the agent's context.
- Response Generation: The agent uses the enriched context to formulate a comprehensive answer to the user's original question.
The following code snippet shows how a local directory is mounted into the AFS and provided to an AIAgent.
index.ts
import { AFS } from "@aigne/afs";
import { SystemFS } from "@aigne/afs-system-fs";
import { AIAgent } from "@aigne/core";

AIAgent.from({
  // ... other configurations
  afs: new AFS().use(
    new SystemFS({ mount: '/source', path: '/PATH/TO/YOUR/PROJECT', description: 'Codebase of the project' }),
  ),
  afsConfig: {
    injectHistory: true,
  },
});
Key Features of SystemFS#
- File Operations: Standard list, read, write, and search capabilities.
- Recursive Traversal: Navigate nested directories with depth control.
- Fast Content Search: Leverages
ripgrepfor high-performance text search. - Metadata Access: Provides file details like size, type, and timestamps.
- Path Safety: Restricts file access to only the mounted directories.
Example Usage#
Once the chatbot is running, you can issue natural language commands to interact with your files.
Basic Commands#
Try these commands to perform simple file operations.
List all files in the mounted directory:
List Files
npx -y @aigne/example-afs-system-fs --path . --input "List all files in the root directory"Read the contents of a specific file:
Read a File
npx -y @aigne/example-afs-system-fs --path . --input "Read the contents of package.json"Search for content across all files:
Search Content
npx -y @aigne/example-afs-system-fs --path . --input "Find all files containing the word 'example'"Interactive Chat Prompts#
Start an interactive session for a more conversational experience:
Start Interactive Mode
npx -y @aigne/example-afs-system-fs --path . --chatOnce in chat mode, try asking the following:
- "What files are in this directory?"
- "Show me the contents of the README file."
- "Find all TypeScript files."
- "Search for functions in the codebase."
- "Create a new file called
notes.txtwith some content." - "List all files recursively with a depth limit of 2."
Summary#
This example provides a practical demonstration of how to extend an AI agent's capabilities to include local file system interactions. By using the SystemFS module, you can create powerful chatbots that automate tasks, retrieve information, and organize files based on natural language commands.
For more advanced examples and workflows, you can explore other documentation sections.