Executing tasks in parallel can significantly improve the efficiency of complex workflows. This guide demonstrates how to build a concurrent workflow using the AIGNE Framework, where multiple agents process the same input simultaneously, and their outputs are aggregated. You will learn how to set up and run a practical example that analyzes a product from different perspectives at the same time.
Overview
In this example, we will construct a workflow that takes a product description as input. Two specialized agents will then work in parallel:
Feature Extractor
Analyzes the description to identify and summarize key product features.
Audience Analyzer
Analyzes the same description to determine the target audience.
Finally, an Aggregator combines the outputs from both agents into a single, consolidated result. This parallel processing model is ideal for tasks that can be broken down into independent sub-tasks, reducing the total execution time.
The diagram below illustrates this concurrent workflow:
direction: down

Input: {
  label: "Product Description"
  shape: oval
}

Parallel-Processing: {
  label: "Parallel Processing"
  style.stroke-dash: 2

  Feature-Extractor: {
    label: "Feature Extractor\n(Agent 1)"
  }

  Audience-Analyzer: {
    label: "Audience Analyzer\n(Agent 2)"
  }
}

Aggregator: {
  label: "Aggregator"
}

Result: {
  label: "Consolidated Result"
  shape: oval
}

Input -> Parallel-Processing.Feature-Extractor: "Analyzes features"
Input -> Parallel-Processing.Audience-Analyzer: "Analyzes audience"
Parallel-Processing.Feature-Extractor -> Aggregator: "Feature summary"
Parallel-Processing.Audience-Analyzer -> Aggregator: "Audience profile"
Aggregator -> Result
Prerequisites
Before proceeding, ensure your development environment meets the following requirements:
- Node.js: Version 20.0 or higher.
- npm: Included with Node.js.
- OpenAI API Key: Required for connecting to OpenAI models. You can obtain one from the OpenAI Platform.
Quick Start
You can run this example directly without any installation using npx.
Run the Example
Execute the following commands in your terminal to run the workflow in different modes.
- One-Shot Mode (Default): Processes a single, predefined input and exits.
bash npx -y @aigne/example-workflow-concurrency - Interactive Chat Mode: Starts a chat session where you can provide multiple inputs.
bash npx -y @aigne/example-workflow-concurrency --interactive - Pipeline Mode: Uses input piped from another command.
bash echo "Analyze product: Smart home assistant with voice control and AI learning capabilities" | npx -y @aigne/example-workflow-concurrency
Connect to an AI Model
The first time you run the example, you will be prompted to connect to an AI model provider, as no API keys have been configured.

You have several options to proceed:
- Connect via the official AIGNE Hub (Recommended) This is the easiest way to get started. New users receive free credits. Select the first option, and your browser will open to the AIGNE Hub authorization page. Follow the on-screen instructions to approve the connection.
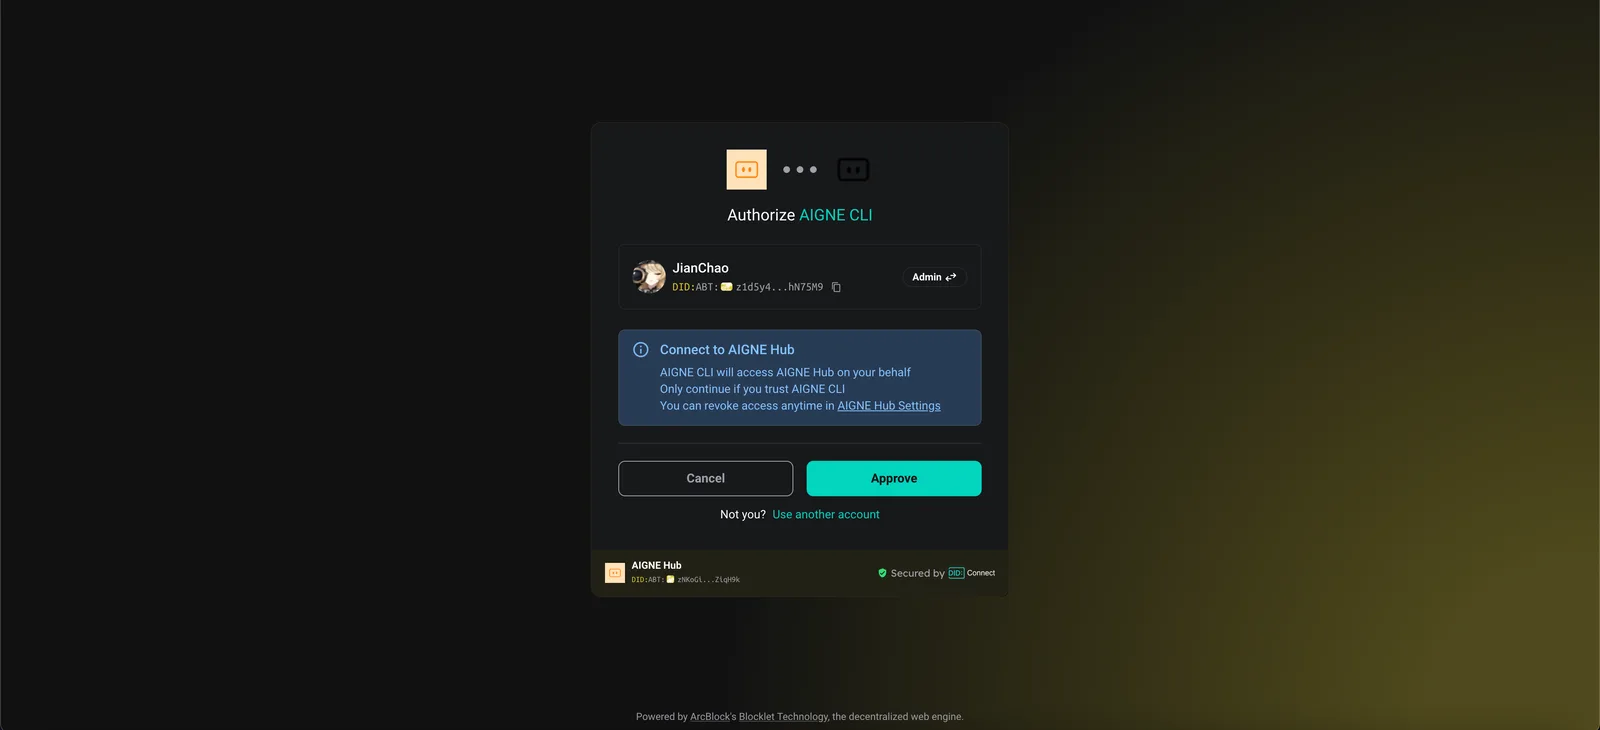
- Connect via a self-hosted AIGNE Hub If you have your own AIGNE Hub instance, choose the second option. You will be prompted to enter the URL of your self-hosted Hub to complete the connection.

- Connect via a Third-Party Model Provider You can connect directly to a provider like OpenAI by setting an environment variable with your API key. For example, to use OpenAI, export your key and re-run the command:
bash export OPENAI_API_KEY="YOUR_OPENAI_API_KEY" npx -y @aigne/example-workflow-concurrency --interactive
Installation from Source
For development or customization, you can clone the repository and run the example locally.
1. Clone the Repository
git clone https://github.com/AIGNE-io/aigne-framework2. Install Dependencies
Navigate to the example's directory and install the required packages using pnpm.
cd aigne-framework/examples/workflow-concurrency
pnpm install
3. Run the Example
Use the pnpm start command to execute the workflow. Command-line arguments must be passed after --.
- Run in one-shot mode:
bash pnpm start - Run in interactive chat mode:
bash pnpm start -- --interactive - Use pipeline input:
bash echo "Analyze product: Smart home assistant with voice control and AI learning capabilities" | pnpm start
Run Options
The application supports several command-line parameters for customization:
| Parameter | Description | Default |
|---|---|---|
--interactive | Run in interactive chat mode. | Disabled (one-shot mode) |
--model <provider[:model]> | Specify the AI model to use (e.g., openai or openai:gpt-4o-mini). | openai |
--temperature <value> | Set the temperature for model generation. | Provider default |
--top-p <value> | Set the top-p sampling value. | Provider default |
--presence-penalty <value> | Set the presence penalty value. | Provider default |
--frequency-penalty <value> | Set the frequency penalty value. | Provider default |
--log-level <level> | Set the logging level (ERROR, WARN, INFO, DEBUG, TRACE). | INFO |
--input, -i <input> | Specify input directly via the command line. | None |
Code Example
The following TypeScript code demonstrates how to define and orchestrate the concurrent workflow using TeamAgent with ProcessMode.parallel.
concurrency-workflow.ts
import { AIAgent, AIGNE, ProcessMode, TeamAgent } from "@aigne/core";
import { OpenAIChatModel } from "@aigne/core/models/openai-chat-model.js";

const { OPENAI_API_KEY } = process.env;

// Initialize the AI model
const model = new OpenAIChatModel({
  apiKey: OPENAI_API_KEY,
});

// Define the first agent to extract product features
const featureExtractor = AIAgent.from({
  instructions: `\
You are a product analyst. Extract and summarize the key features of the product.\n\nProduct description:\n{{product}}`,
  outputKey: "features",
});

// Define the second agent to analyze the target audience
const audienceAnalyzer = AIAgent.from({
  instructions: `\
You are a market researcher. Identify the target audience for the product.\n\nProduct description:\n{{product}}`,
  outputKey: "audience",
});

// Initialize the AIGNE instance
const aigne = new AIGNE({ model });

// Create a TeamAgent to manage the parallel workflow
const teamAgent = TeamAgent.from({
  skills: [featureExtractor, audienceAnalyzer],
  mode: ProcessMode.parallel,
});

// Invoke the team with a product description
const result = await aigne.invoke(teamAgent, {
  product: "AIGNE is a No-code Generative AI Apps Engine",
});

console.log(result);

/*
Expected Output:
{
  features: "**Product Name:** AIGNE\n\n**Product Type:** No-code Generative AI Apps Engine\n\n...",
  audience: "**Small to Medium Enterprises (SMEs)**: \n   - Businesses that may not have extensive IT resources or budget for app development but are looking to leverage AI to enhance their operations or customer engagement.\n\n...",
}
*/
Debugging
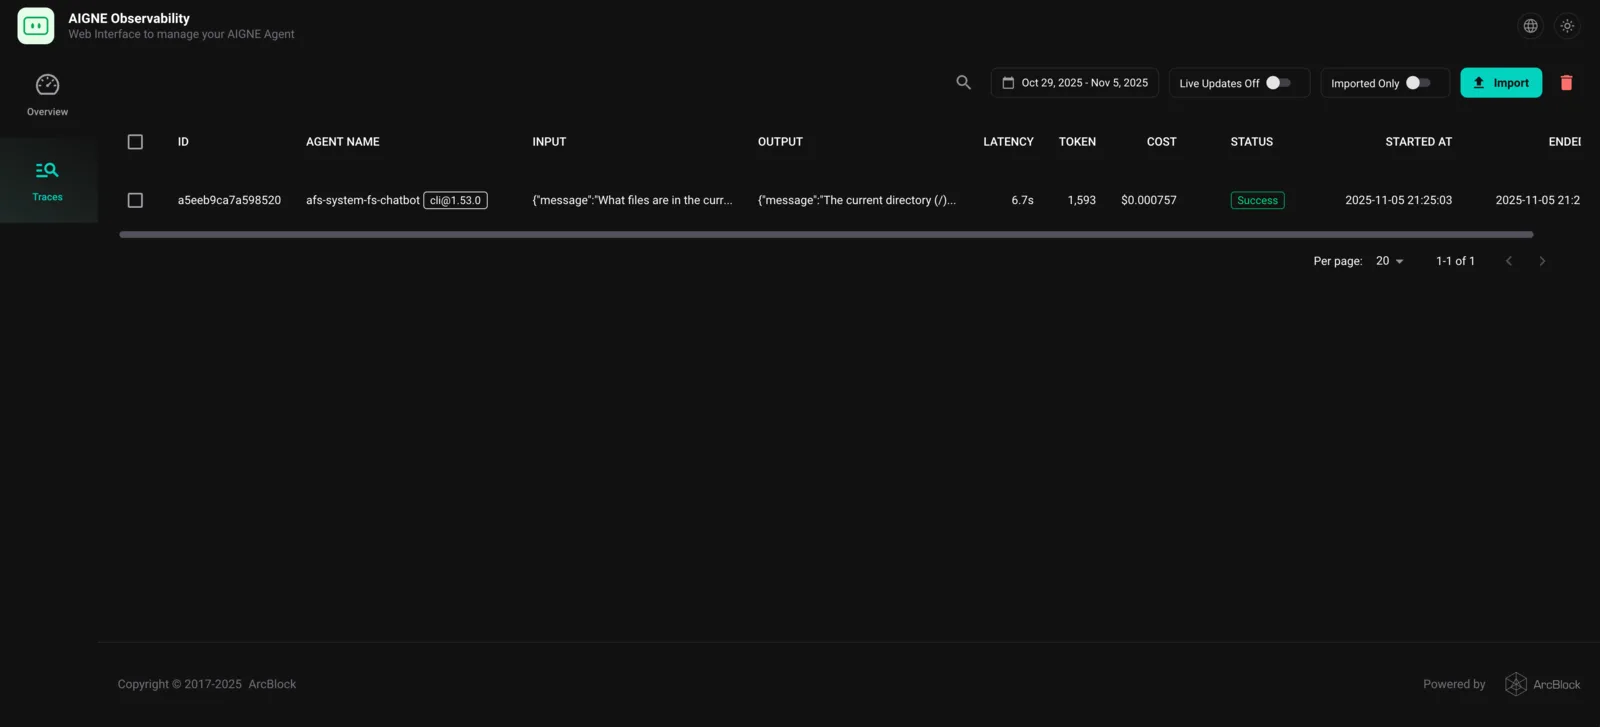
The AIGNE Framework includes a built-in observability tool to help you monitor and debug agent executions.
Start the observability server by running:
aigne observe
This command starts a local web server, typically at http://localhost:7893. Open this URL in your browser to access the observability interface, where you can inspect detailed traces of each agent's execution, including inputs, outputs, and performance metrics.
Summary
This guide covered how to create and run a concurrent workflow using the AIGNE Framework. By leveraging TeamAgent in parallel mode, you can efficiently process multiple independent tasks simultaneously. To explore other workflow patterns, see the following examples: