This guide demonstrates how to build and run a chatbot capable of generating images. By following these steps, you will learn how to execute a pre-built AIGNE example, connect it to an AI model, and inspect its behavior using the framework's observability tools.
Prerequisites
Before proceeding, ensure the following requirements are met:
- Node.js: Version 20.0 or higher must be installed. You can download it from nodejs.org.
- OpenAI API Key: An API key from OpenAI is required to interact with their image generation models.
Quick Start
You can run this example directly without a local installation using npx.
Run the Example
Execute the following command in your terminal to run the chatbot with a single input. This command will download and run the example package.
Run with a single input
npx -y @aigne/example-nano-banana --input 'Draw an image of a lovely cat'To start an interactive session where you can have a conversation with the chatbot, use the --interactive flag.
Run in interactive mode
npx -y @aigne/example-nano-banana --interactiveConnect to an AI Model
On the first run, the application will detect that no AI model is configured and will prompt you to connect one.

You have three primary options to connect to an AI model:
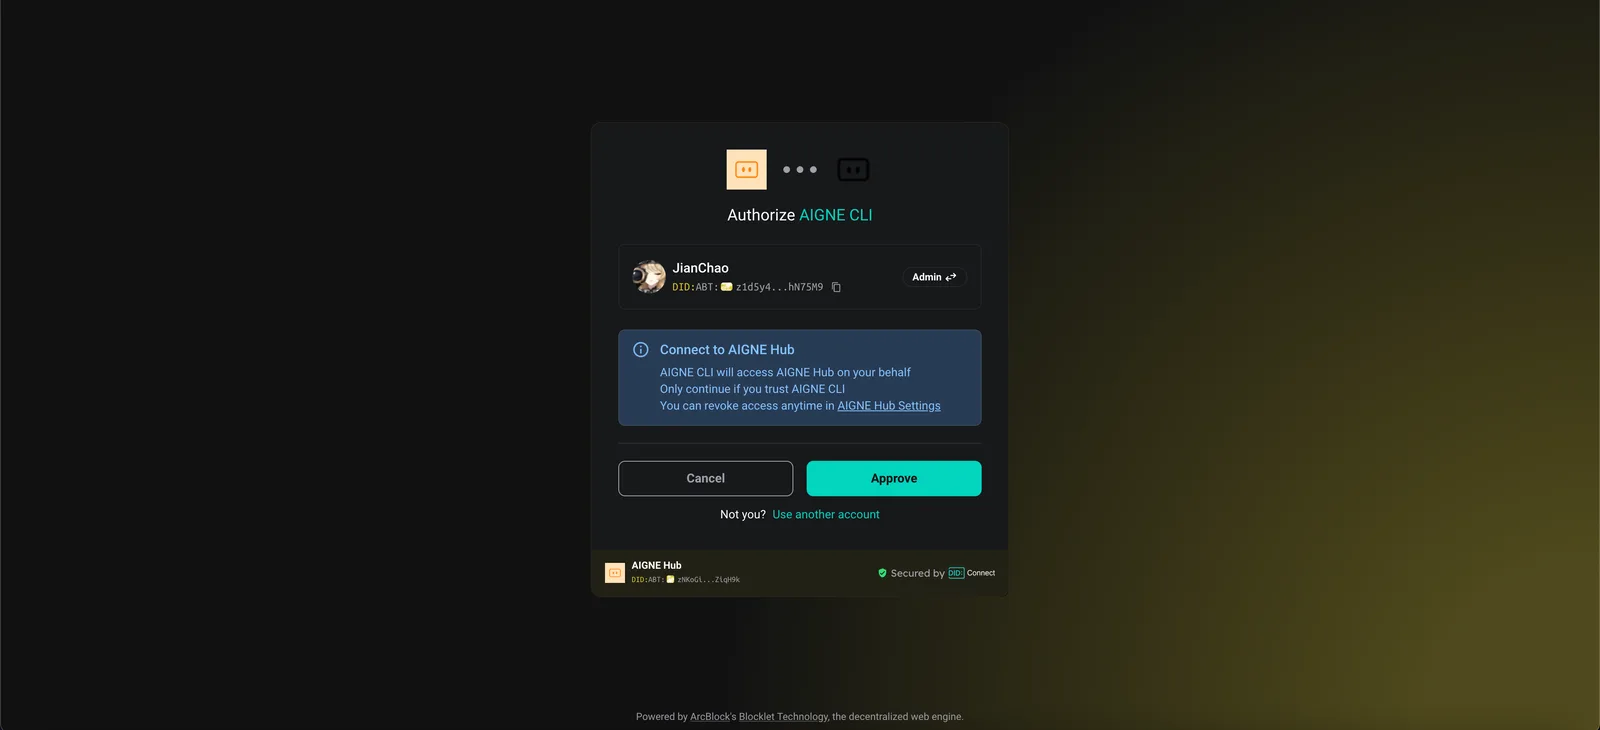
1. Connect via the Official AIGNE Hub (Recommended)
This is the simplest method. Choosing this option will open your web browser and guide you through the authorization process on the official AIGNE Hub. New users receive a complimentary token allocation to get started immediately.
2. Connect via a Self-Hosted AIGNE Hub
If you operate your own instance of AIGNE Hub, select this option. You will be prompted to enter the URL of your self-hosted Hub to complete the connection. You can deploy your own AIGNE Hub from the Blocklet Store.

3. Connect via a Third-Party Model Provider
You can directly connect to a third-party provider like OpenAI by configuring the necessary API key as an environment variable. For example, to use OpenAI, set the OPENAI_API_KEY variable in your terminal.
Set OpenAI API key
export OPENAI_API_KEY="your-openai-api-key-here"After setting the environment variable, run the npx command again. For a comprehensive list of supported variables for different model providers, refer to the example environment file in the source repository.
Debugging with the Observability UI
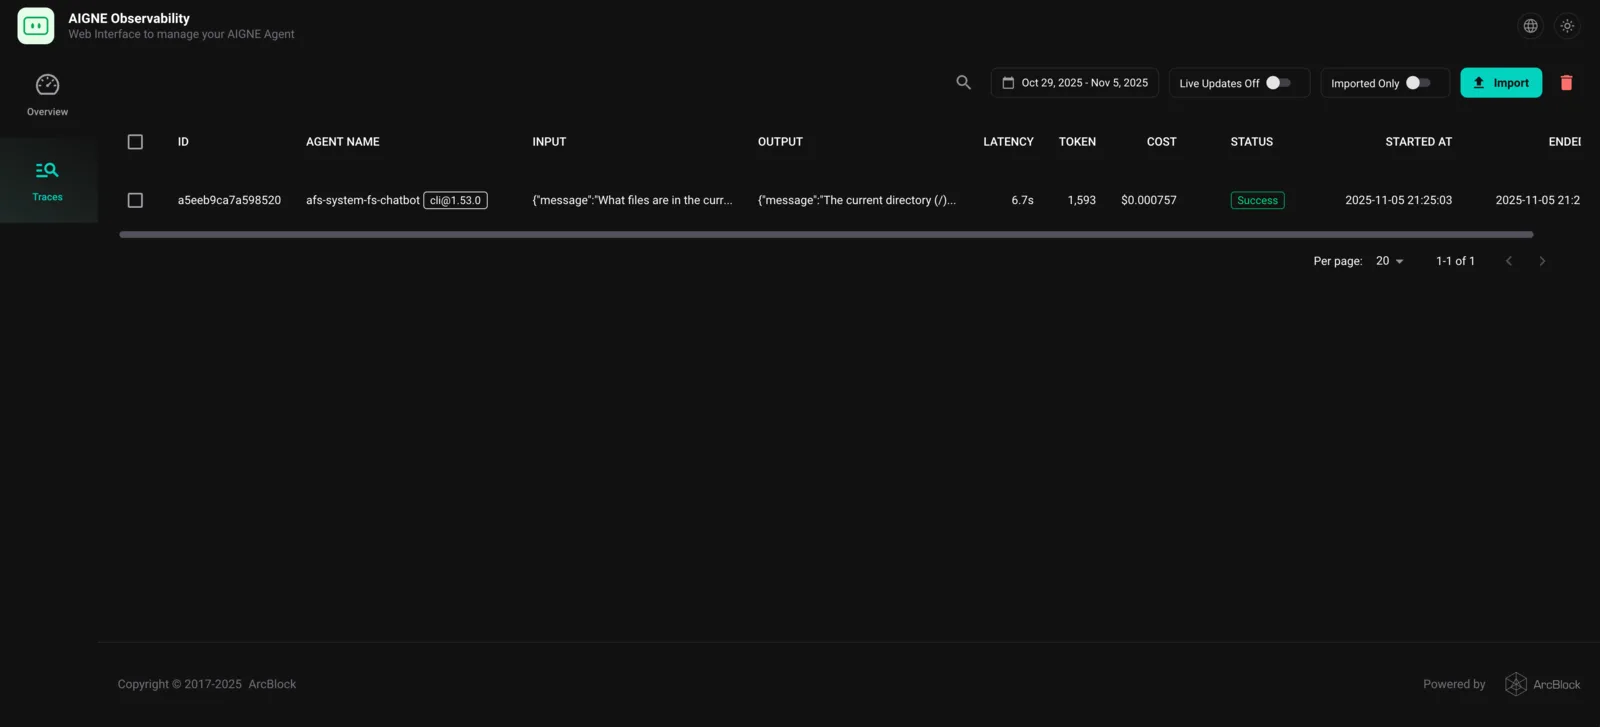
The AIGNE Framework includes a built-in observability tool to help you monitor and debug your agents. The aigne observe command launches a local web server that provides a detailed view of agent execution traces.
First, start the observation server by running the following command in your terminal:
Start the observability server
aigne observe
Once the server is running, you can open the provided URL (typically http://localhost:7893) in your browser to view a list of recent agent executions. This interface allows you to inspect the inputs, outputs, latency, and token usage for each trace, providing critical insights for debugging and optimization.
Local Installation and Execution
For development purposes, you may prefer to clone the repository and run the example locally.
1. Clone the Repository
Clone the official AIGNE Framework repository from GitHub.
Clone the repository
git clone https://github.com/AIGNE-io/aigne-framework2. Install Dependencies
Navigate to the example's directory and install the required dependencies using pnpm.
Install dependencies
cd aigne-framework/examples/nano-banana
pnpm install
3. Run the Example
After the installation is complete, you can run the example using the start script defined in the project's package.json.
Run the local example
pnpm startSummary
This document provided a step-by-step guide to running the "Nano Banana" example, which demonstrates an AI chatbot with image generation capabilities. You have learned how to execute the example directly with npx, connect various AI model providers, and use the aigne observe command to debug agent behavior.
For more advanced use cases and a deeper understanding of the framework's capabilities, please refer to the following sections: