This document provides instructions on how to utilize the AIGNE Framework and the Model Context Protocol (MCP) to interact with applications hosted on the Blocklet platform. This example supports one-shot execution, interactive chat mode, and customizable settings for models and I/O pipelines.
Prerequisites
Before proceeding, ensure the following components are installed and configured on your system:
- Node.js: Version 20.0 or higher.
- npm: Included with Node.js installation.
- OpenAI API Key: Required for interacting with OpenAI models. You can obtain one from the OpenAI API keys page.
The following dependencies are optional and are only required if you intend to run the example from the source code:
- Bun: A JavaScript runtime, used here for running tests and examples.
- pnpm: A package manager.
Quick Start
This section provides instructions for running the example directly without a local installation.
Run the Example
First, set the URL of your target Blocklet application as an environment variable.
Set your Blocklet app URL
export BLOCKLET_APP_URL="https://xxx.xxxx.xxx"You can execute the example in several modes:
- One-Shot Mode (Default): Sends a single request and receives a response.
bash npx -y @aigne/example-mcp-blocklet - Interactive Chat Mode: Starts a continuous chat session.
bash npx -y @aigne/example-mcp-blocklet --interactive - Pipeline Input: Uses piped input as the prompt.
bash echo "What are the features of this blocklet app?" | npx -y @aigne/example-mcp-blocklet
Connect to an AI Model
Executing the example requires a connection to an AI model. On the first run, if no connection is configured, you will be prompted to choose a connection method.

There are several methods to establish a connection:
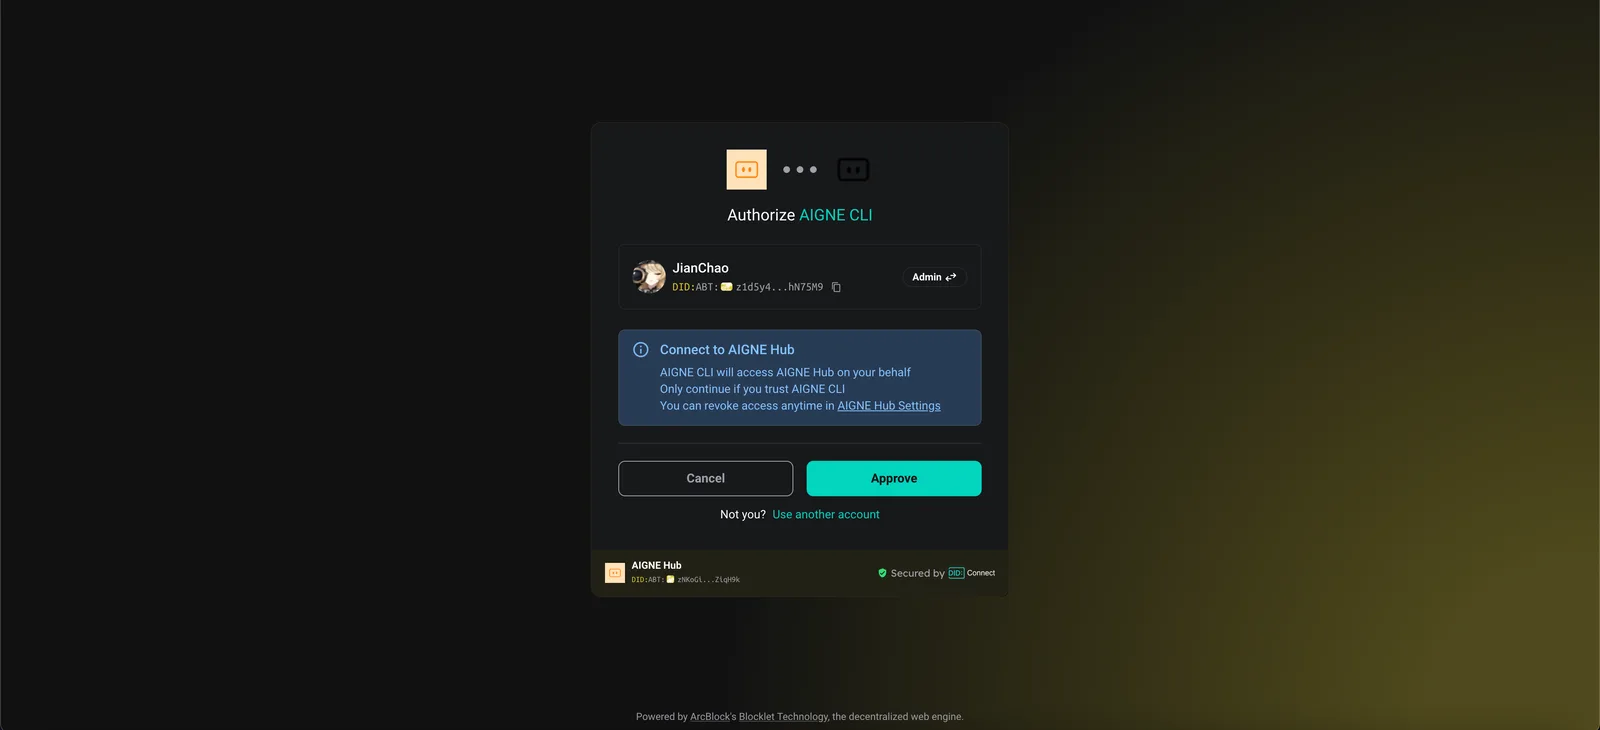
1. Connect via the Official AIGNE Hub
This is the recommended approach. Selecting this option will open your web browser to the official AIGNE Hub authentication page. Follow the on-screen instructions to complete the connection. New users are automatically granted 400,000 tokens for use.
2. Connect via a Self-Hosted AIGNE Hub
If you operate your own instance of AIGNE Hub, select the second option. You will be prompted to enter the URL of your self-hosted Hub to complete the connection.

To deploy a self-hosted AIGNE Hub, you can install it from the Blocklet Store.
3. Connect via a Third-Party Model Provider
You can connect directly to a third-party model provider, such as OpenAI, by setting the appropriate API key as an environment variable.
Set OpenAI API Key
export OPENAI_API_KEY="your_openai_api_key_here"For a comprehensive list of supported environment variables for various providers (e.g., DeepSeek, Google Gemini), refer to the .env.local.example file within the example's source code. After configuring the environment variables, run the example command again.
Debugging
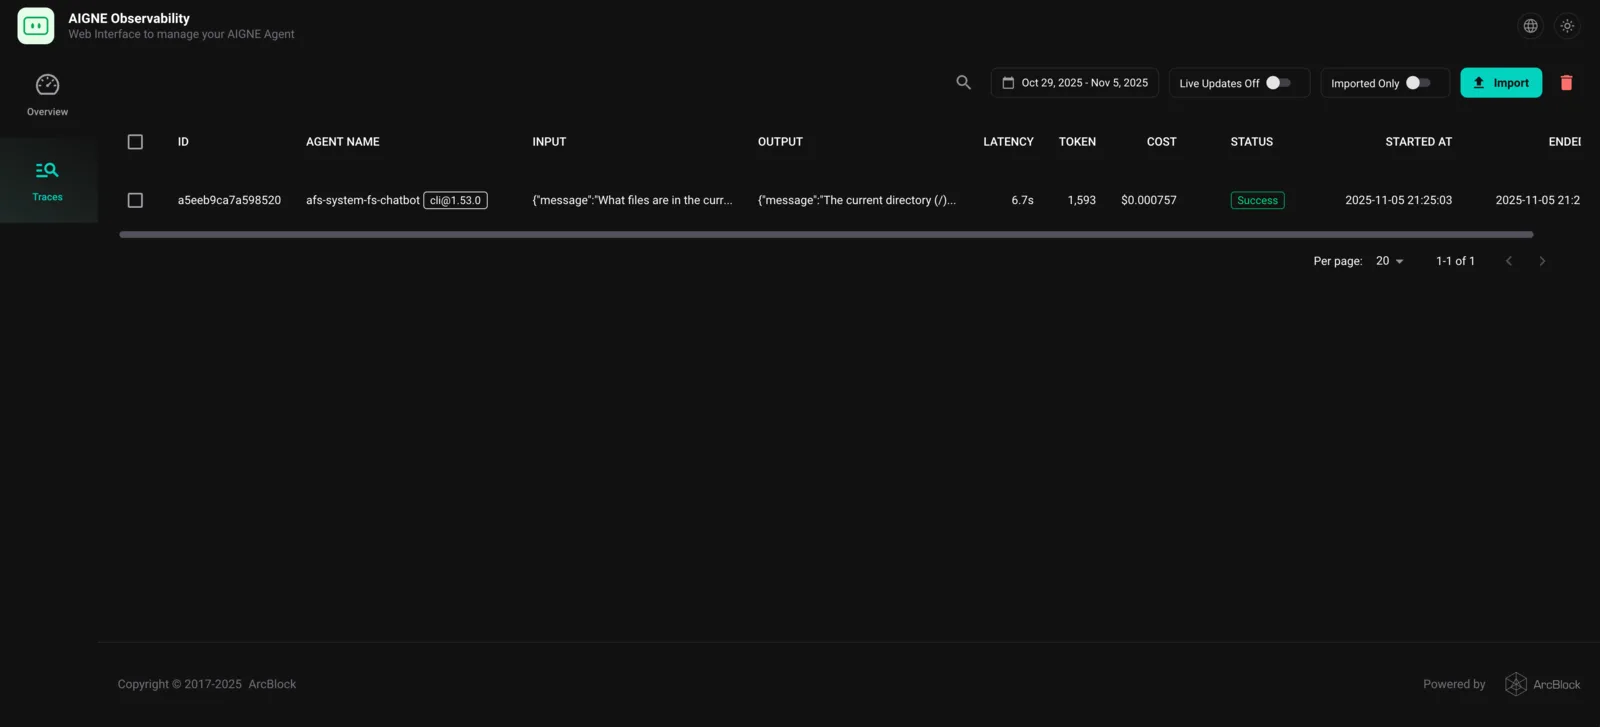
The AIGNE Framework includes a local observability server for monitoring and analyzing agent execution data. This tool is essential for debugging, performance tuning, and understanding agent behavior.
To start the server, run the following command:
Start the observation server
aigne observe
Once the server is running, you can access the web interface at http://localhost:7893 to view a list of recent agent traces and inspect detailed call information.
Installation from Source
For development purposes, you can run the example from a local clone of the repository.
1. Clone the Repository
git clone https://github.com/AIGNE-io/aigne-framework2. Install Dependencies
Navigate to the example directory and install the required packages using pnpm.
cd aigne-framework/examples/mcp-blocklet
pnpm install
3. Run the Example
Execute the start script to run the application.
Run in one-shot mode
pnpm startYou can also provide the Blocklet application URL directly as an argument.
pnpm start https://your-blocklet-app-urlRun Options
The application supports several command-line parameters for customization.
| Parameter | Description | Default |
|---|---|---|
--interactive | Enables interactive chat mode. | Disabled |
--model <provider[:model]> | Specifies the AI model to use. Format is provider[:model]. Examples: openai or openai:gpt-4o-mini. | openai |
--temperature <value> | Sets the temperature for model generation. | Provider default |
--top-p <value> | Sets the top-p sampling value. | Provider default |
--presence-penalty <value> | Sets the presence penalty value. | Provider default |
--frequency-penalty <value> | Sets the frequency penalty value. | Provider default |
--log-level <level> | Sets the logging level. Options: ERROR, WARN, INFO, DEBUG, TRACE. | INFO |
--input, -i <input> | Provides input directly via the command line. | None |
When running from source using pnpm, you must use -- to pass arguments to the script.
Examples:
Run in interactive chat mode
pnpm start -- --interactiveSet the logging level to DEBUG
pnpm start -- --log-level DEBUGUse pipeline input
echo "What are the features of this blocklet app?" | pnpm startSummary
This guide has detailed the process for running the MCP Blocklet example, including quick-start execution, model configuration, debugging, and local installation. For more advanced use cases and related concepts, refer to the following documentation.