Overview
Most applications generally require the ability to read and write user data stored on DID Spaces. By first obtaining a DID Space's endpoint and then integrating the @blocklet/did-space-js SDK, developers can effortlessly perform these read and write operations on the DID Space.
Prerequisites
- You now understand how to guide users in connecting to DID Spaces within your application and successfully obtaining the DID Space endpoint. Refer to:Get the endpoint of DID Space
Code Example
You can create a to-do list template integrated with DID Spaces by running the blocklet create command locally. Alternatively, you can refer to the code repository: https://github.com/blocklet/create-blocklet/tree/main/packages/create-app/templates/todo-list-example.
╰─➤  blocklet create
blocklet create v1.16.37-beta-20250108-010153-e4bcd256
Need to install the following packages:
create-blocklet@0.9.14
Ok to proceed? (y) y

(node:82979) [DEP0040] DeprecationWarning: The `punycode` module is deprecated. Please use a userland alternative instead.
(Use `node --trace-deprecation ...` to show where the warning was created)

                 Powered By
     _             ____  _            _
    / \   _ __ ___| __ )| | ___   ___| | __
   / _ \ | '__/ __|  _ \| |/ _ \ / __| |/ /
  / ___ \| | | (__| |_) | | (_) | (__|   <
 /_/   \_\_|  \___|____/|_|\___/ \___|_|\_\

            Create Blocklet v0.9.14

✔ Project name: … todo-list
? Choose one or more blocklet templates: ›
Instructions:
    ↑/↓: Highlight option
    ←/→/[space]: Toggle selection
    [a,b,c]/delete: Filter choices
    enter/return: Complete answer

Filtered results for: Enter something to filter

◯  [dapp] react + express.js
◯  [dapp] react + express + typescript
◯  [dapp: did-wallet] Full stack app (react.js + express.js) with DID Wallet integration
◉  [dapp: todo-list] react + express + typescript + DID Spaces // select did spaces template
◯  [dapp: did-connect] Full stack app (react.js + express.js) with DID Connect integration
◯  [dapp] solid + express.js
◯  [dapp] vue3 + express.js
◯  [dapp] svelte + express.js
◯  [static] react
◯  [static] solidjs
Workflow
Install @blocklet/did-space-js
yarn add @blocklet/did-space-js
// pnpm install @blocklet/did-space-js
// npm install @blocklet/did-space-js
Write Data
Using the following code, you can write data to the user's DID Space:
  const { SpaceClient, PutObjectCommand } = require('@blocklet/did-space-js');

  const spaceClient = new SpaceClient({
    endpoint,
    wallet,
  });

  await spaceClient.send(
    new PutObjectCommand({
      key: 'test.txt',
      data: 'hello world!',
    })
  );
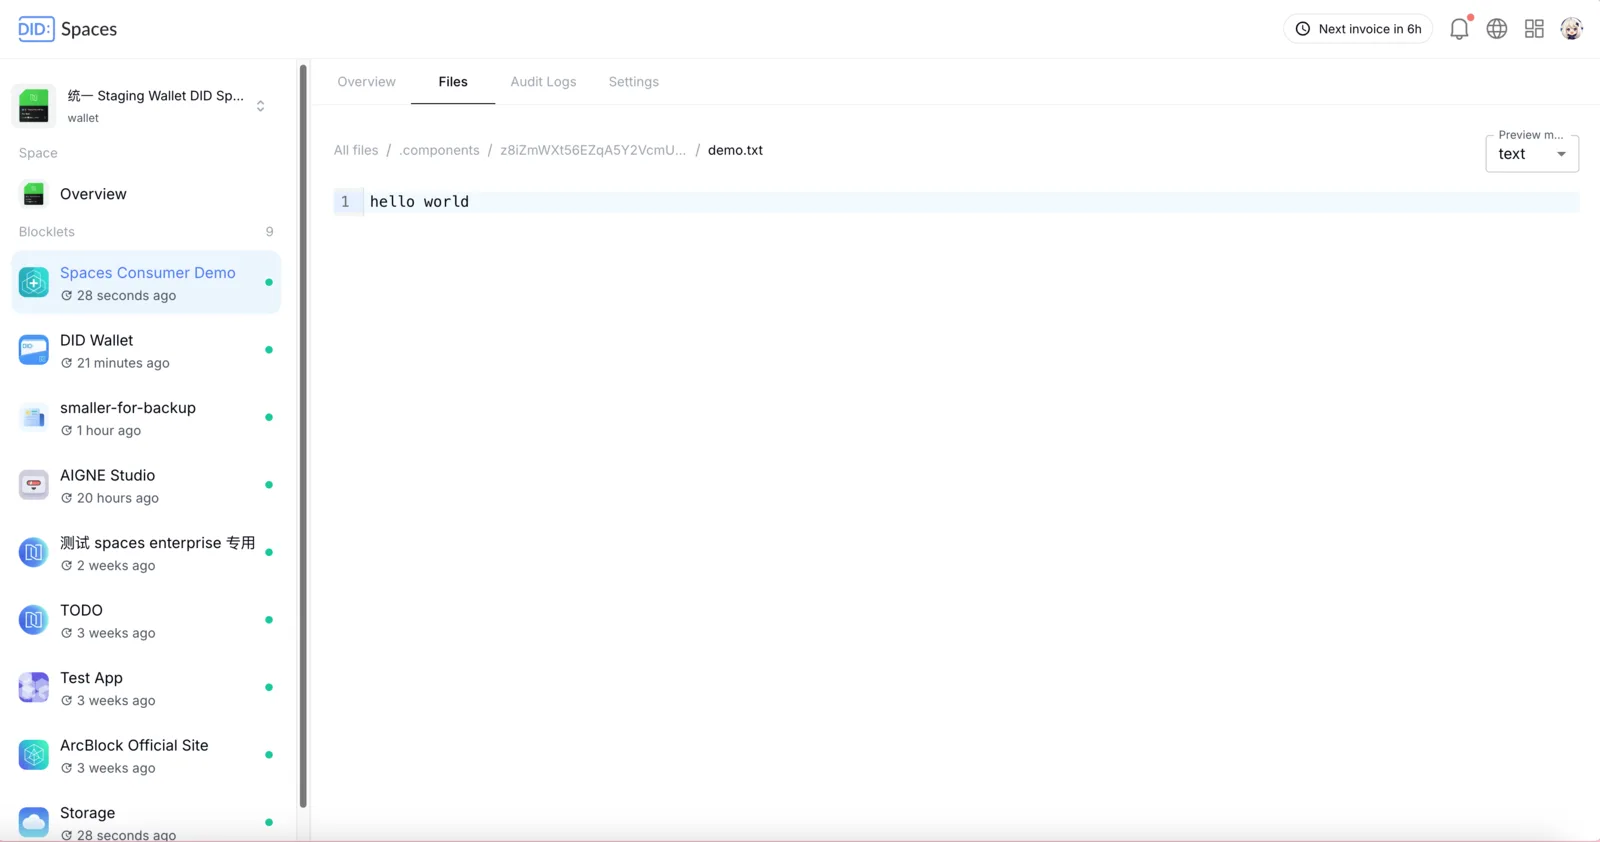
Once the data has been successfully written, you can navigate to the root directory of the application's component (z8iZmWXt56EZqA5Y2VcmUX6qFhZaj5w7pFQx9) on DID Space to view the recently recorded data:
Read Data
Using the following code, you can read user data from DID Space:
  const { SpaceClient, GetObjectCommand } = require('@blocklet/did-space-js');

  const spaceClient = new SpaceClient({
    endpoint, // DID Space endpoint
    wallet, // Blocklet Wallet
  });

  const { data } = await spaceClient.send(
    new GetObjectCommand({
      key: 'test.txt',
    })
  );

  console.log(await streamToString(data)); // 'hello world!'
After the data is successfully read, a data object will be returned. You can then use this object to access the data.
Delete Data
Using the following code, you can delete user data from DID Space:
  const { SpaceClient, DeleteObjectCommand } = require('@blocklet/did-space-js');

  const spaceClient = new SpaceClient({
    endpoint,
    wallet,
  });

  await spaceClient.send(
    new DeleteObjectCommand({
      key: 'test.txt',
    })
  );
More
For more on its usage, please refer to https://www.arcblock.io/docs/did-space-js.