This document explains how to install Blocklets on your website and details the characteristics, use cases, and important considerations for each installation method.
There are three ways to install a Blocklet:
Install Through the App Store
Install from a URL
Install from Local File
1. Install Through the App Store
This method is the easiest and recommended for new users or those who want to quickly install officially recommended Blocklets.
Procedure:
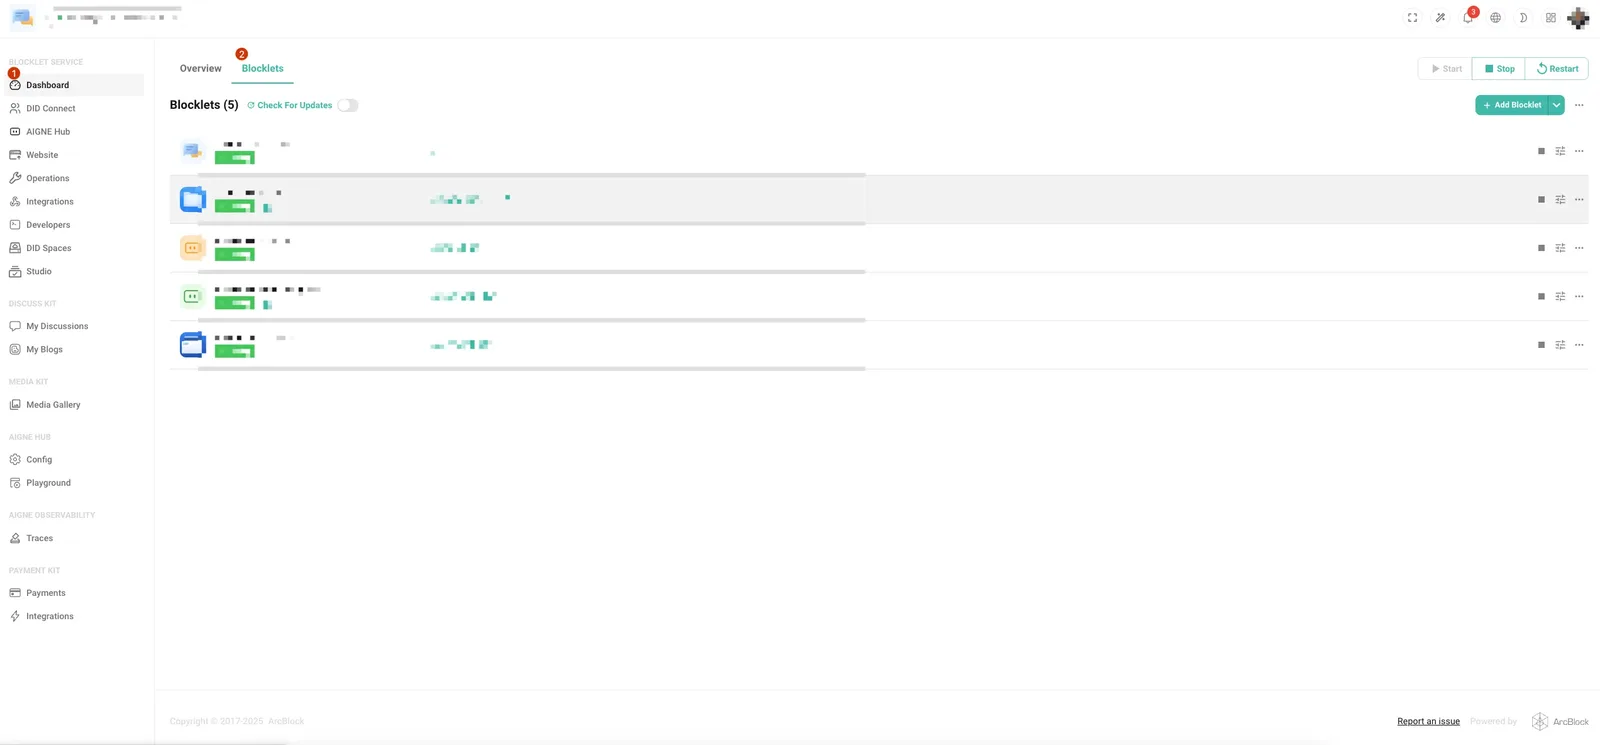
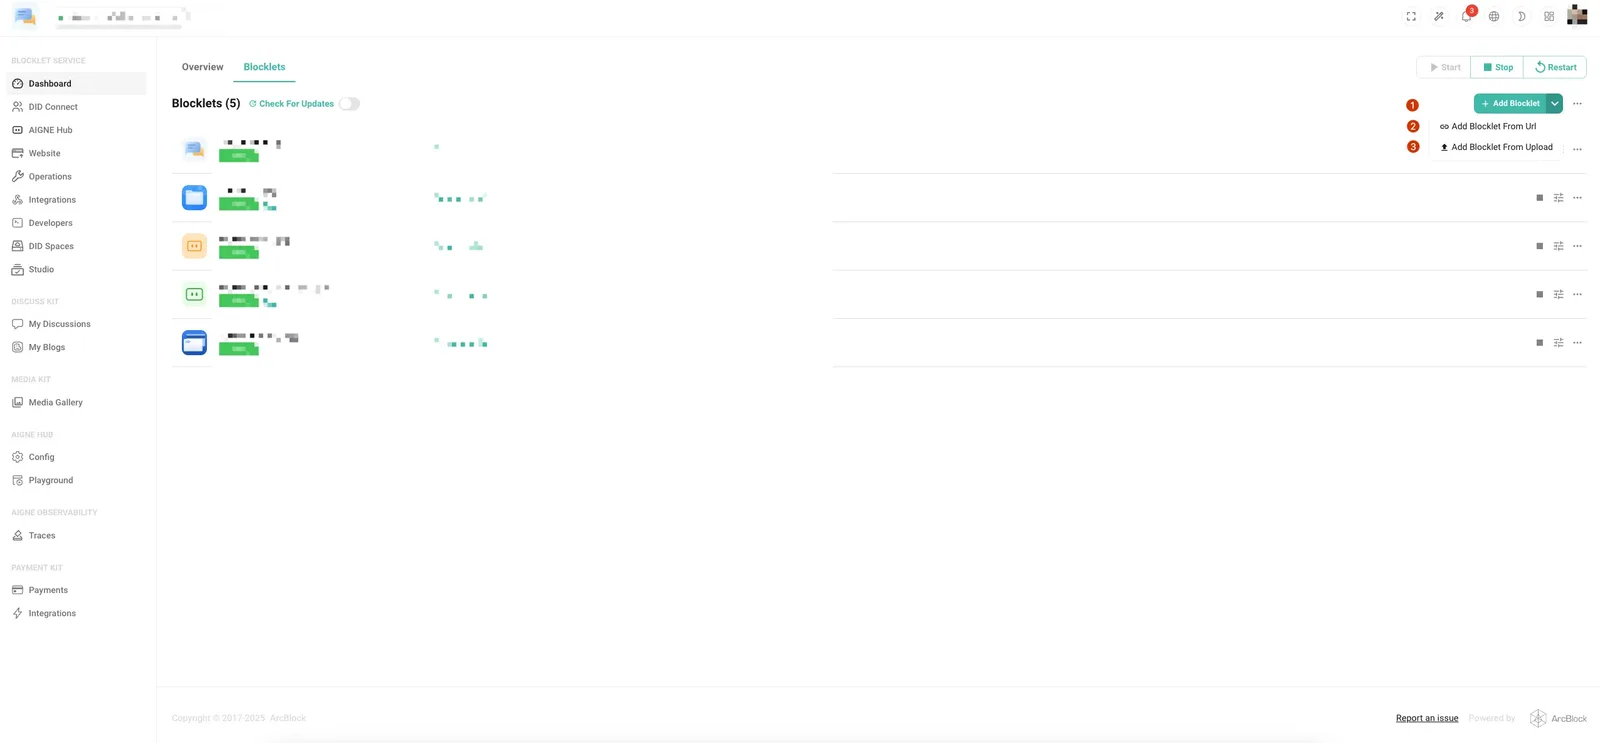
- Click Add Blocklet.
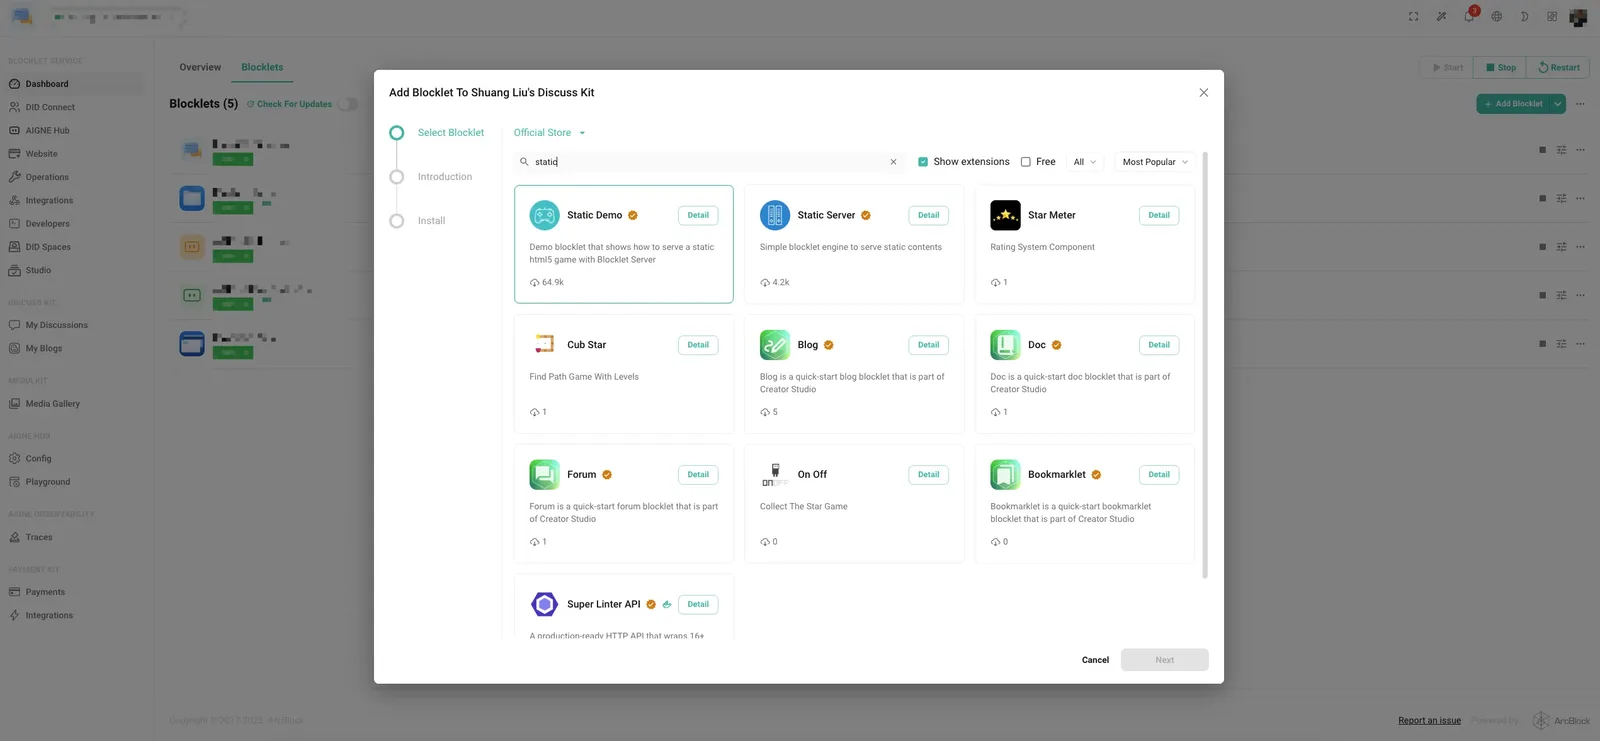
- The official Blocklet Store will open in a new window.
- Search for the required Blocklet in the Blocklet Store, such as
Static DemoandPages Kit. - Click "Next" to continue the installation.
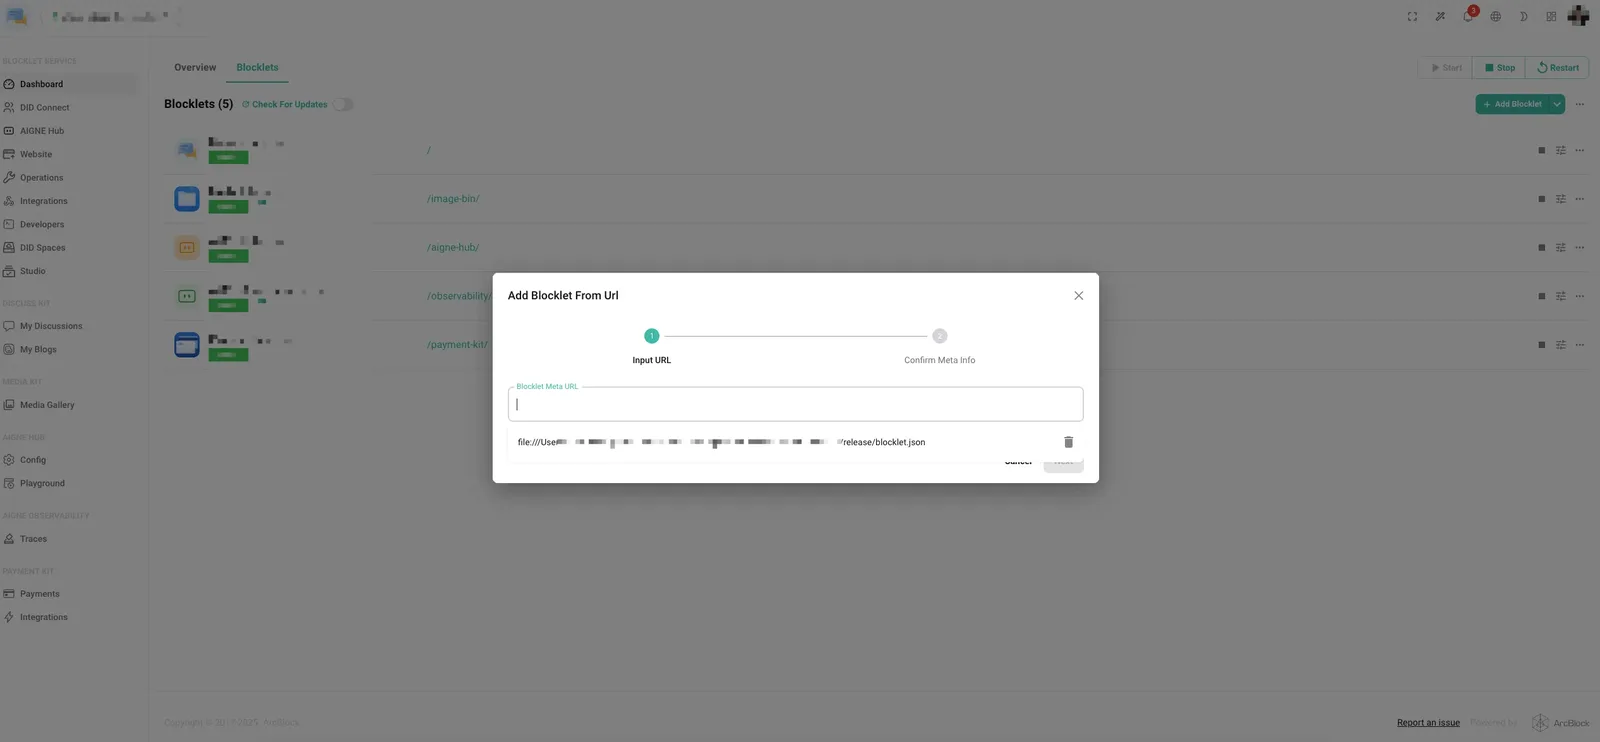
2. Install from a URL
If you already have a valid blocklet.json URL, you can install it directly.
- Supported Address Types:
- Remote address: For example,
https://example.com/blocklet.json - Local Address: e.g.,
file:///Users/xxx/blocklet/blocklet.json
- Remote address: For example,
Steps:
- Select "Add Blocklet from URL".
- Enter a valid
blocklet.jsonURL. Alternatively, you can copy the installation URL of a Blocklet from the official Blocklet Store. - After the system verification is successful, click "Next" to continue the installation. The remaining steps are identical to those for a store installation.
- Blocklets installed from a URL will have that URL saved and displayed in a dropdown menu, allowing for quick reinstallation and updates.
⚠️ Note:
- Ensure the address is accessible.
- The provided
blocklet.jsonfile must adhere to the Blocklet specification; otherwise, installation will fail.
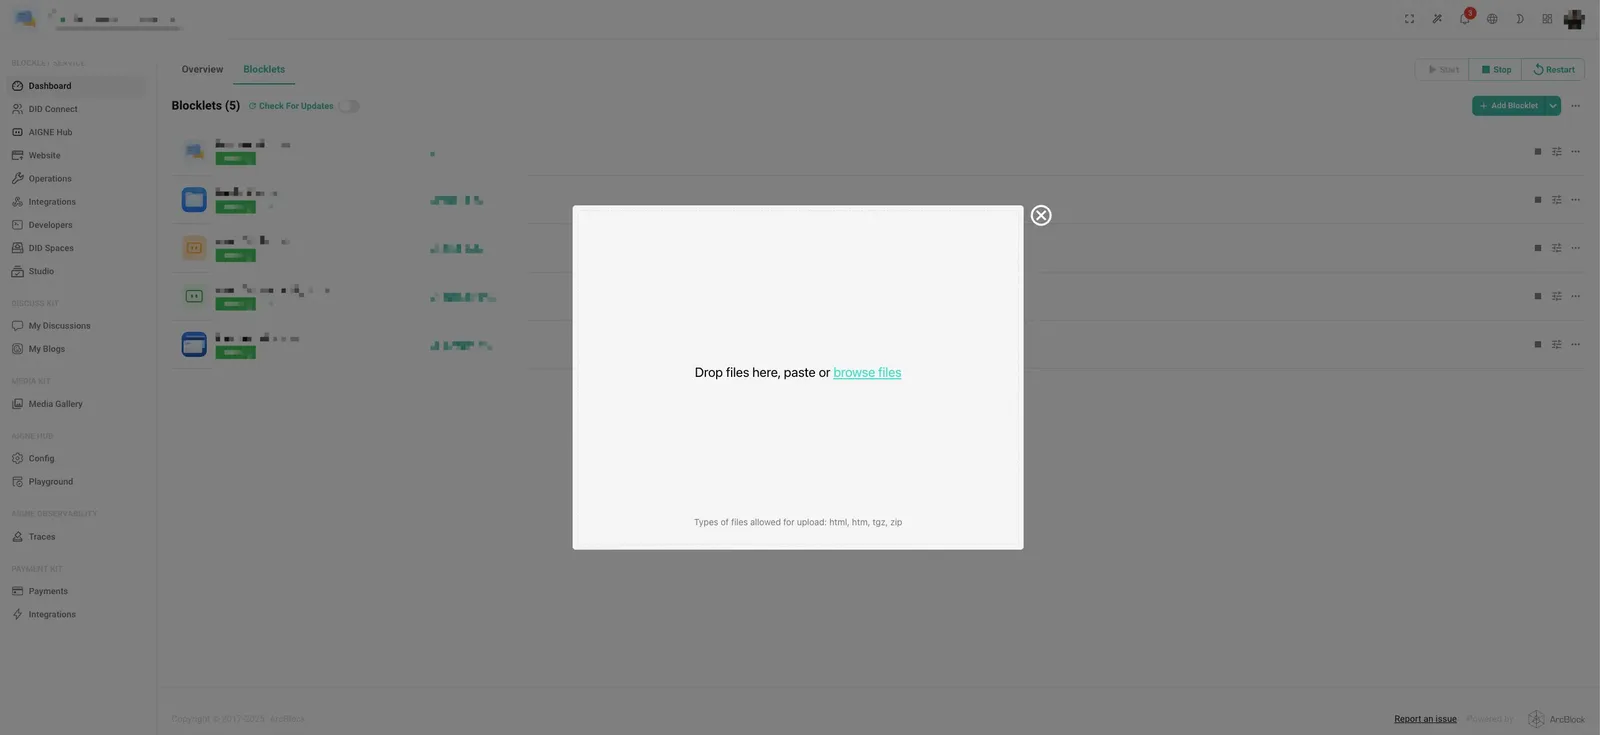
3. Installing from a Local Upload
This method allows you to directly upload local files, which is suitable for testing Blocklets or using Blocklets that haven't yet been published to the Blocklet Store.
- Supported File Types:
- Static files:
html,htm - Archive format:
zip,tgz
- Static files:
- Upload Requirements:
- Static deployments must include either
index.htmlorindex.htmas the entry point. - The compressed package can contain either static files or a pre-built Blocklet. The system automatically detects the project type during upload.
- Static deployments must include either
The installation process will begin automatically after the upload is complete.
Mount Points and Override Rules
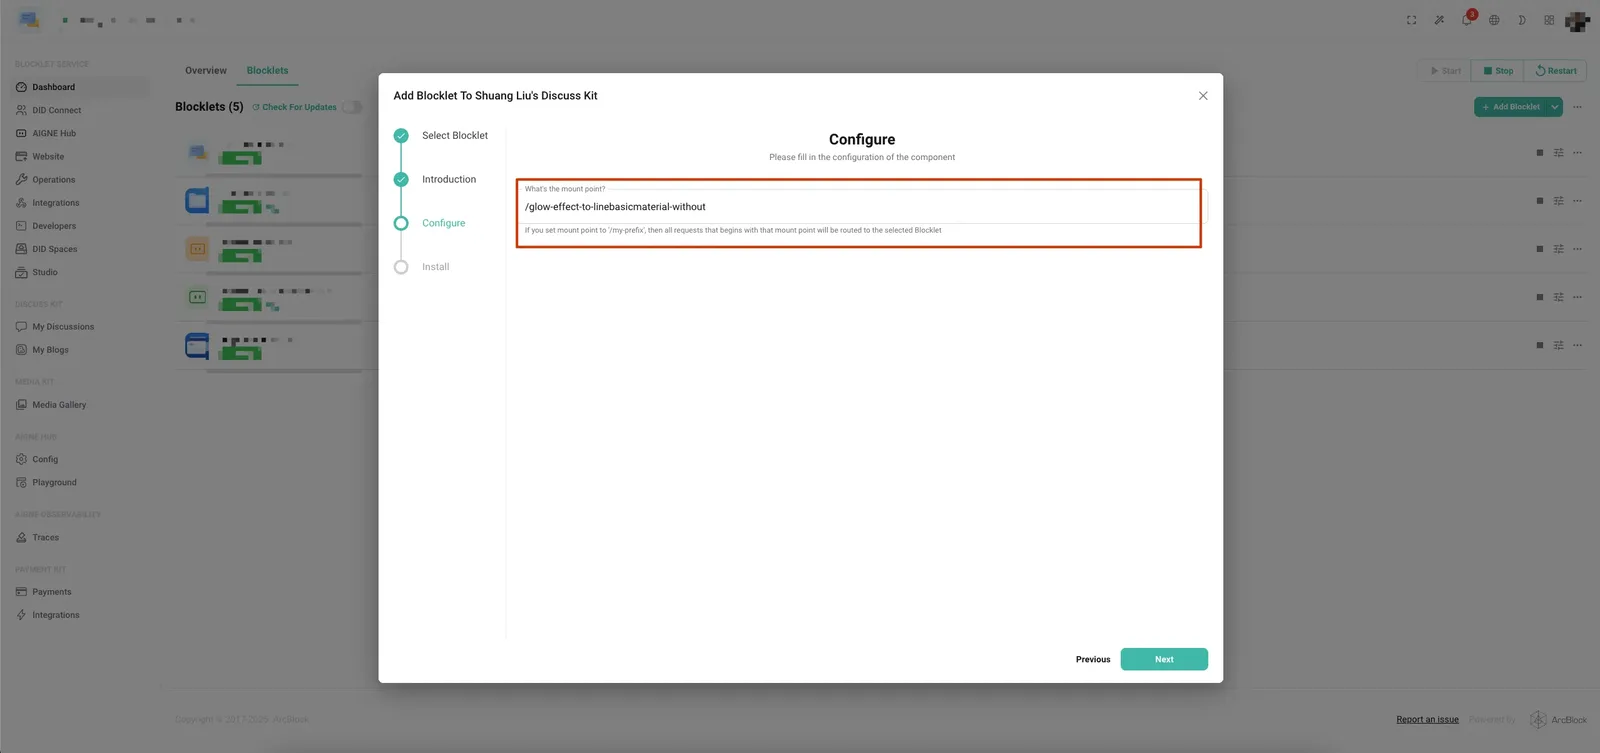
After installation, you need to configure a mount point for the Blocklet:
- Mount Point Definition: The Blocklet's access path within a site, for example:
- Access via
https://your-site.com/blogor/blog - Access the forum via
https://your-site.com/forum
- Access via
- Overriding Rules:
- If a newly installed Blocklet uses the same mount point as an existing Blocklet, the new content will replace the old content.
- Identical mount points will only overwrite blocklets installed by uploading. If the mount point is the same as one used by a blocklet installed through other methods, a default mount point will be generated, preventing overwriting.
- It's recommended to select a unique mount point during installation to prevent conflicts with existing services.
- Upgrading an installed Blocklet can be done by overwriting its mount point, eliminating the need for uninstallation and reinstallation.