Before Create a Blocklet, you need to become a developer of the Blocklet Store. Please refer to:
Create a Blocklet
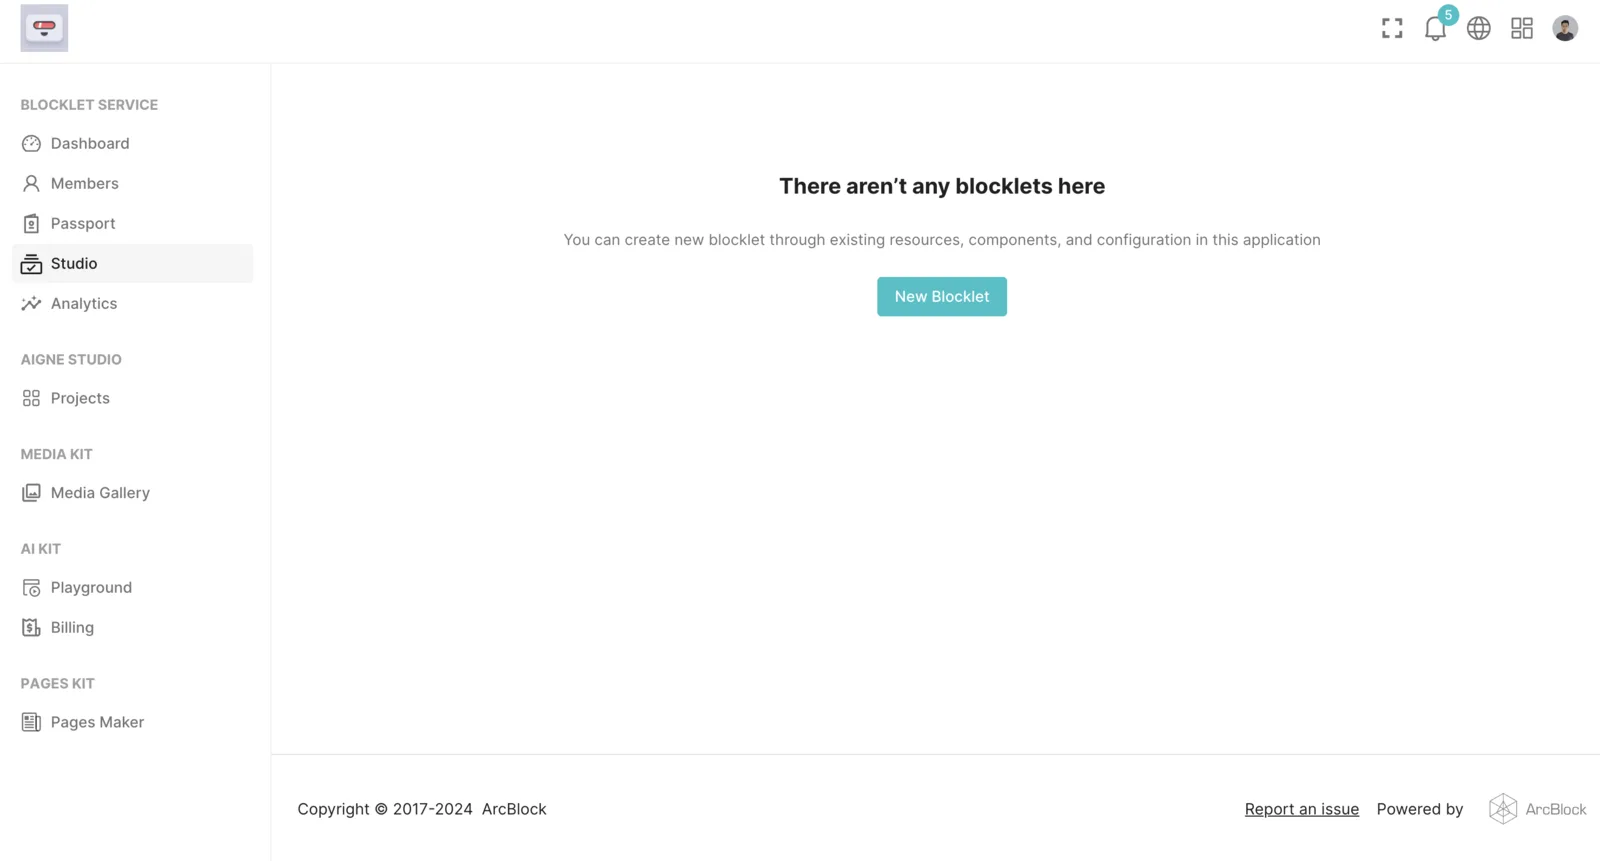
We enter the Blocklet Studio page and click the "New Blocklet" button:
Fill in Blocklet information
We need to provide some information for the new Blocklet:
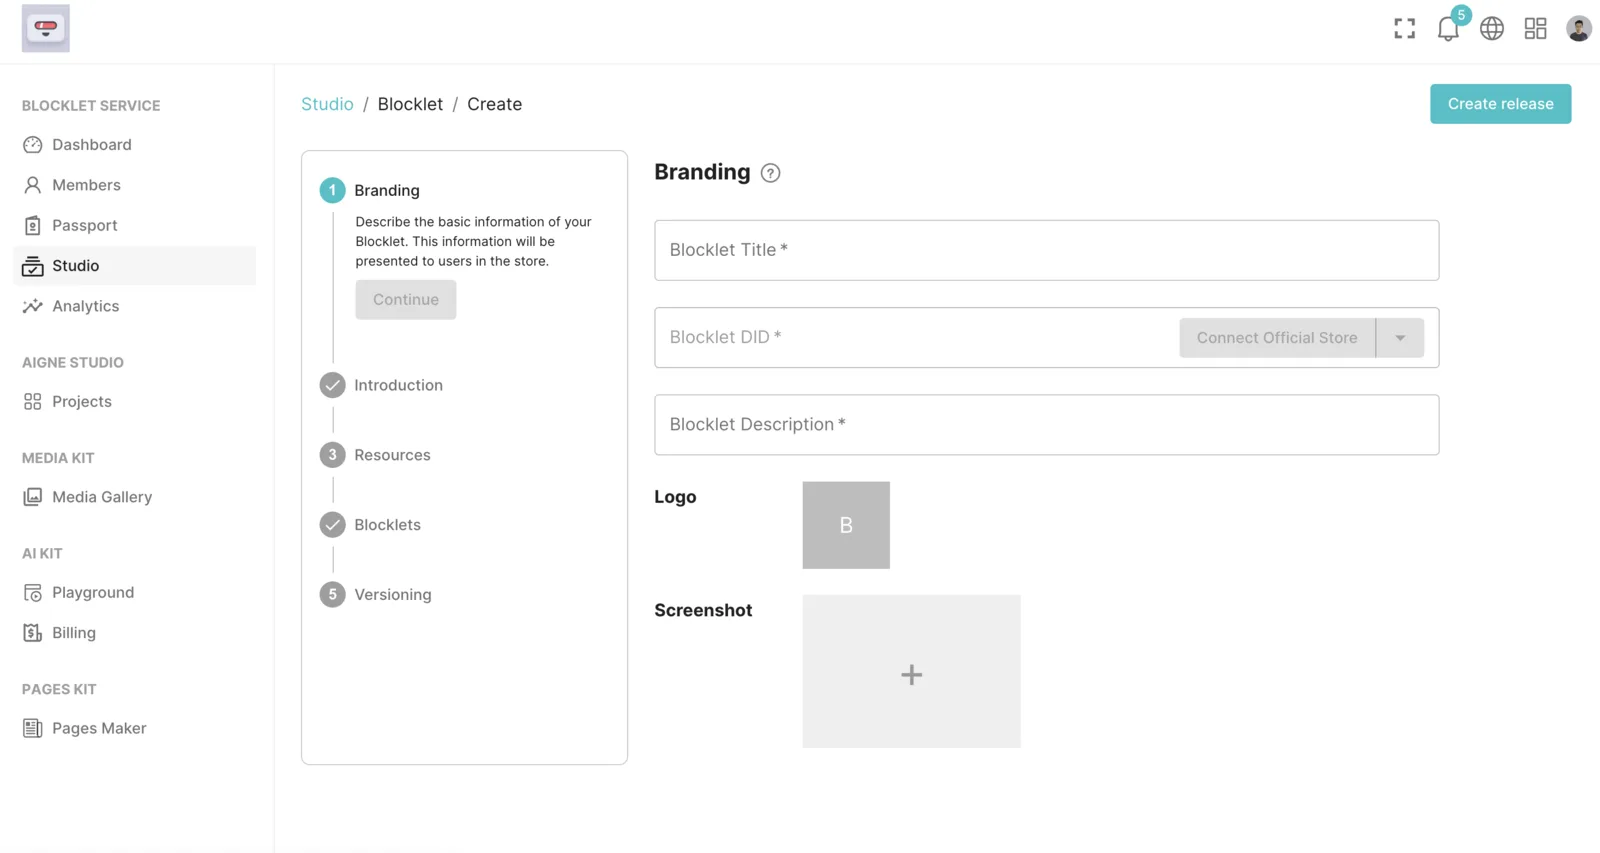
Next, I will explain the meanings of several key fields:
Blocklet DID: The Blocklet DID is the unique ID of the Blocklet. When created, it will prompt us to bind a specific wallet. All future ownership and earnings of this Blocklet will belong to that wallet.
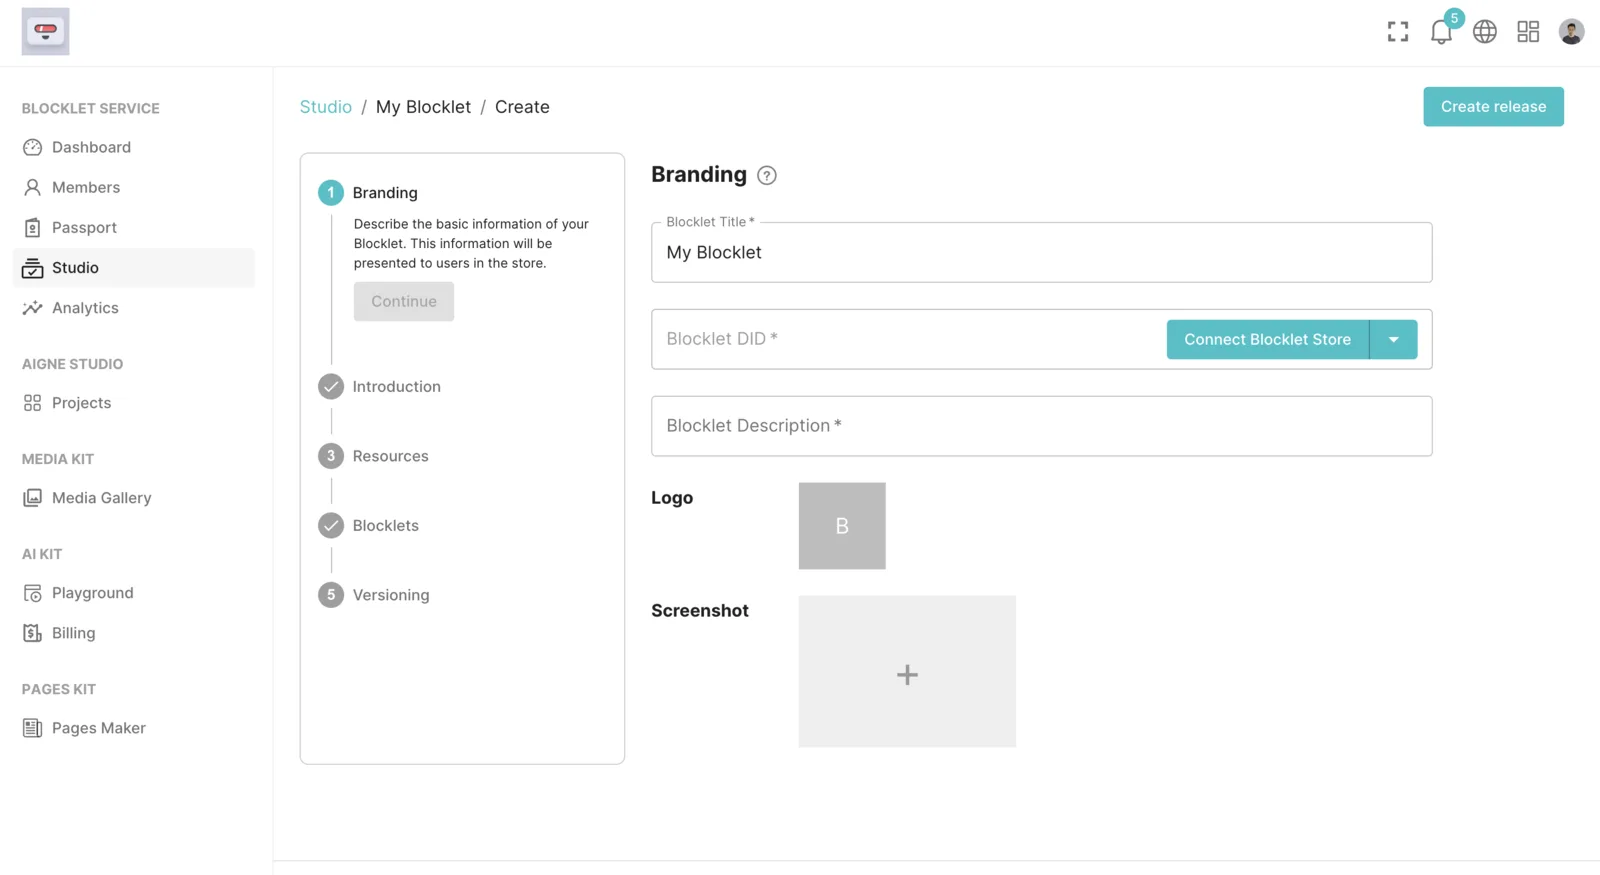
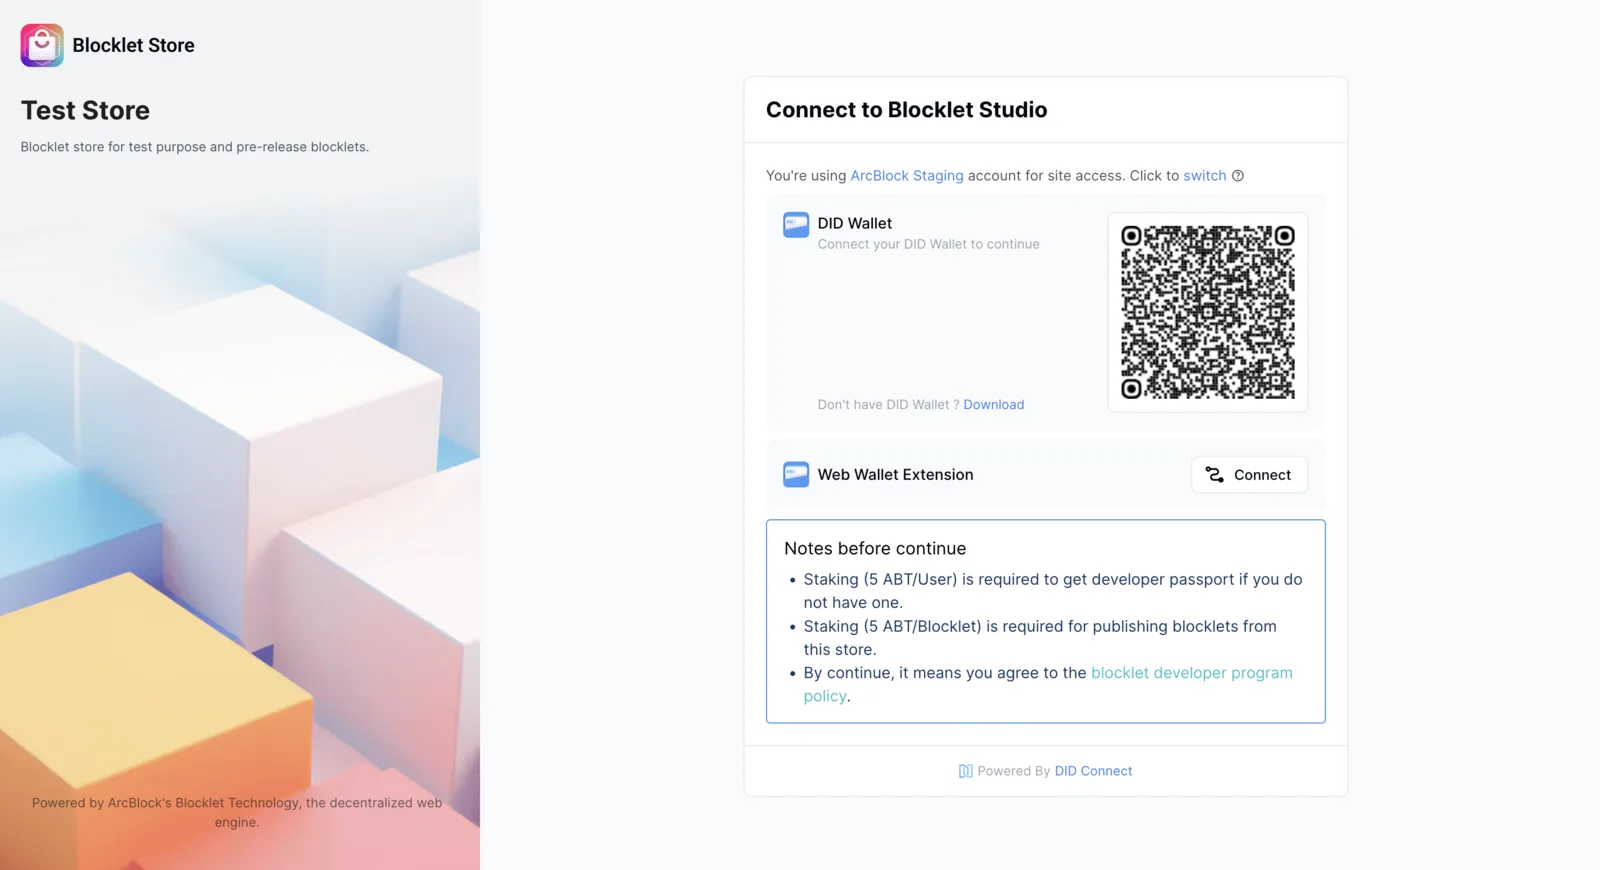
Resources: This indicates the need to reuse certain resources from the current instance for the newly created Blocklet. After selecting the resources to be reused, clicking save will back up the resources at that moment for the current Blocklet.
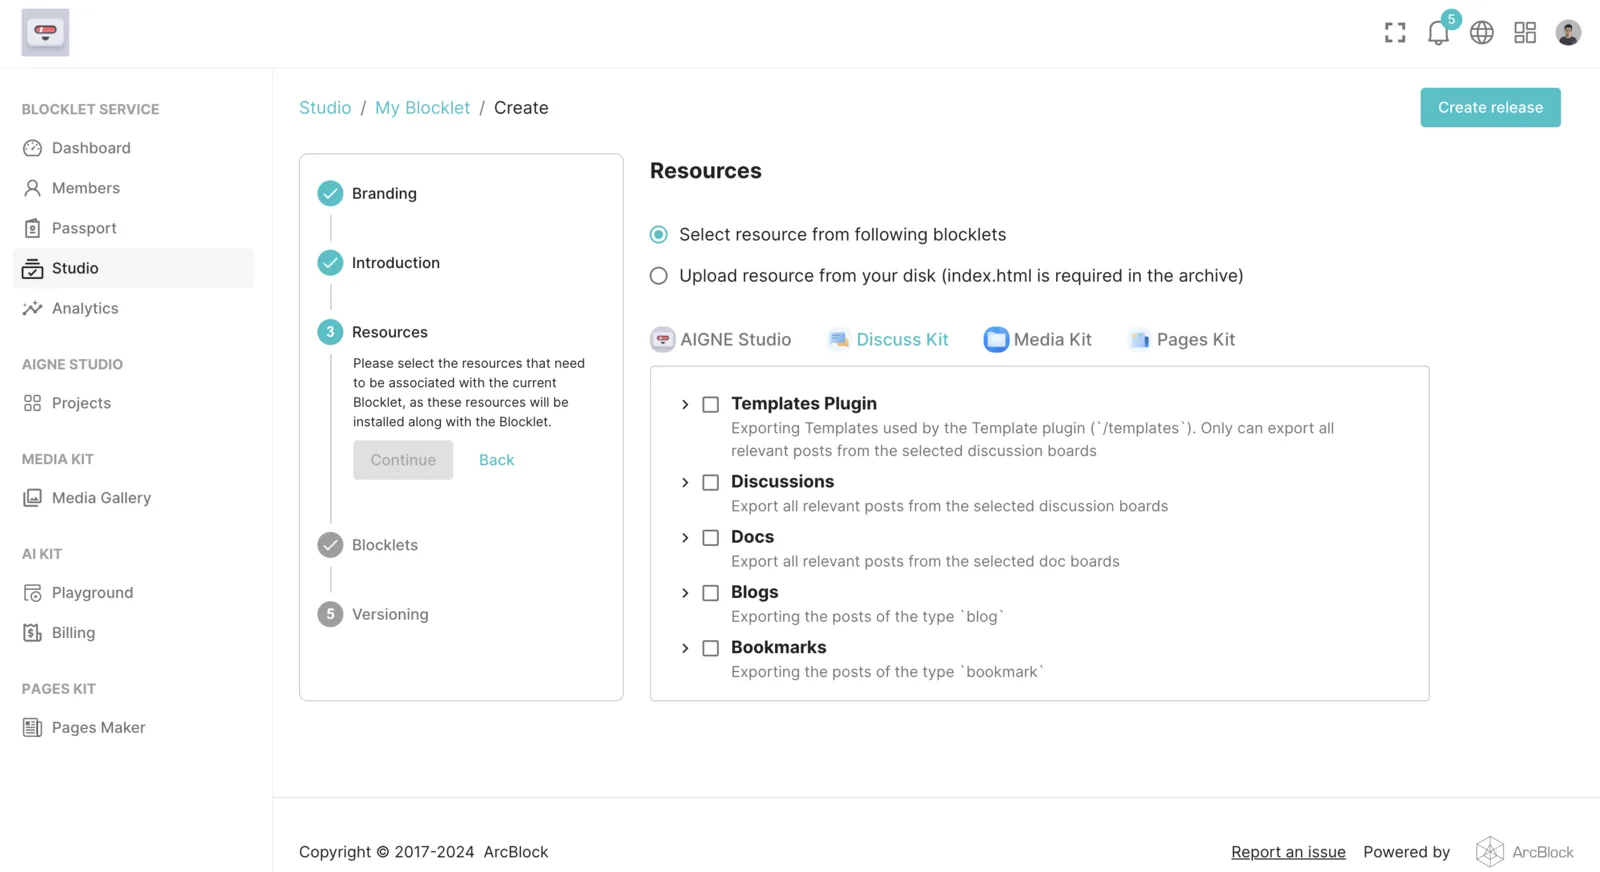
Blocklets: This specifies which Blocklets the current Blocklet needs to be associated with. Associated Blocklets will be installed and run simultaneously with the Blocklet. If it is a strongly dependent blocklet, it will ensure that the blocklet runs simultaneously with this Blocklet. When we associate a blocklet, all configurations of the blocklet will also be reused for the Blocklets of this Blocklet.
When we associate a blocklet, all configurations of the blocklet will also be reused in the blocklet of this Blocklet.
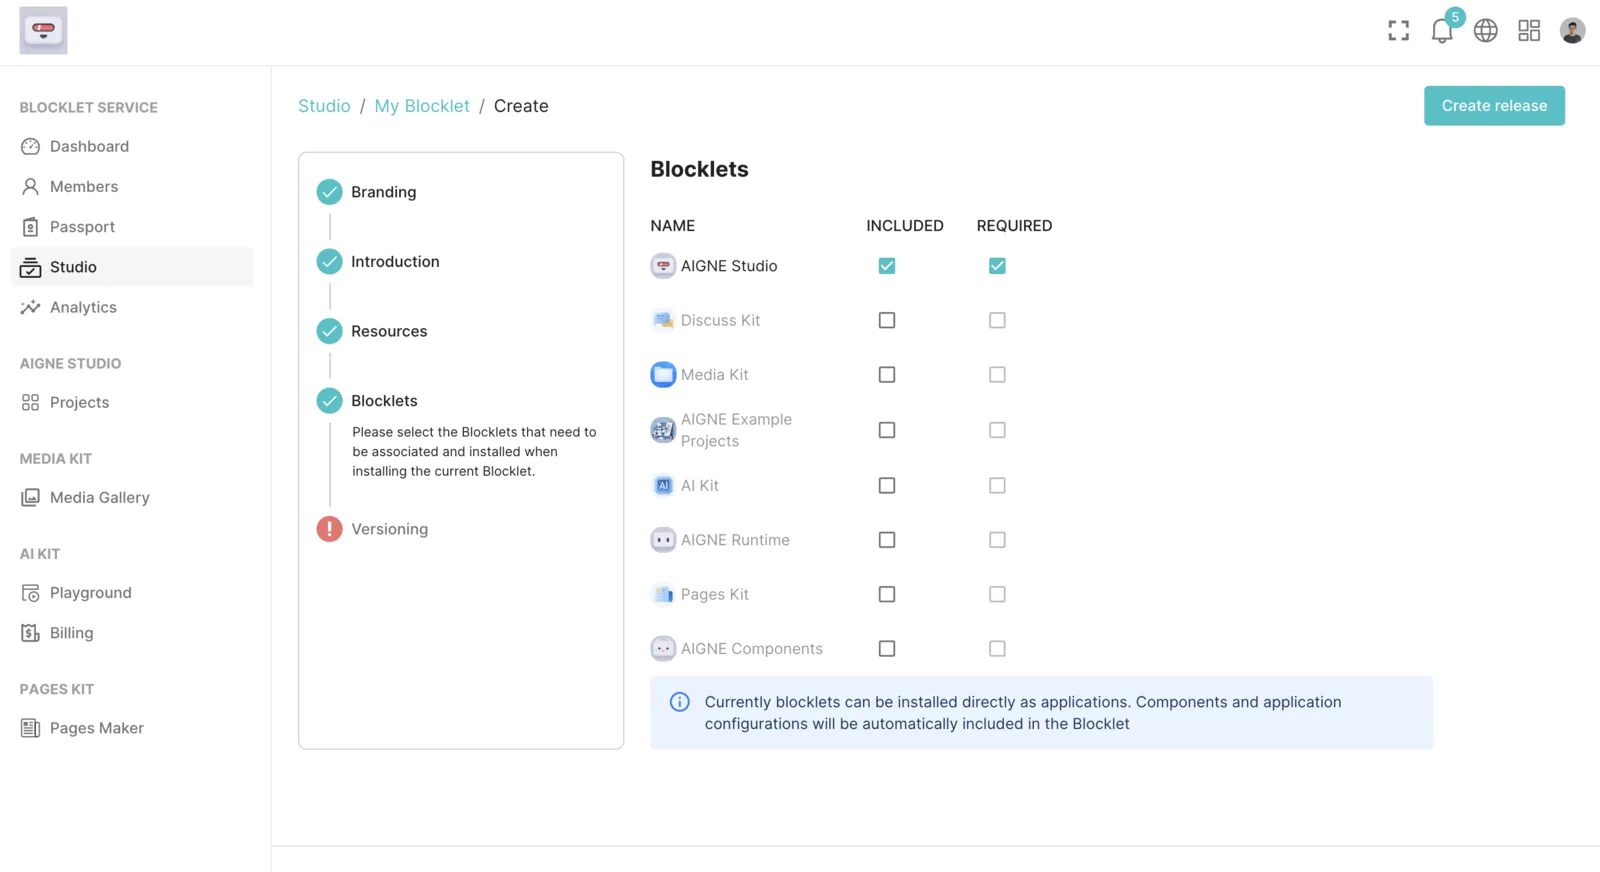
Publish a new release
After filling in all the details, click the "Create release" button at the top right to create a new Blocklet:
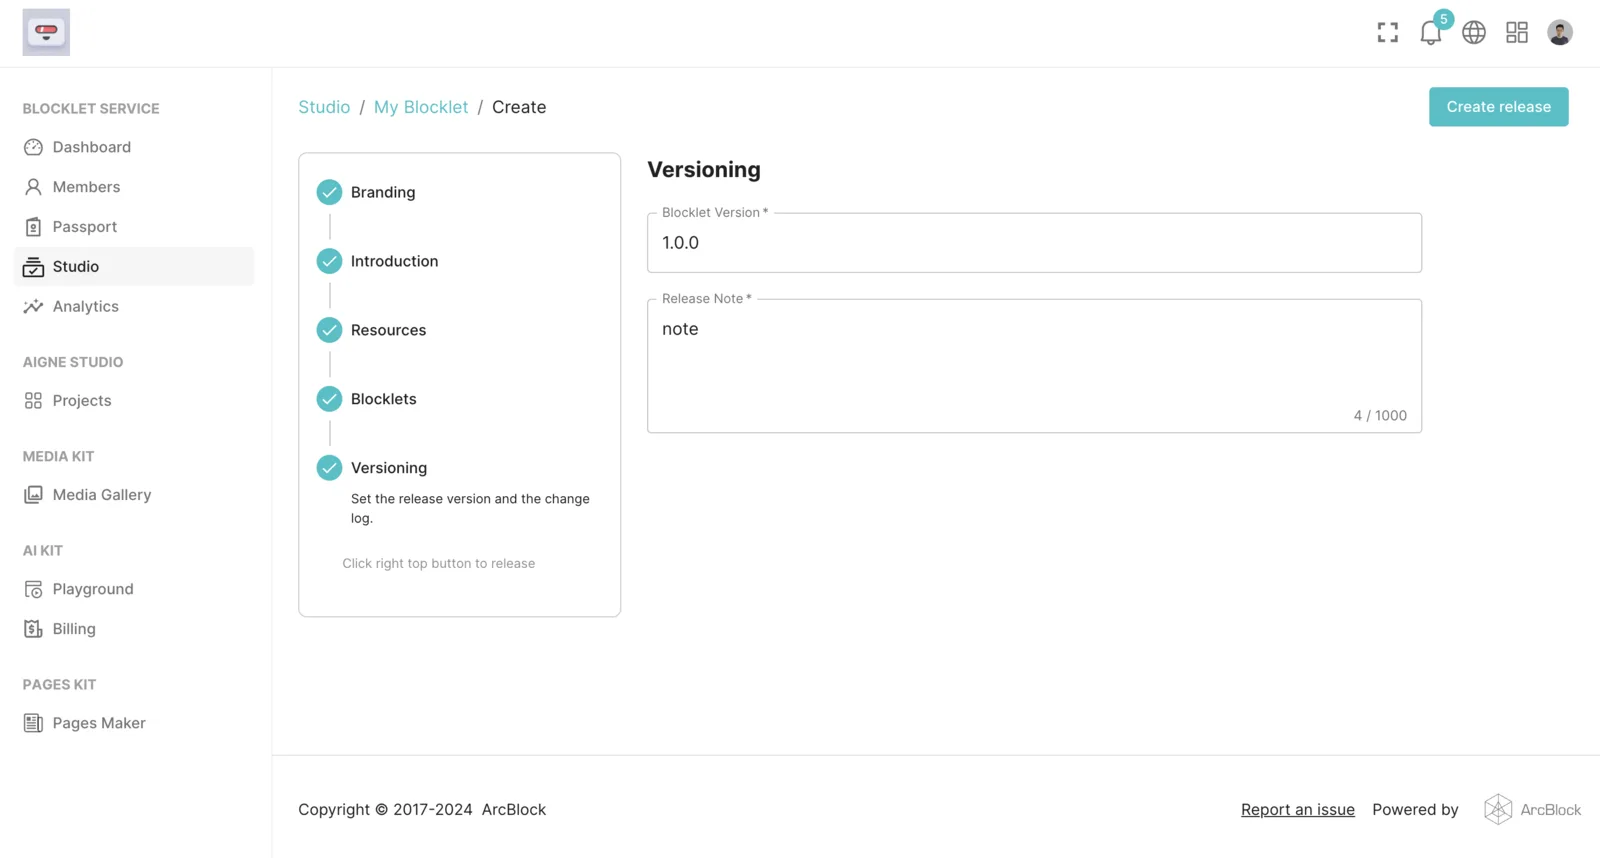
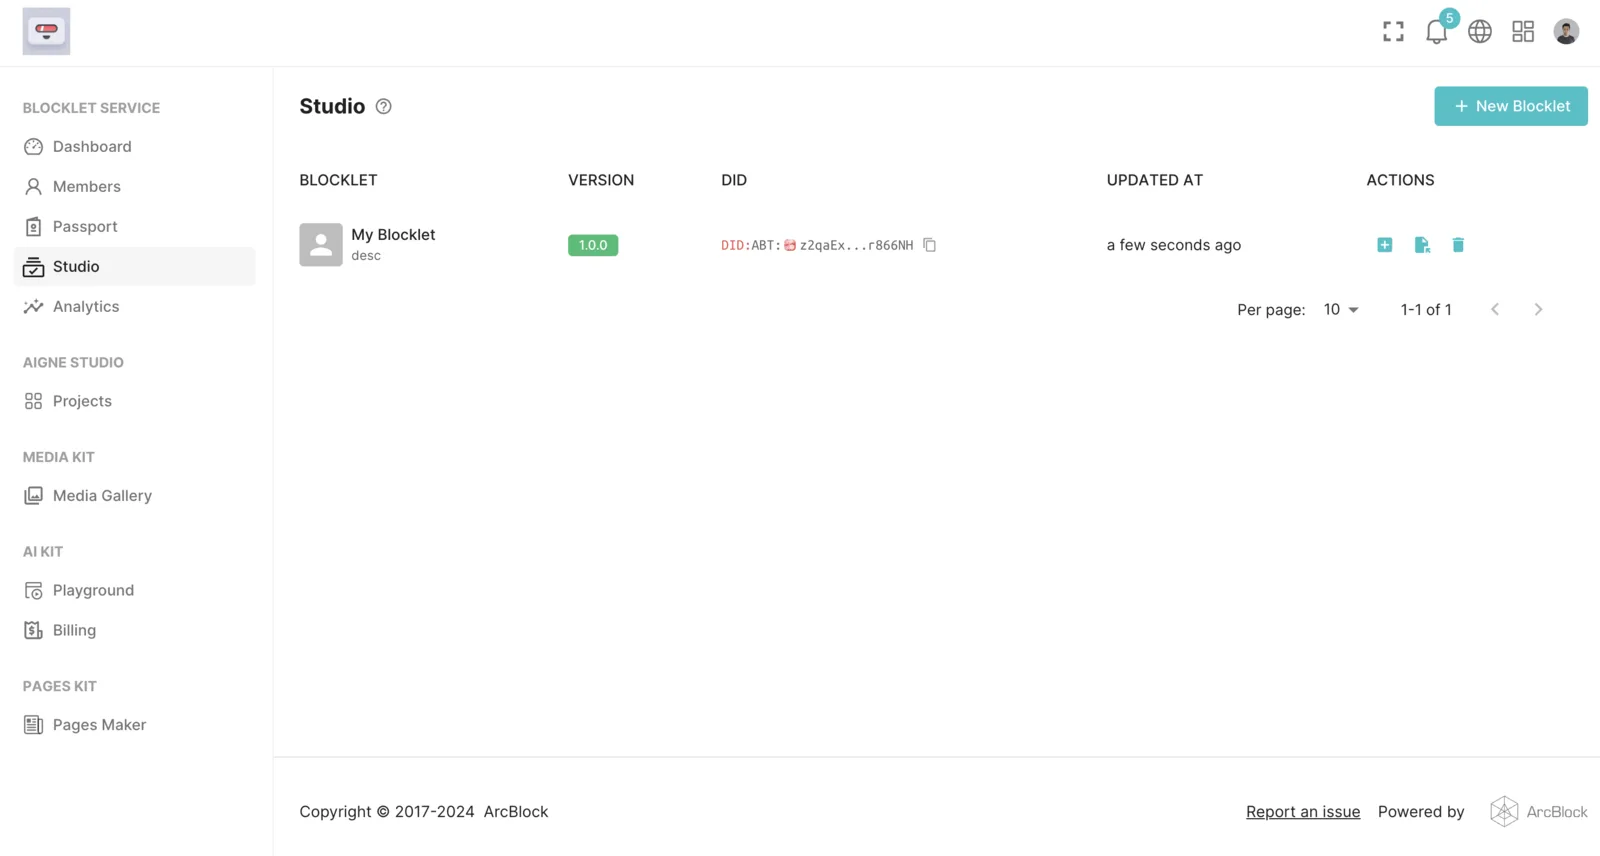
Return to the homepage of Blocklet Studio, where we can see the application we just created: