This guide walks you through creating and publishing to a brand-new dedicated website. This paid service provisions a fully managed hosting environment with custom domain support and dedicated resources—perfect for professional projects. The entire process is automated: run the command, complete the one-time setup and payment, and your website goes live.
Process Overview
Publishing to a new dedicated website involves a sequence of automated steps handled by the publish command. The command interfaces with a deployment service to provision and configure all necessary resources.
The workflow is as follows:
Initiation
The user runs the
aigne web publishcommand.Option Selection
The user chooses the "New dedicated website" option from the interactive prompt.
Confirm Assets
The user is prompted to confirm whether to include branding, navigations, and locale settings in the deployment.
Payment & Provisioning
The user is directed to a secure web page to complete payment. The system then automatically sets up the website hosting and environment.
Content Deployment
AIGNE WebSmith uploads and publishes the generated pages to a default project on the newly created website.
Confirmation
The user receives the live URL for the new website.
Step-by-Step Instructions
To publish your website, follow these steps precisely.
1. Initiate the Publish Command
First, ensure your website pages have been generated using the aigne web generate command. Once your content is ready in the output directory, execute the following command in your terminal:
Publish Website
aigne web publish2. Select the Publishing Option
When the terminal lists publishing targets, choose New dedicated website and confirm.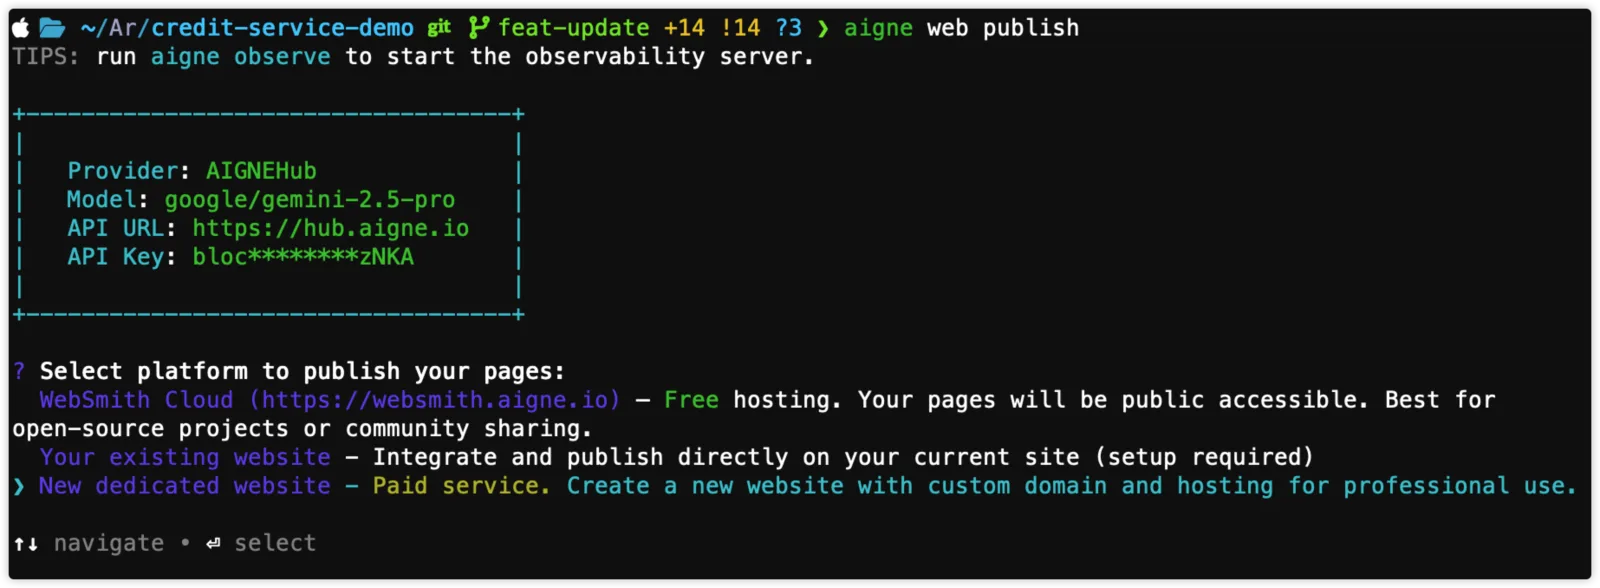
3. Confirm Additional Assets
After selecting the dedicated option, the terminal asks whether to include locales, navigation, and branding. Accept the default “Yes” so your new site launches fully configured.

4. Complete the Setup and Payment
After selecting the option, the automated setup process will begin:
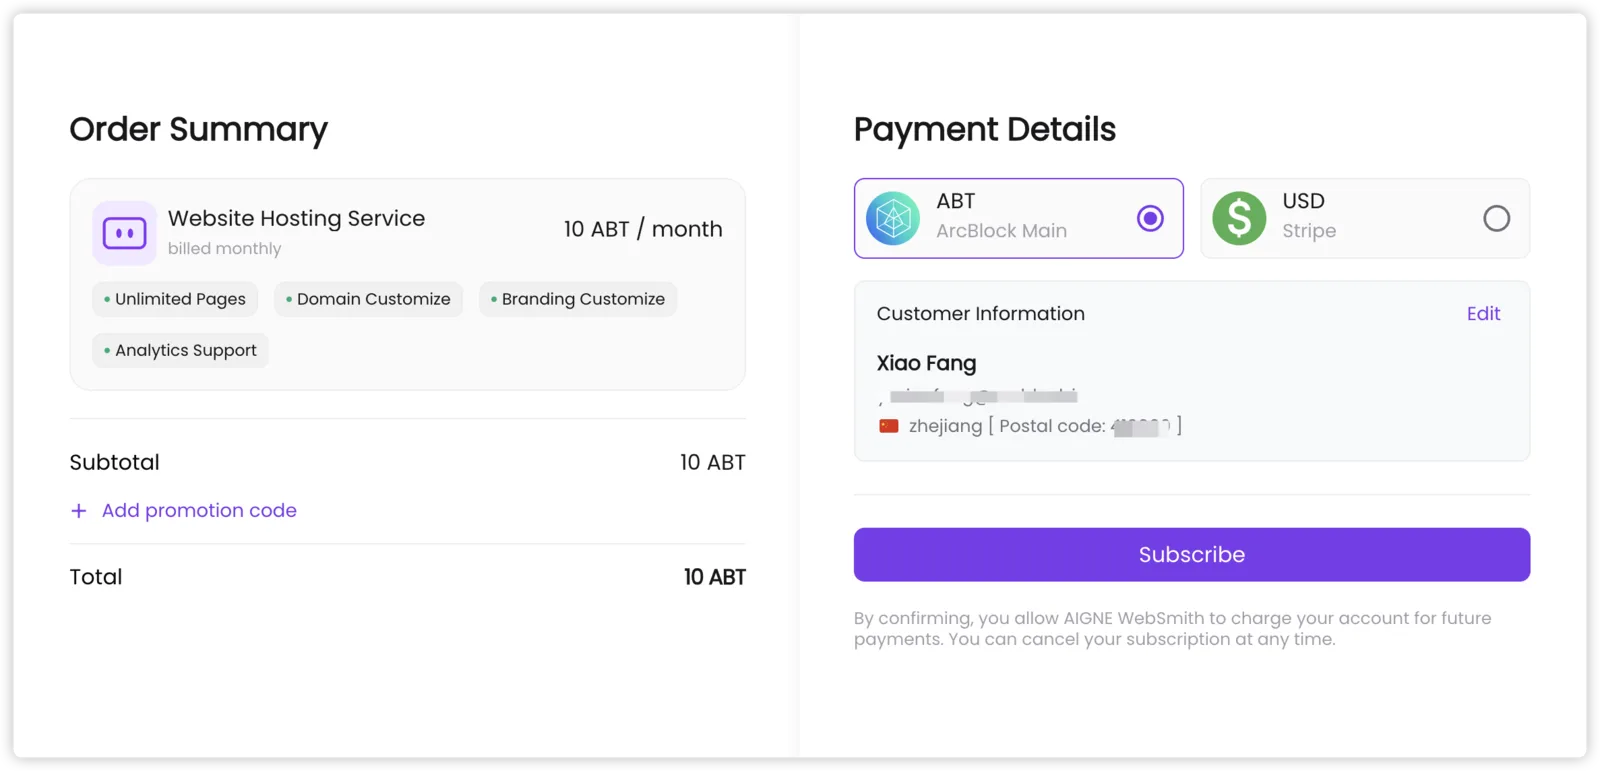
Payment
A message will appear in your terminal indicating that the payment process is starting. A secure payment link will be opened in your default web browser.
Provisioning
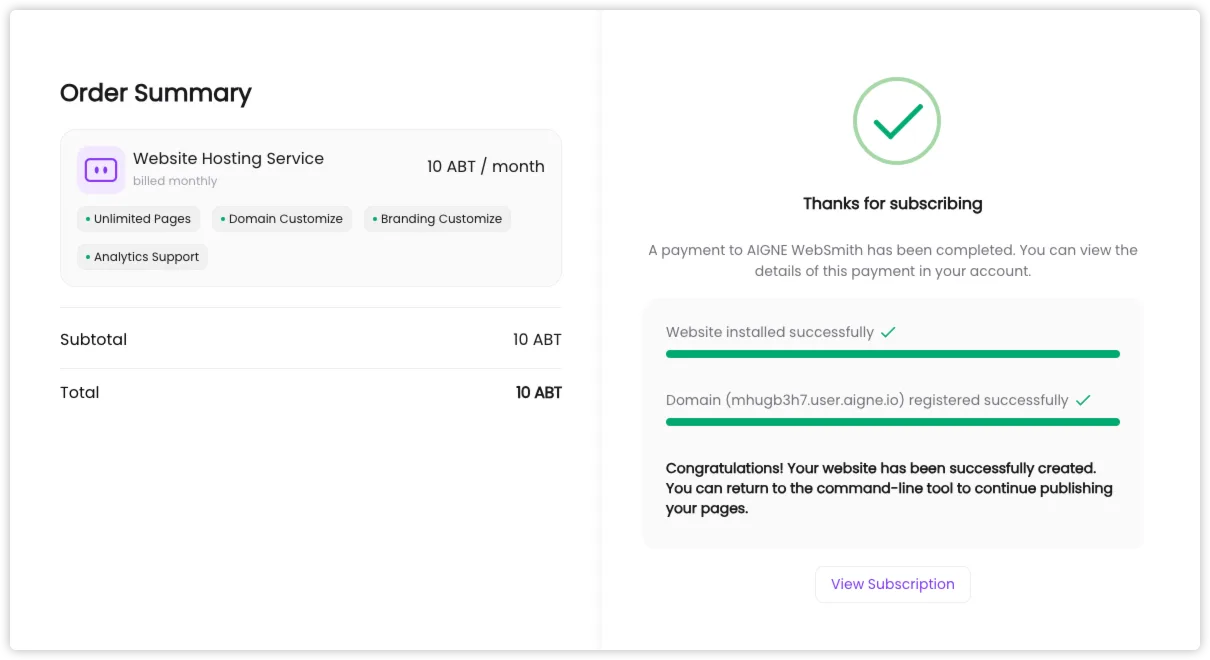
After payment completes, WebSmith resumes automatically. The terminal waits for the service to be provisioned, started, and verified—no further action is required on your part.
Completion
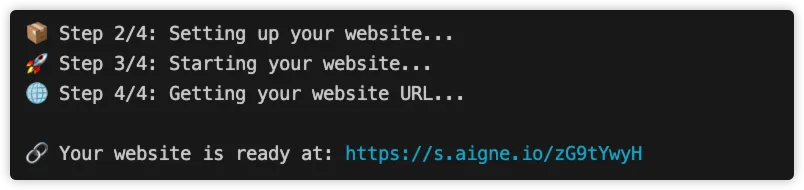
When the setup is complete, the terminal displays the live URL plus a subscription-management link.
5. Authorize the Hosting Service
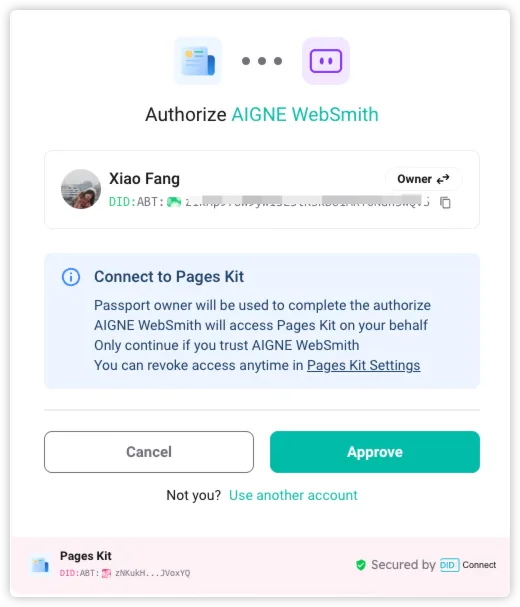
Before WebSmith can upload content, approve the publish permission request. The terminal launches a browser, you grant access, and the resulting token is saved for future runs.
6. Automatic Content Publishing
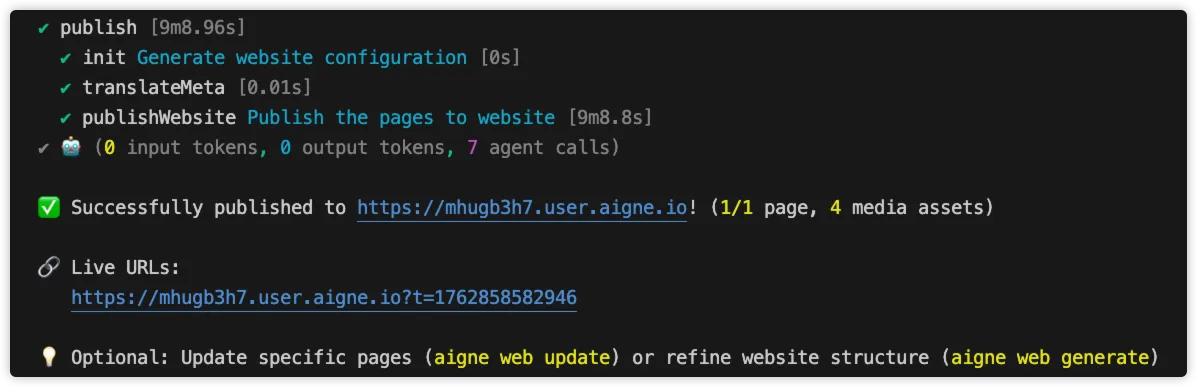
Once the site is provisioned and authorization succeeds, AIGNE WebSmith uploads your generated pages and media assets automatically.
Resuming an Incomplete Setup
If a previous attempt to create a dedicated website was initiated but not completed (e.g., the payment process was abandoned), the system will save the session details. The next time you run aigne web publish, you will see an additional option to resume the process.

Selecting this "Resume" option allows you to continue from where you left off without needing to start over or pay again if the payment was already processed. The system will use the saved checkoutId to restore the previous session and complete the website setup.
Summary
You have successfully published your project to a new, dedicated website. Your content is now live and accessible at the provided URL. To make changes, you can either update the content with aigne web update or regenerate the entire site structure with aigne web generate, followed by another aigne web publish command. The system will use the saved configuration to publish updates to the same website.