Welcome
User Guide
Developer guide
Reference Guide
Frequently Asked Questions
Pricing policy
Data retention policy
Draft: Default Space How to upgrade by payment?
How to re-subscribe to an expired DID Space
Connecting to the DID Space using the Gateway Address
Switch the DID Space bound to NFT Blender.
The automatic backup of Blocklet is stuck, how can it be quickly restored?
Fix CORS error when connecting DID Space
Change log
Draft: Purchase DID Space
DID Spaces v0.6.0: OAuth Integration in DID Spaces
DID Spaces v0.5.83: OAuth integrated DID Space
Prod Spaces data retention policy updated
DID Spaces v0.4.26 released: subscription fully adopts pay-as-you-go & supports paid upgrade Default Space
DID Spaces v0.3.75 released: Supports reading and writing component spaces
DID Spaces v1.0.48: 支持预览 post/bookmark/blog/doc
Create a DID Space by installing Personal DID Spaces.
Summary#
In addition to claiming a free DID Space directly from DID Spaces, you can also set up your own Blocklet Server, install a personal, decentralized DID Space, and receive a DID Space.
Prerequisites#
- Install your own Blocklet Server,Learn more
Set Up a Personal DID Space#
Log in to the Blocklet Server#
Sign in to your Blocklet Server
Install a Blocklet#
After successfully logging in to Blocklet Server, you can select **Store** in the left-hand menu and search for and install Personal DID Spaces under **Official Store**.

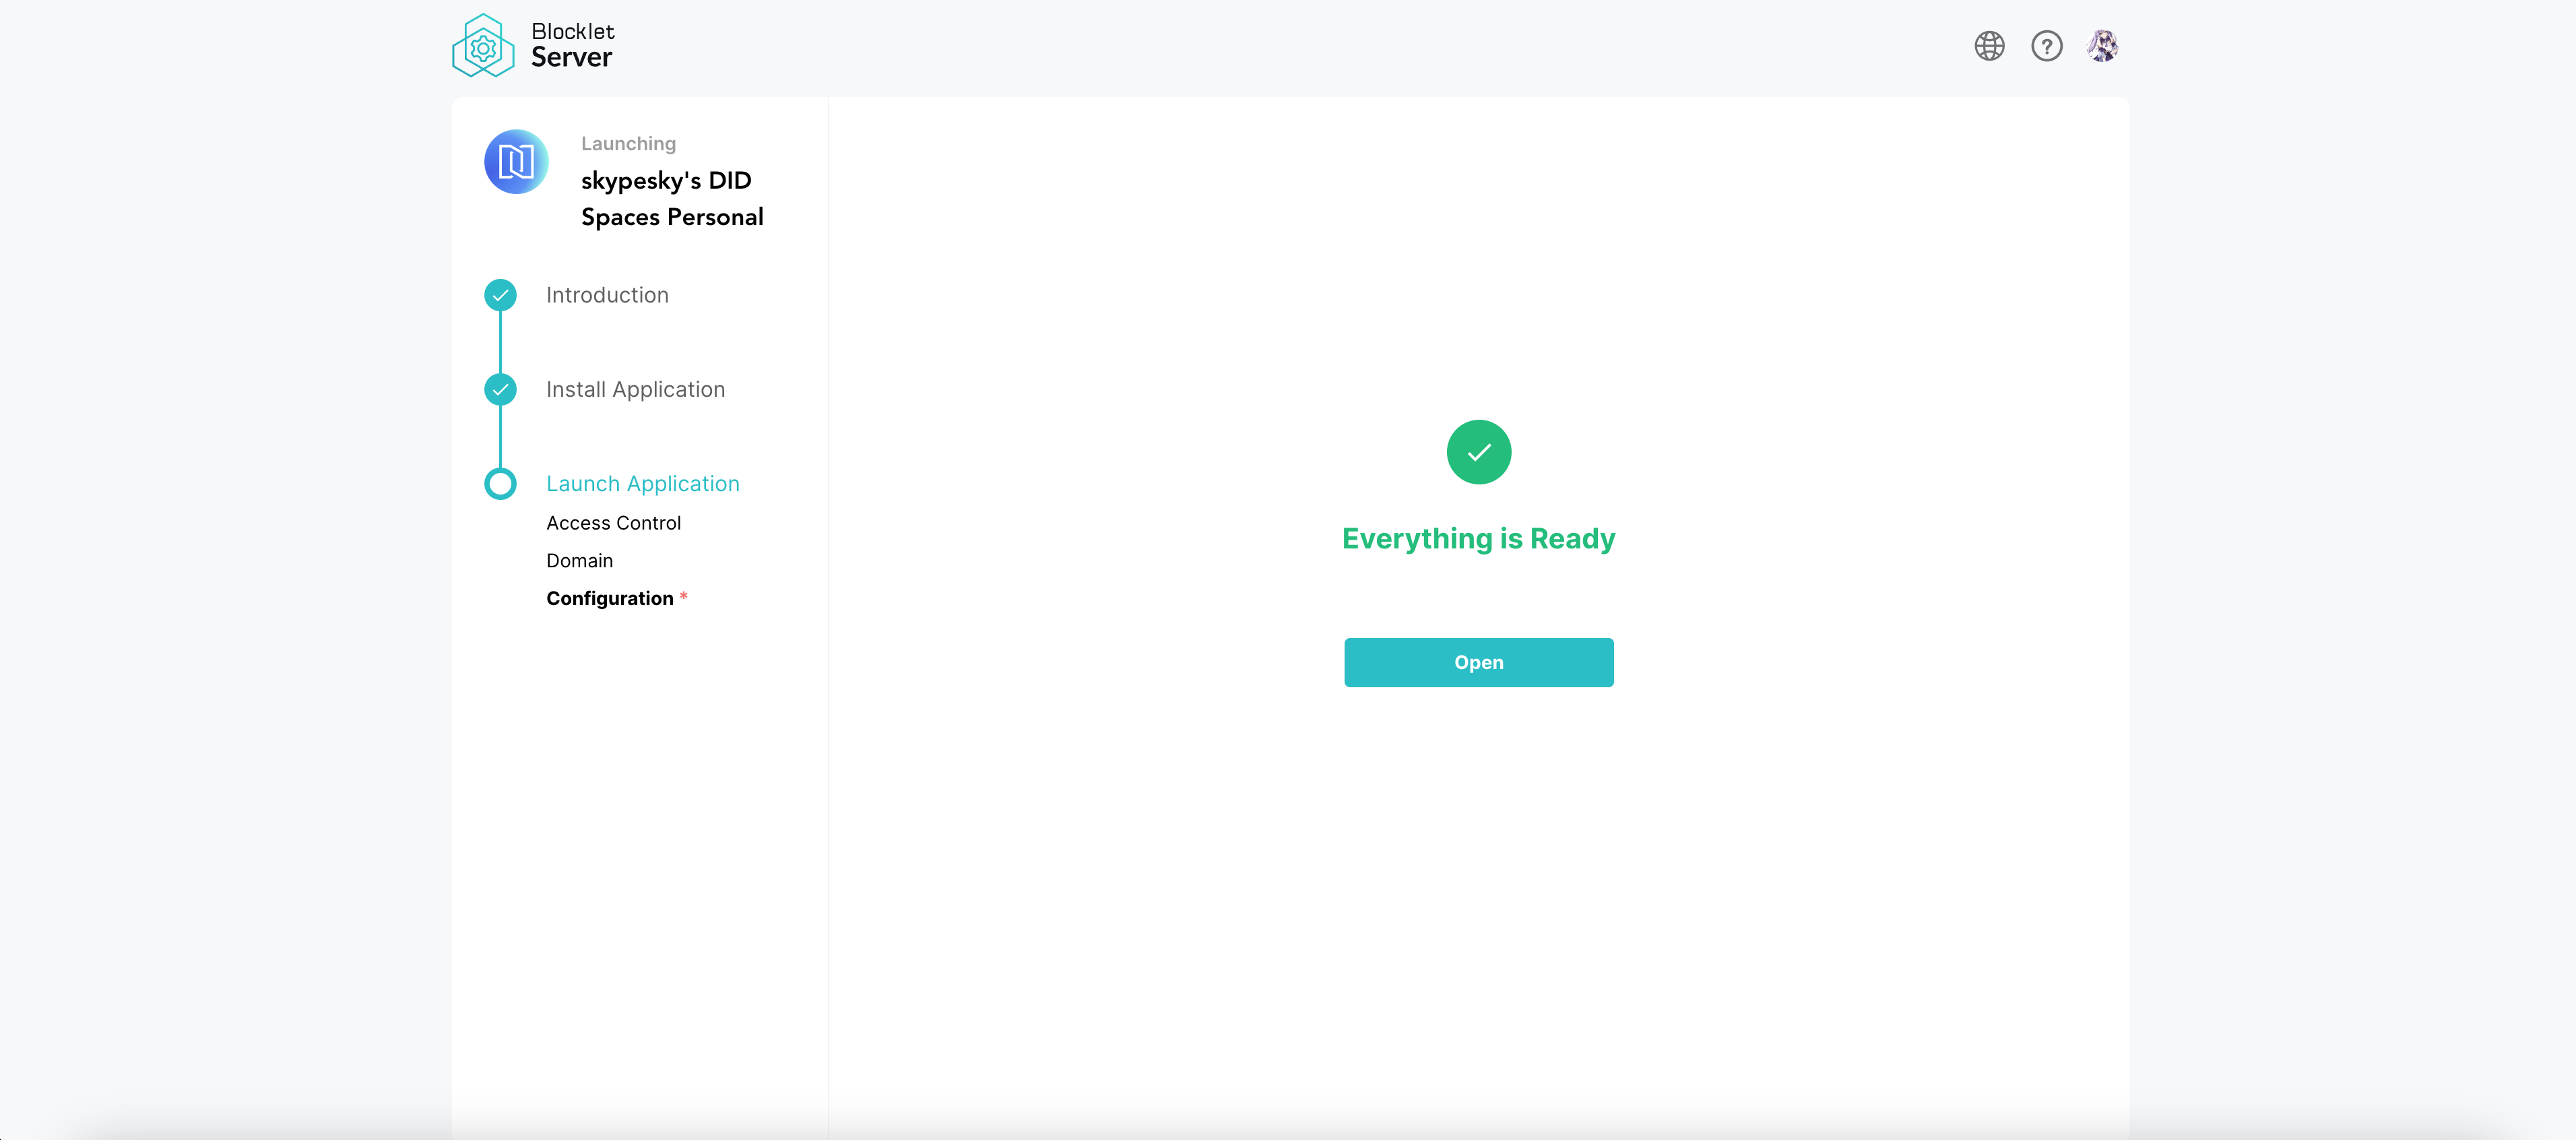
Follow the installation guide to complete the installation of your personal DID Space. Upon successful installation, you will see the following page:
Create a DID Space#
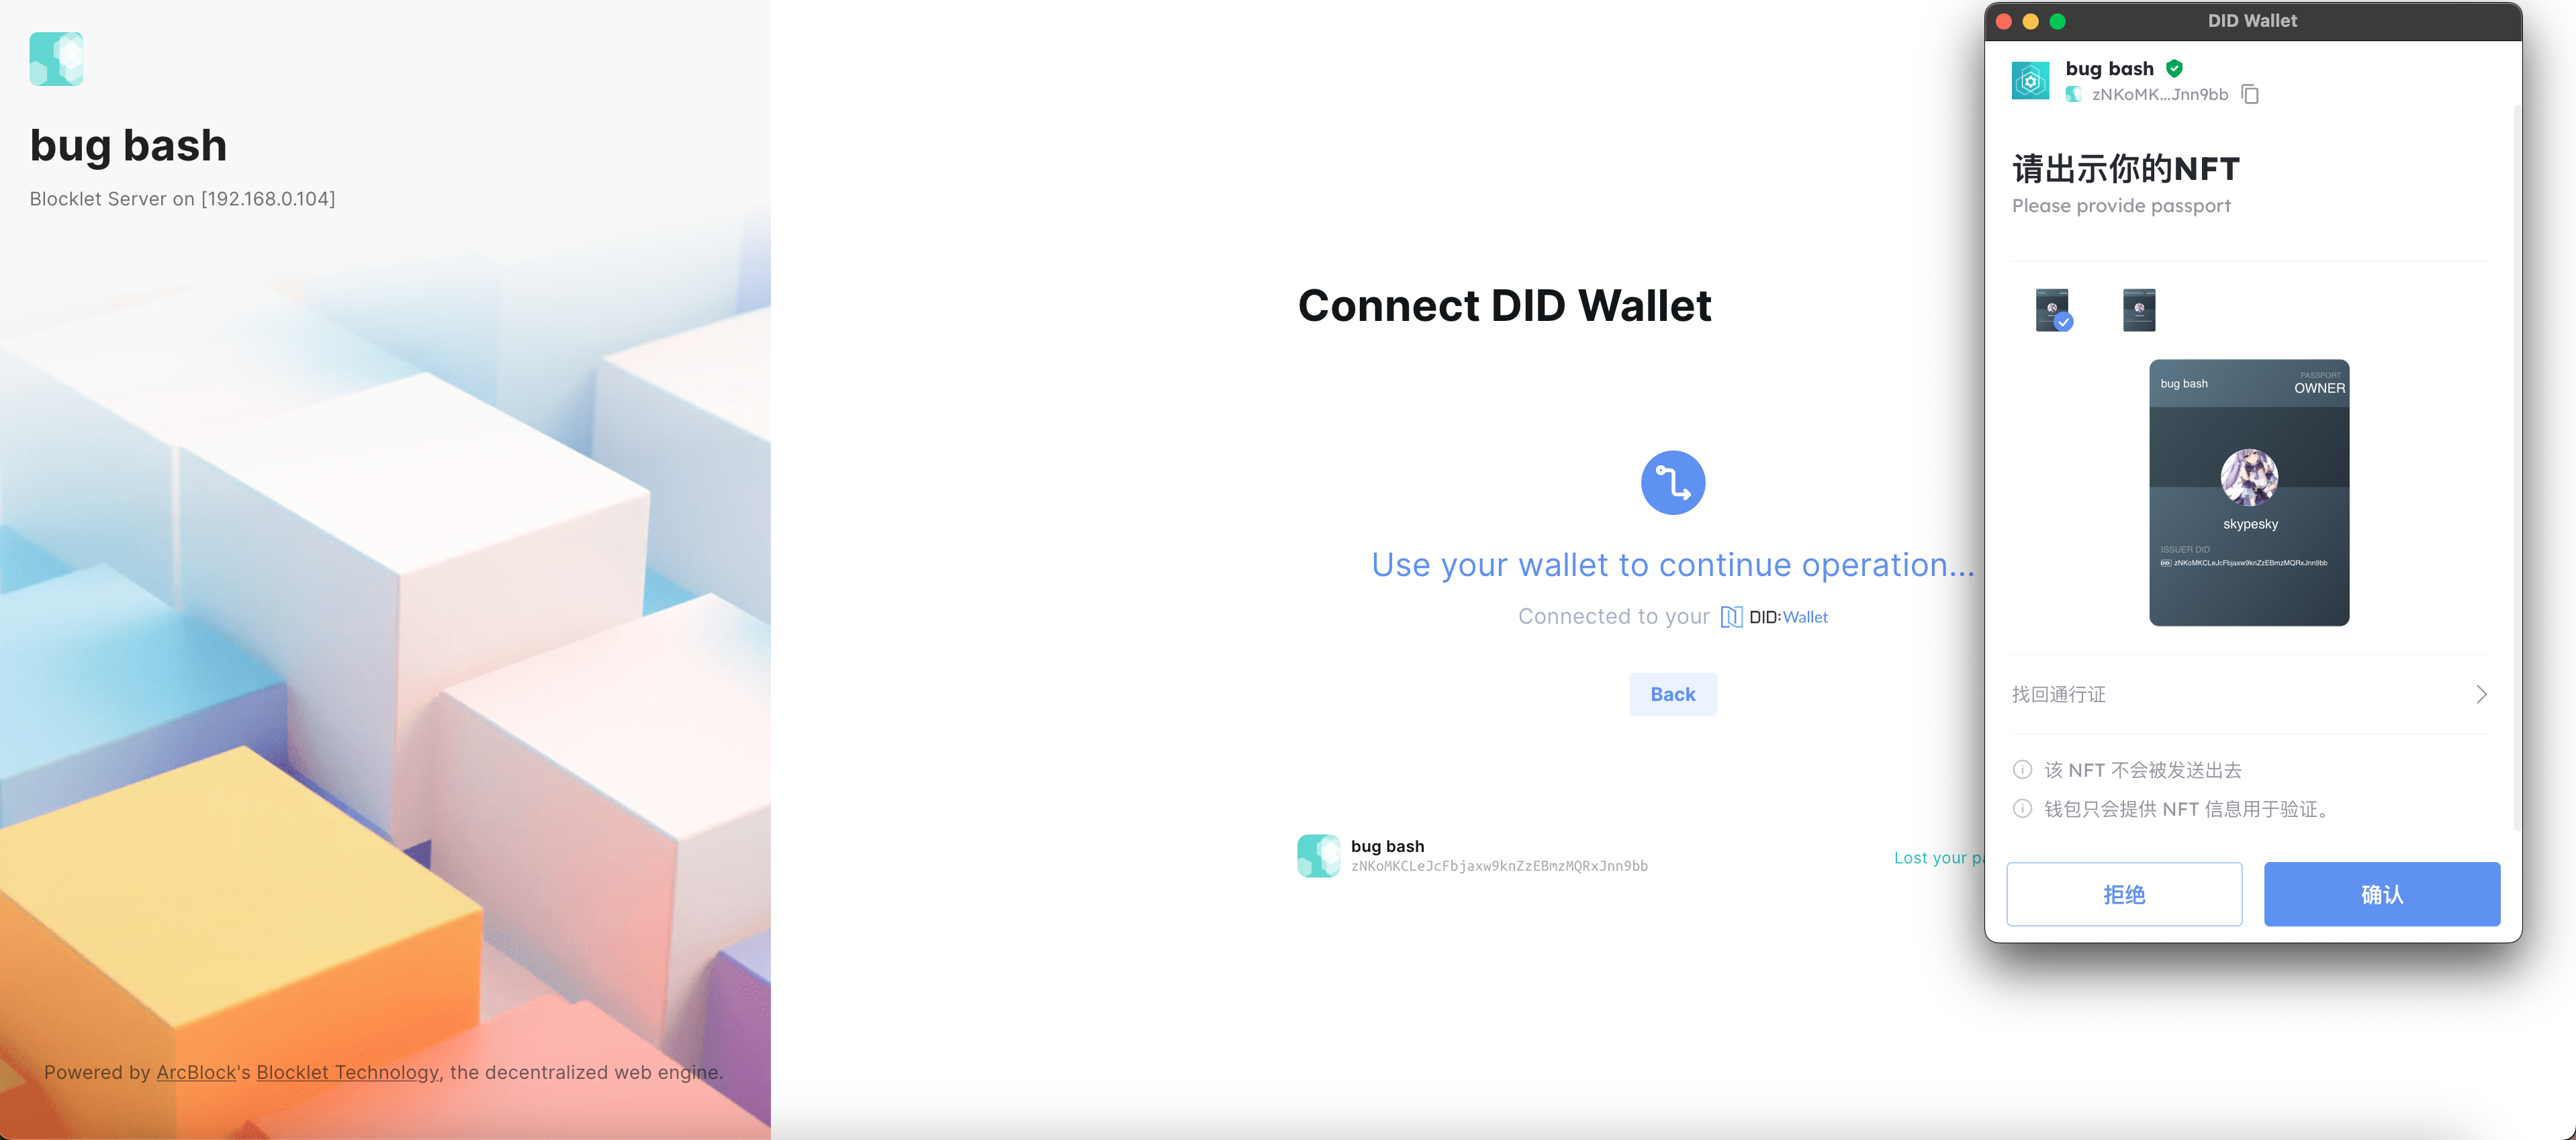
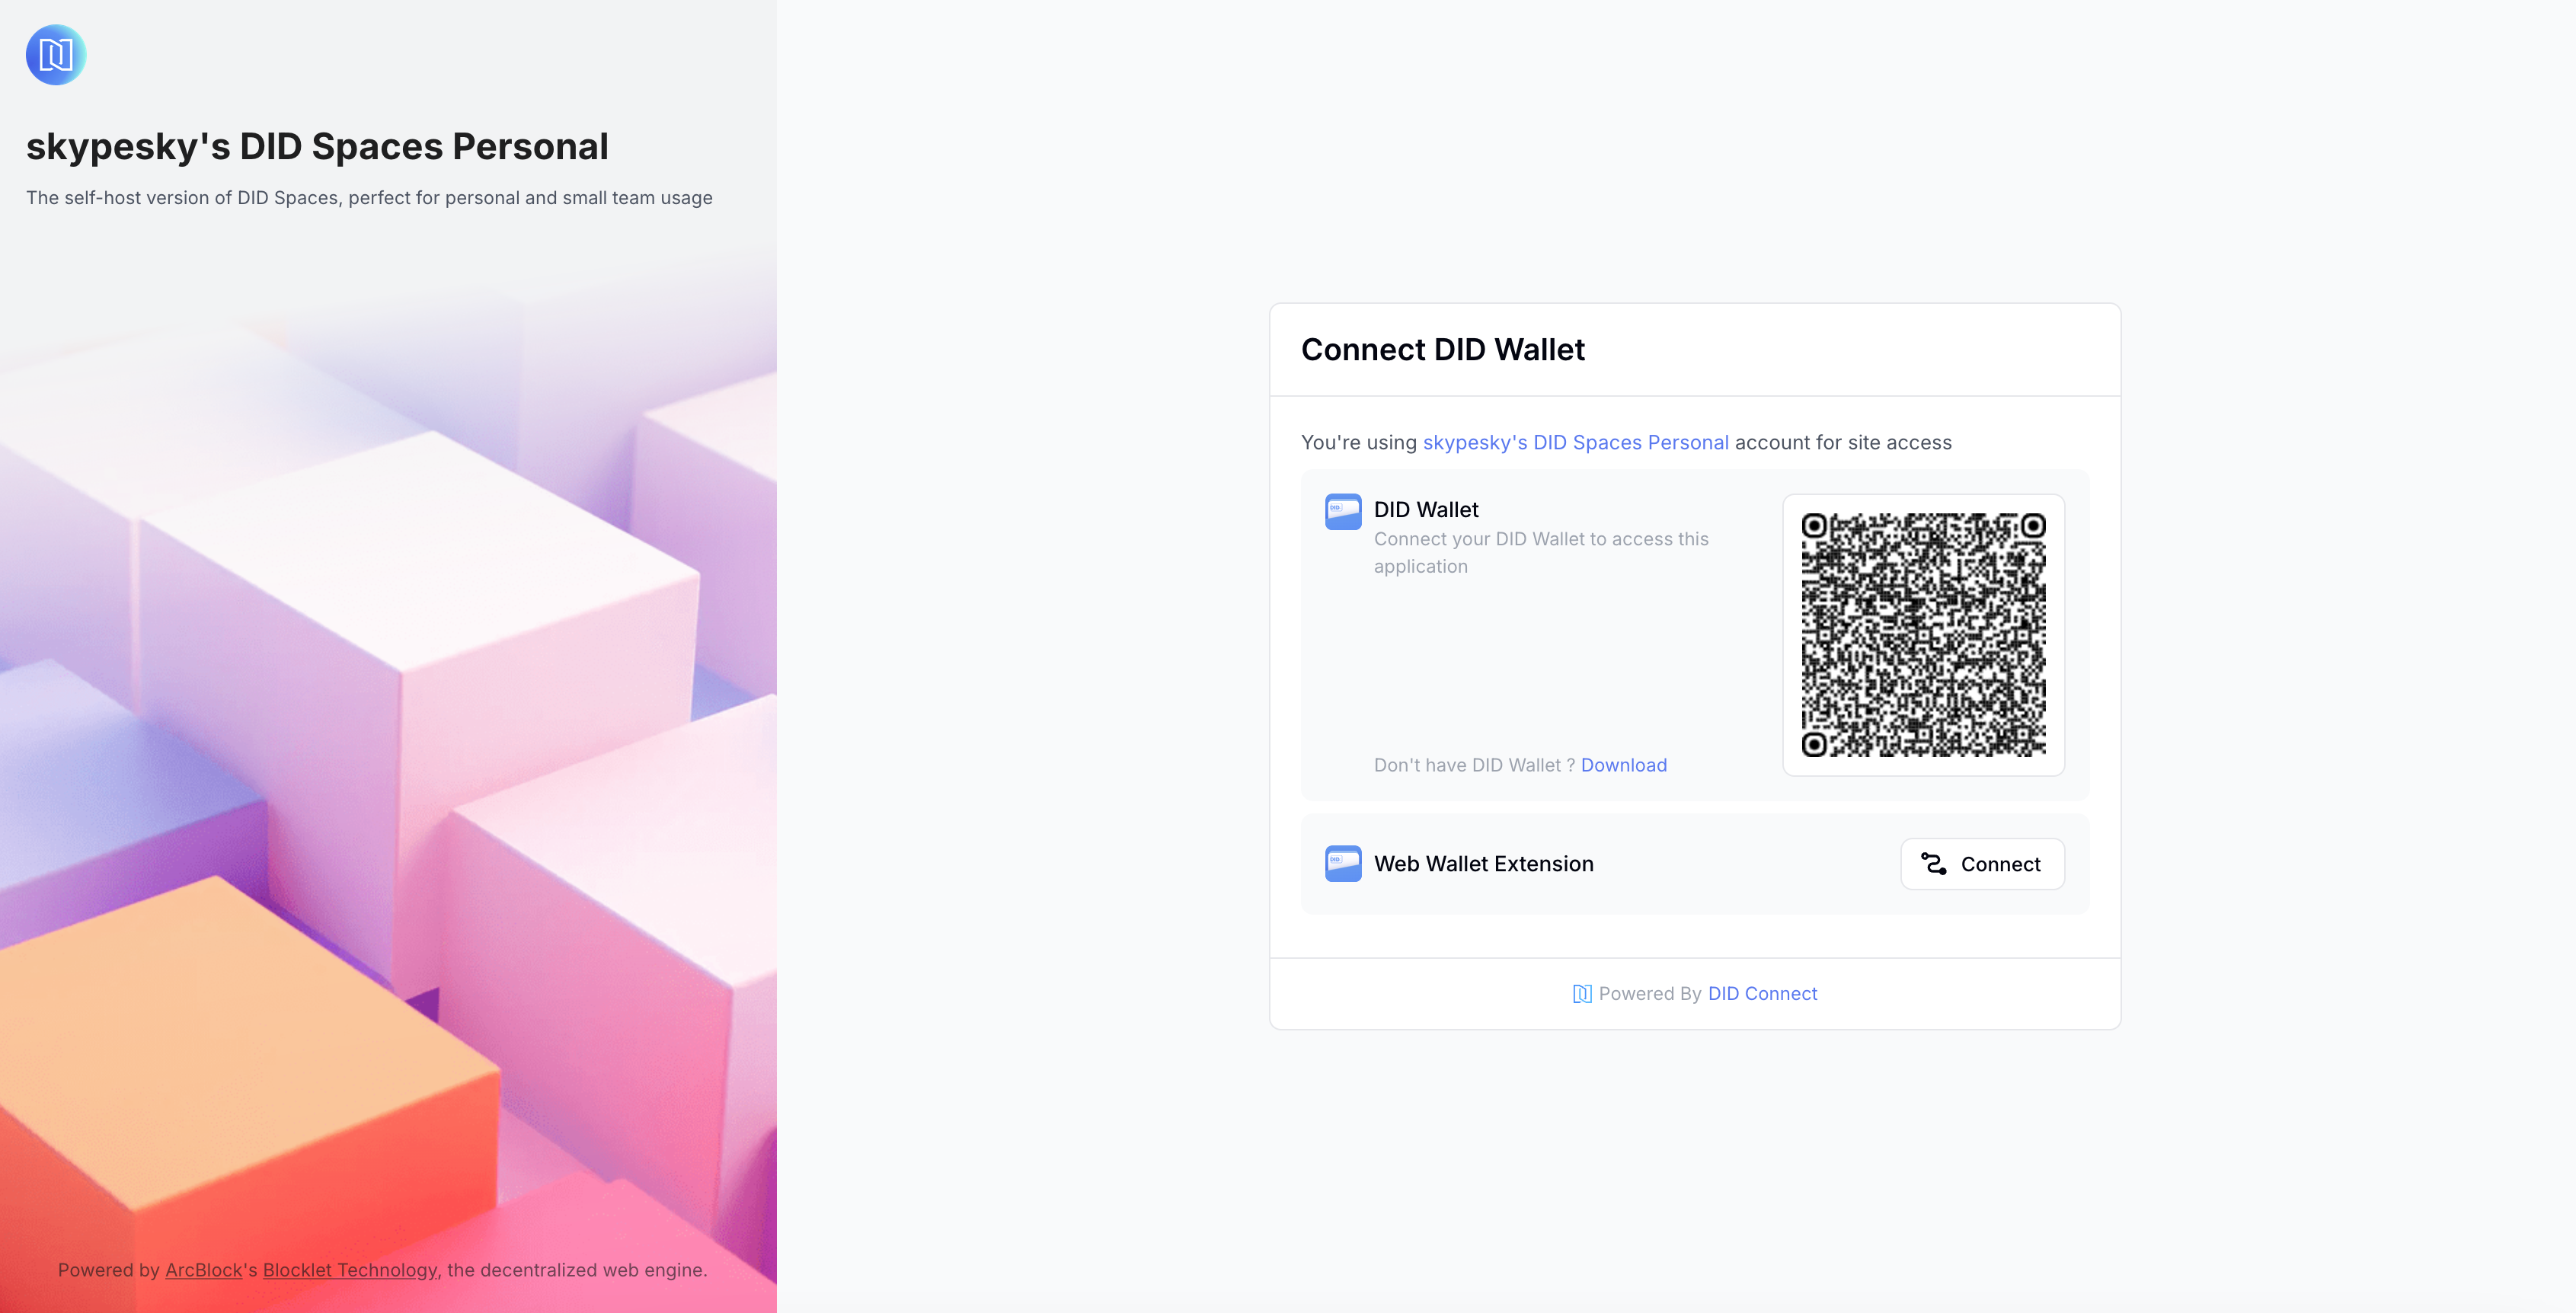
Access the Personal DID Space you just installed and log in.
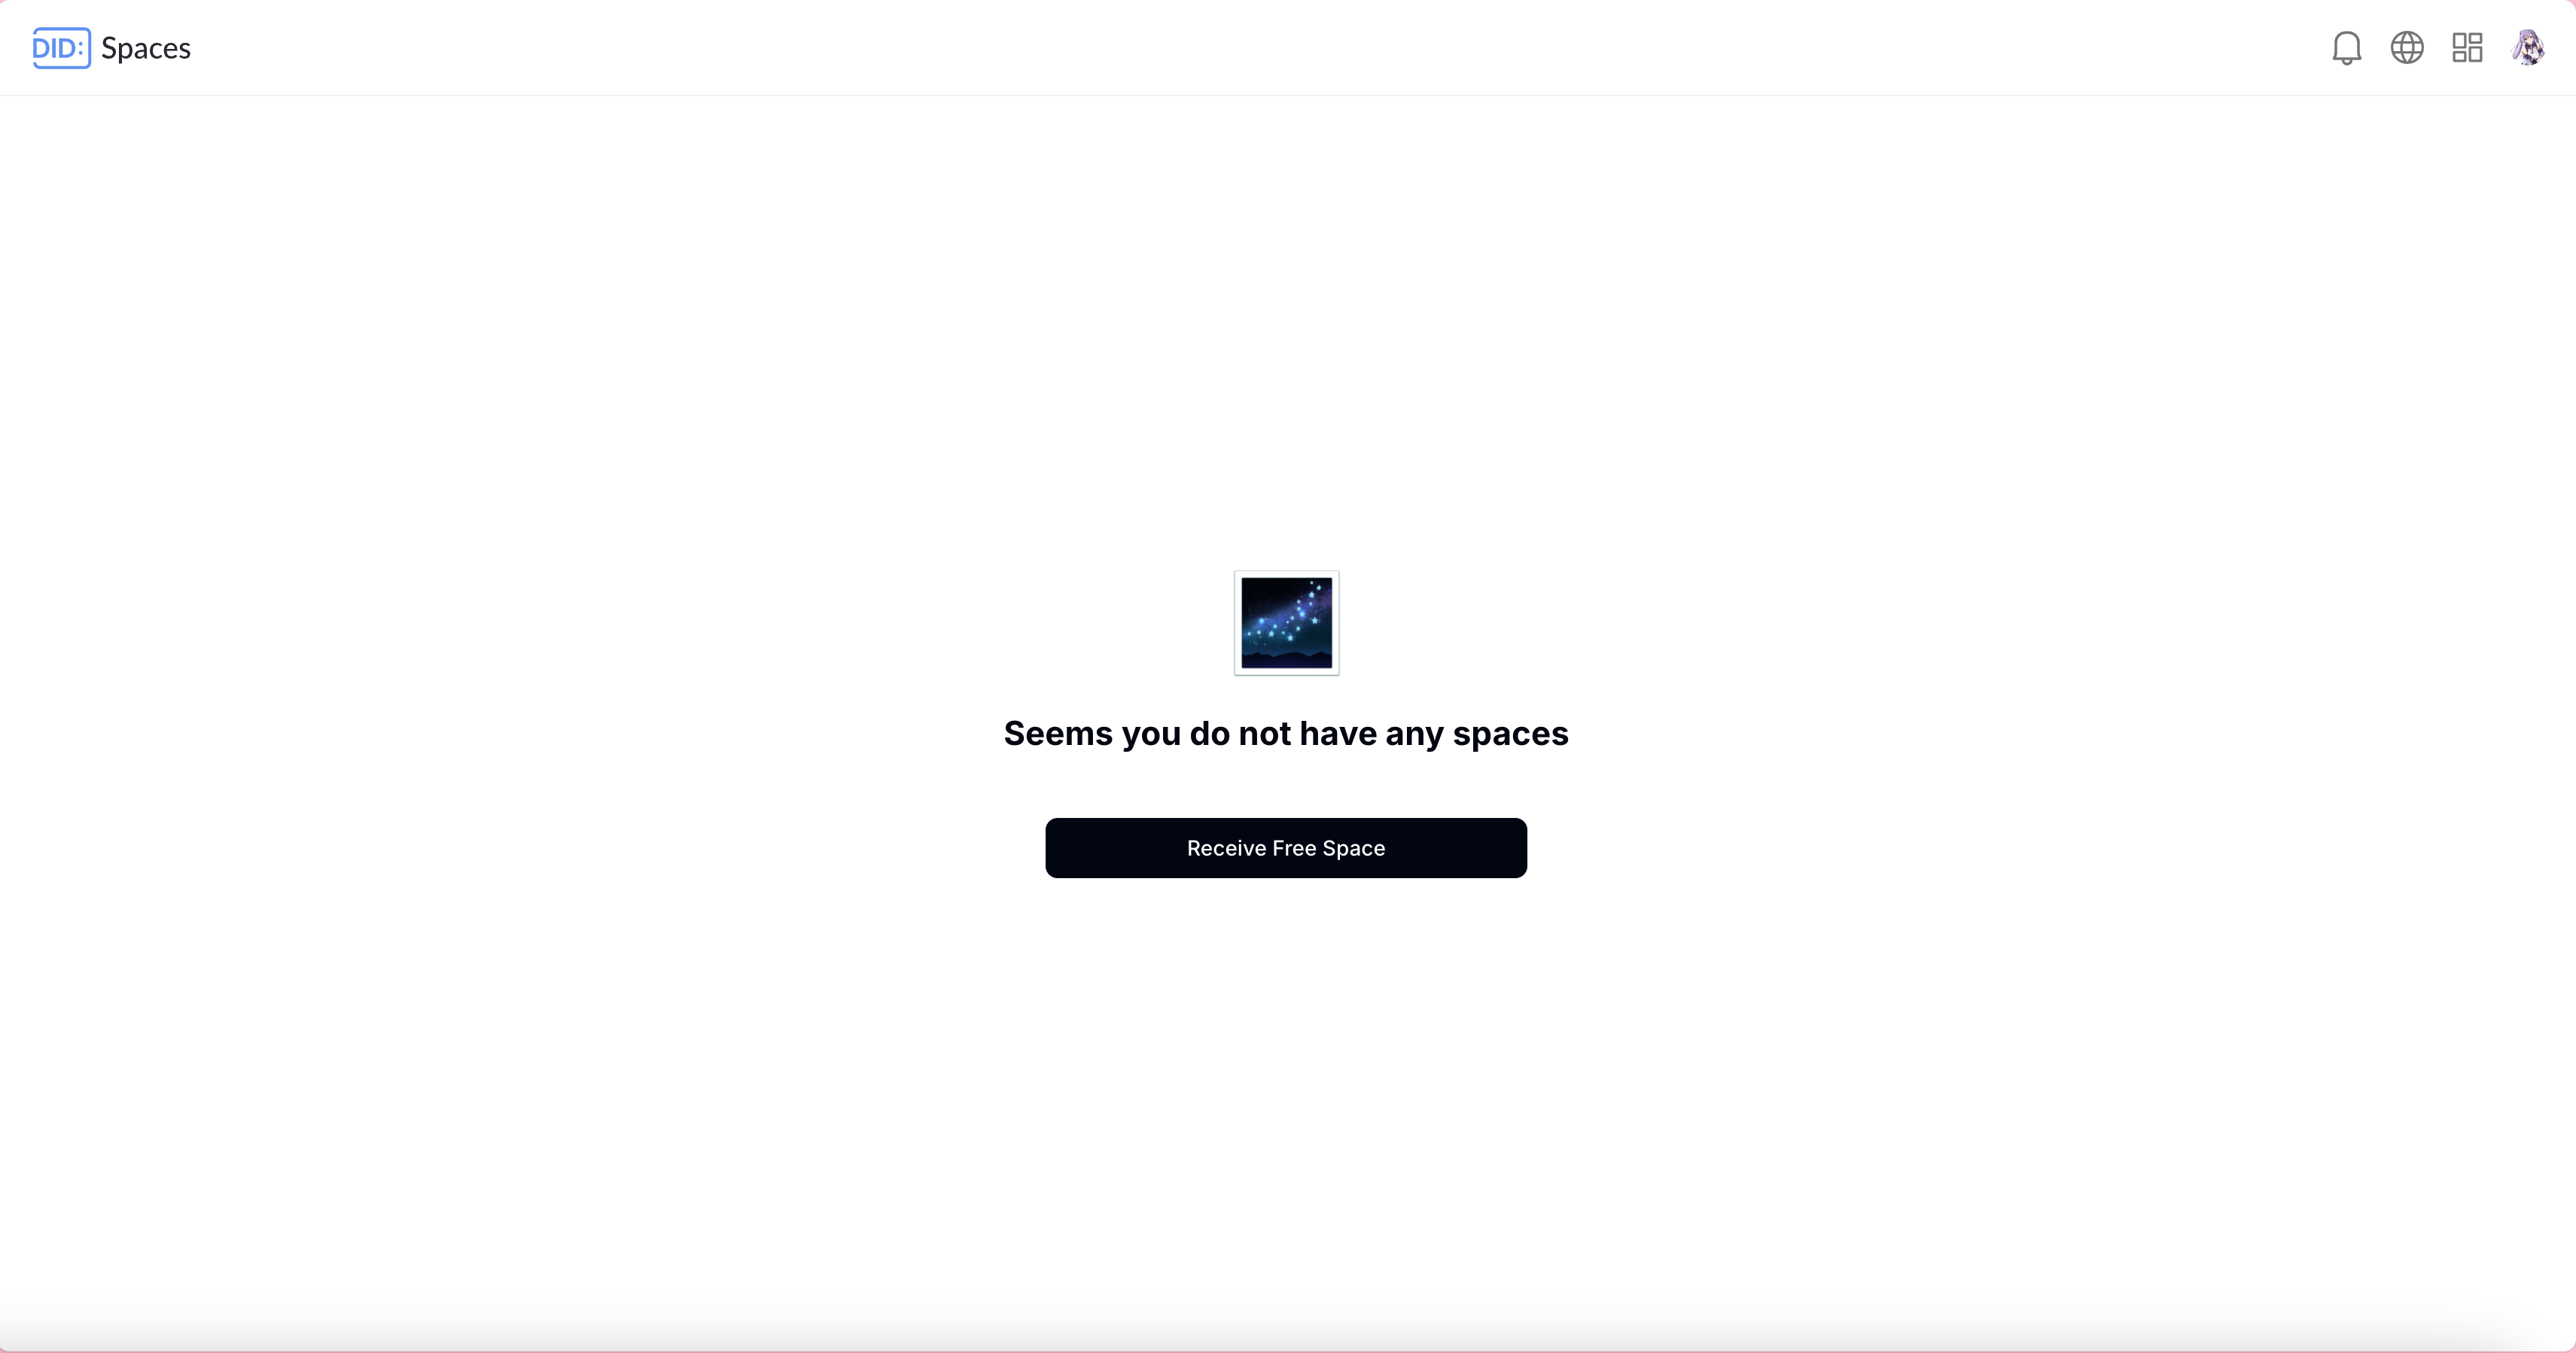
We currently do not have a DID Space. Click Receive free space to create one.
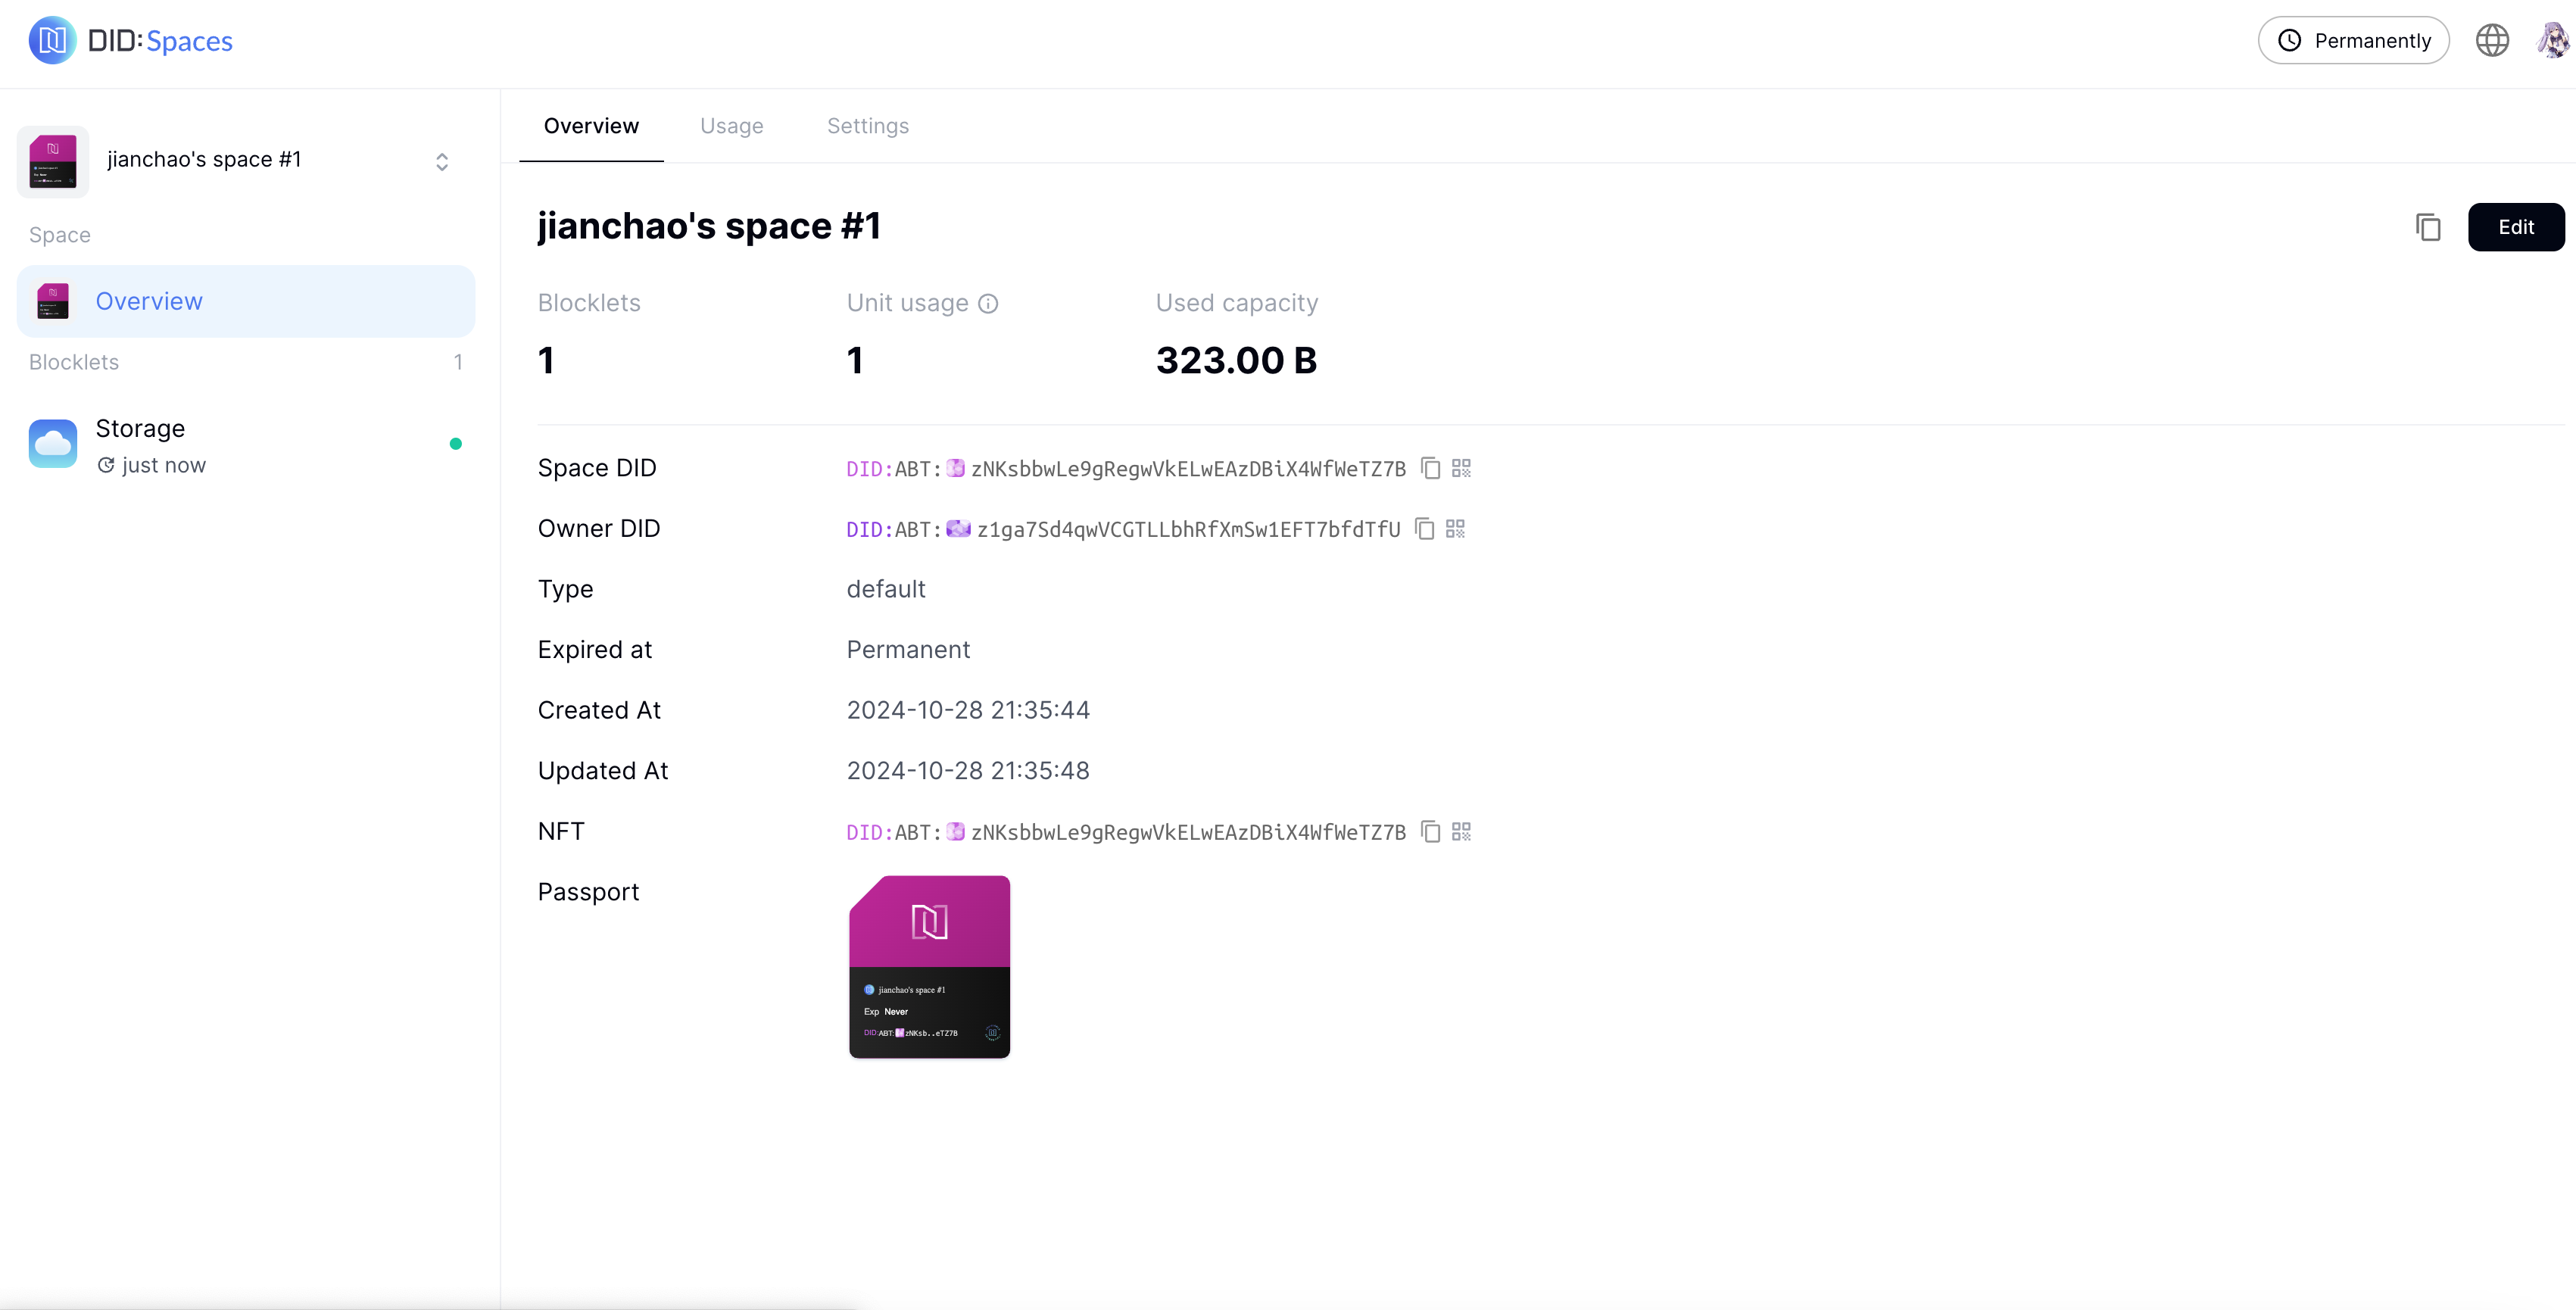
Once created, you have a functional DID Space that is decentralized and under your exclusive control.